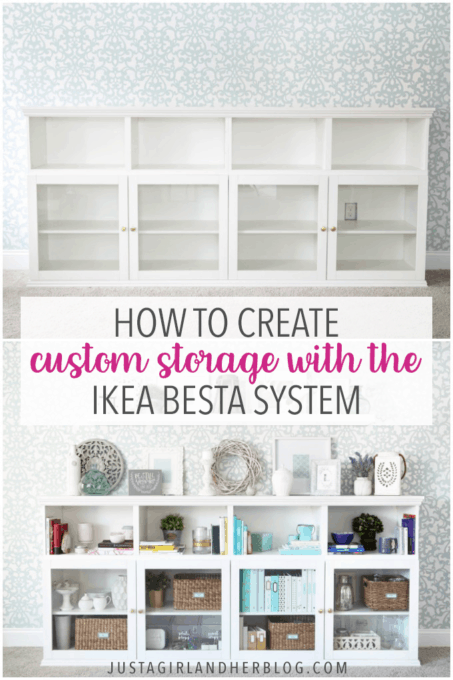
How to Create Home Office Storage with the IKEA BESTA System
We recently used the IKEA BESTA system to create home office storage that is both functional and incredibly beautiful!
Hey there, friends! I’m excited to be back with another update on my home office today! Last week I shared my plan for the room and also talked about a stenciled wall treatment that I did on the back “feature wall.” The stenciled wall was looking beautiful but bare, so I knew I wanted to add some elements to liven it up a bit, starting with storage!
About a month ago we installed an IKEA PAX unit in the office corner, which gave me a ton of closed off storage space…
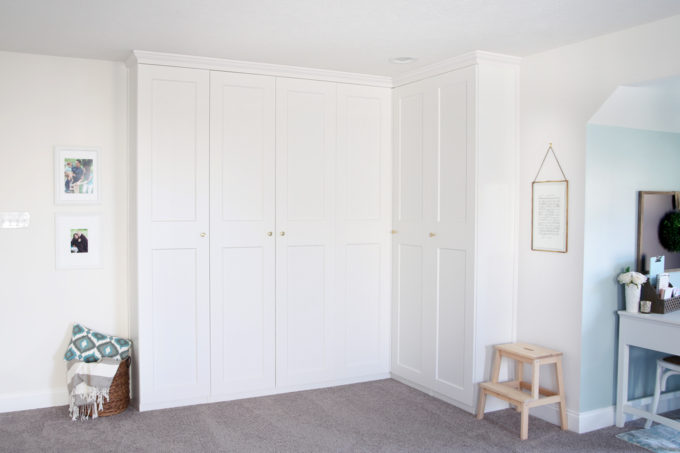
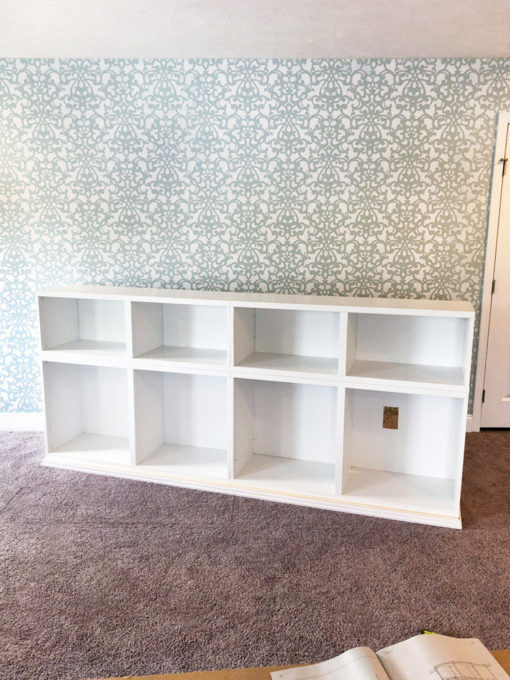
…so on the back wall I wanted something that was sort of bookshelf-esque– definitely practical and functional, but also more open and acting as a beautiful feature of the room as well.
I considered actual bookshelves for this spot, but as I looked at them, I realized that a standard bookshelf was a little more shallow than I was hoping for. At one point I also thought about using kitchen cabinets, but though they would give me the depth I was looking for, I really didn’t want more completely closed off storage.
It was actually Donnie who came up with the idea to do another storage unit using IKEA’s BESTA system. We used BESTA pieces to create our built-in entertainment unit in our living room shortly after we moved in, and we are still loving it…
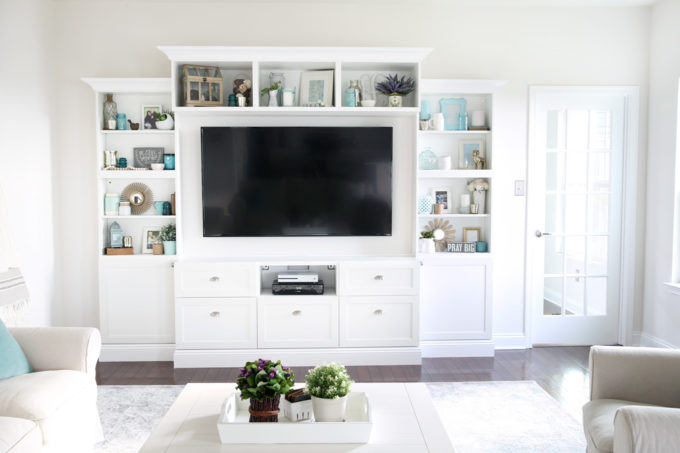
…so we thought we’d do another BESTA configuration to get the open storage look I was going for in my office.
How to Create Home Office Storage with the IKEA BESTA System
This post contains affiliate links. For more information, see my disclosures here.
We first hopped onto IKEA’s website and used their BESTA planner to try out different configurations for the unit. Here’s what we ended up with:
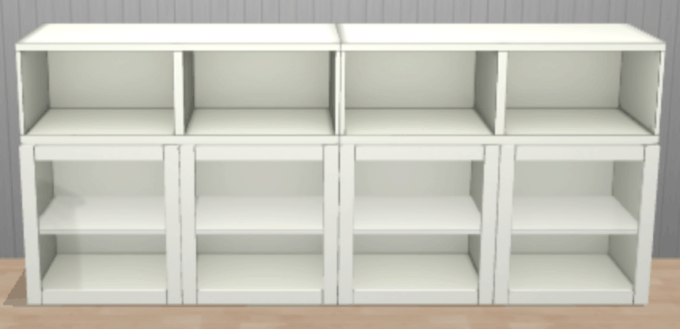
Our plan included:
- Two frames measuring 47″ wide, 25″ high, and 16″ deep
- Two frames measuring 47″ wide, 15″ high, and 16″ deep
- Four glass doors to cover the larger frames
- Four shelves
- Four sets of hinges
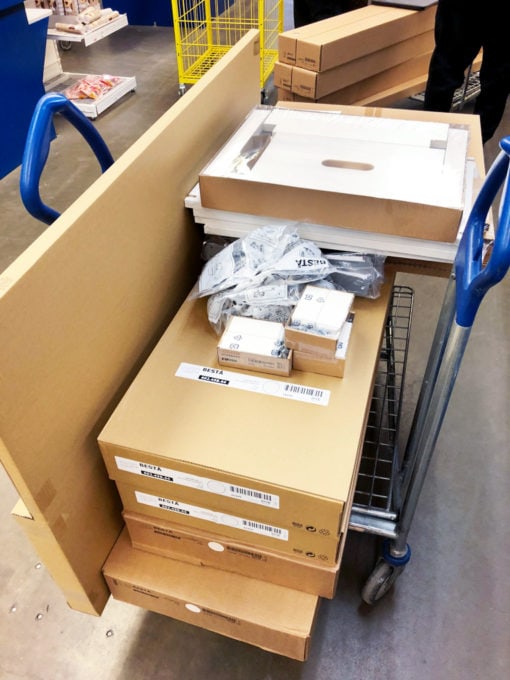
Our total for the IKEA pieces for this unit was about $380. We brought it home and assembled the BESTA frames according to the package instructions. Then, to give our storage unit a more custom look, we decided to add some simple trim pieces as well. This would also help the piece fit in better with the rest of the office by giving it a more traditional look rather than the modern vibe it had on its own.
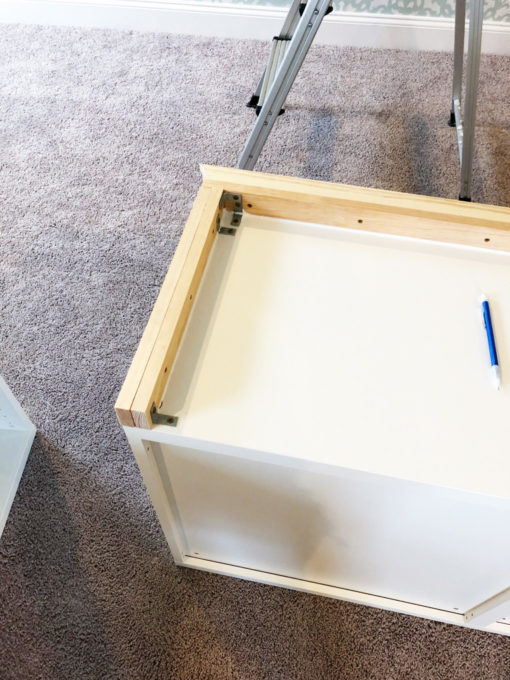
First, we wanted to install some extra trim work on the base of the BESTA cabinets as well as raise the cabinets off the ground a bit so that the doors could open without rubbing the carpet. To do this, Donnie built a wood frame around the front and sides of the cabinets with some wood trim pieces and L brackets. This gave the cabinets a solid base to rest on and also gave us a surface to which we could attach the decorative trim.
Along with the bottom, front, and sides of the cabinet, Donnie used the same type of wood pieces to build a frame in the middle of the cabinet to provide extra support.
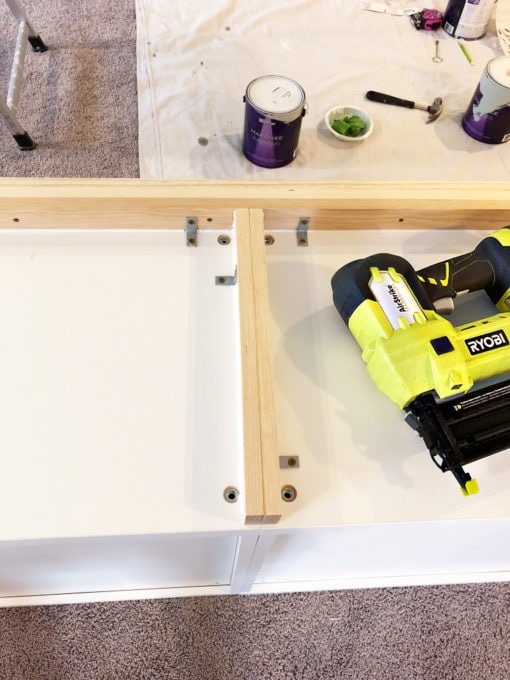
Once the bottom frame was complete, it was easy to attach the bottom decorative trim piece with a nail gun and wood glue. (We used this trim for both the bottom and top of our BESTA unit.)
(You can see where he cut a small hole out of the back of the unit so we could still have access to the outlets on that wall.)
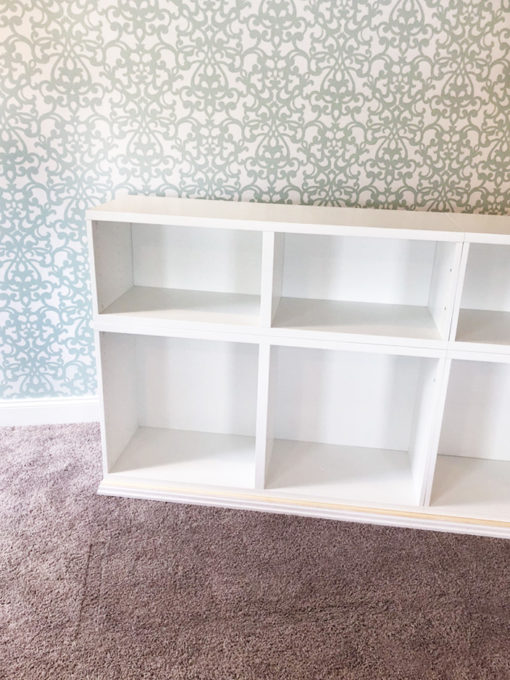
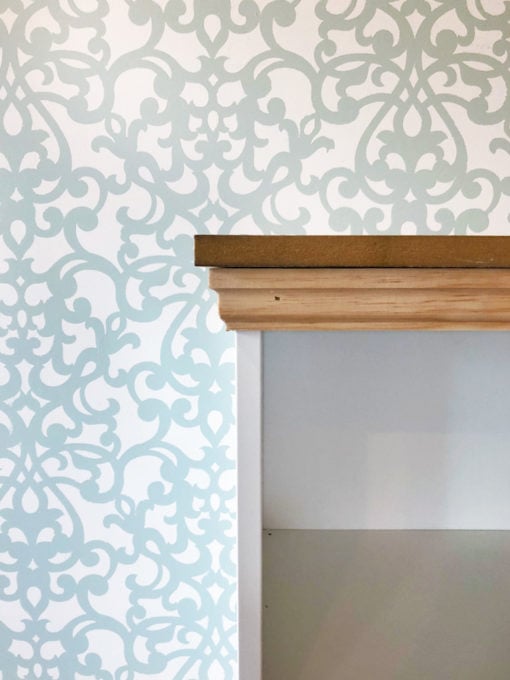
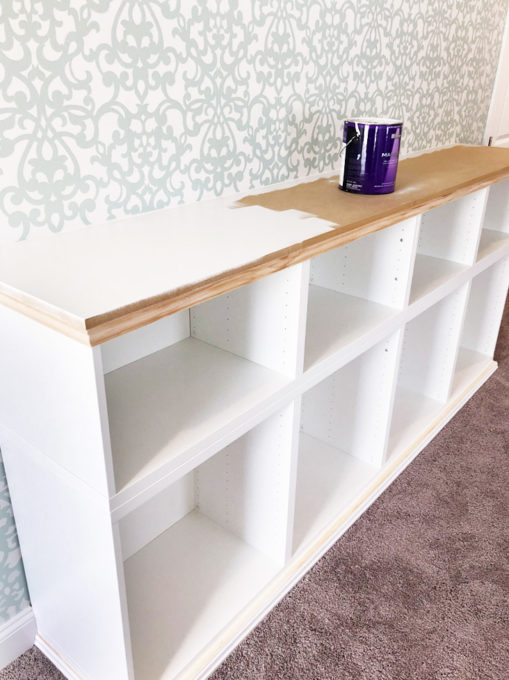
Next it was time to trim out the top of our piece. Donnie had had one of the employees at the home improvement store cut down a piece of MDF to the size we needed to create a top for our BESTA unit. (For our unit, the piece of MDF was 8′ long by 16.5″ deep) He used some small trim screws to attach the MDF top to the BESTA cabinets, then attached the decorative molding underneath the MDF top with his nail gun.
He then painted all of the trim work white so it would match the rest of the unit. We used Behr Marquee Cameo White, which was not an exact match, but it was pretty close.
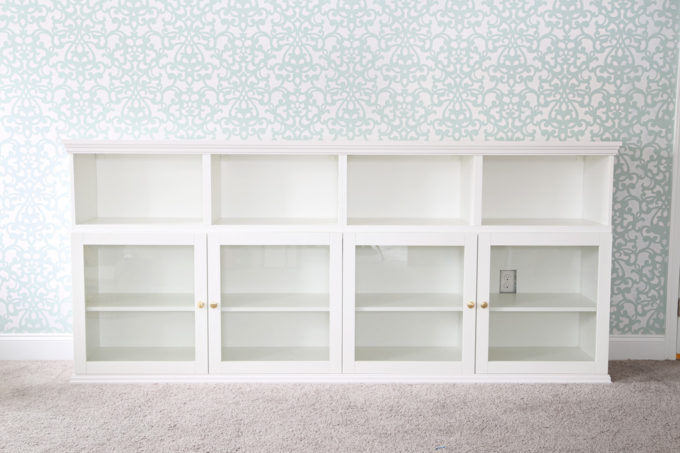
Once the paint was dry, Donnie was able to install the shelves, doors, and knobs.

Since we wanted the unit to sit directly against the wall, Donnie cut out the baseboard along that section of the wall using an oscillating multi-tool. He then added a small trim piece along the side of the BESTA unit where it met the wall to give it a more built-in look.

He caulked around the edges and painted the trim piece, and he was done!
Then it was my turn to get in there and do my favorite part: filling up the shelves and making them look pretty! What I love about this piece is that it can store many of the items I needed space for in my office and still look beautiful at the same time– yippee!
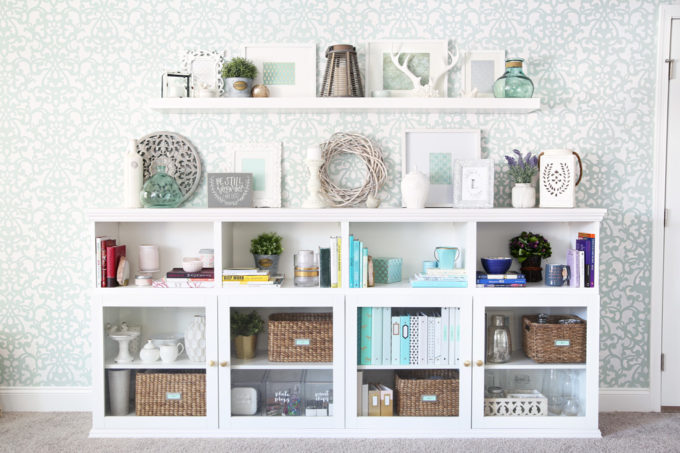
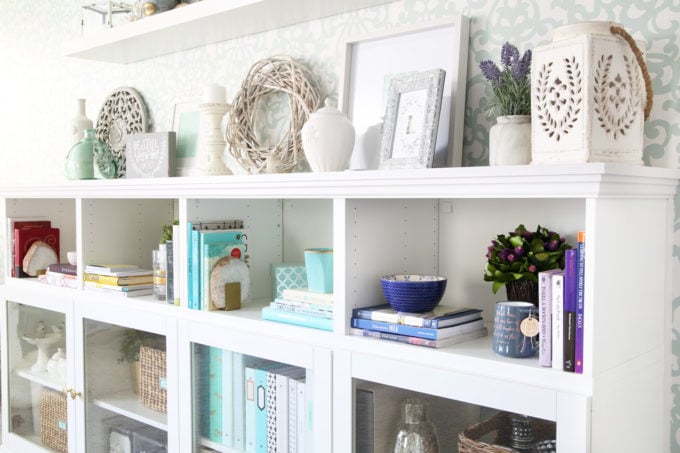
I don’t have a ton of books because I read almost everything digitally these days, but the books I did want to keep, I organized by color. If you look closely, you can see a very subtle rainbow going across the top of the unit!
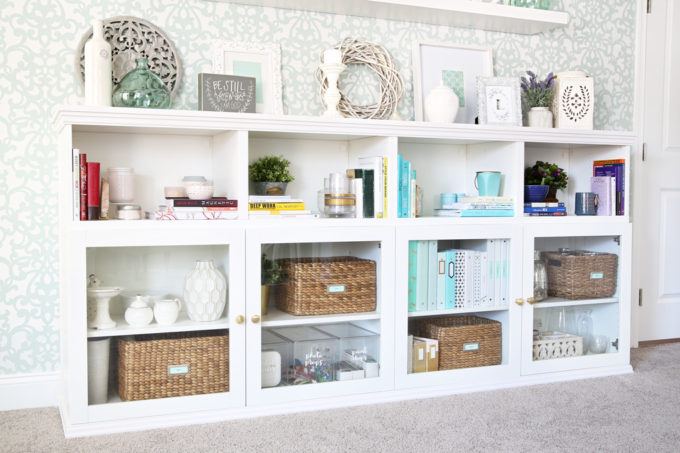
Similar to the bookshelves in my last office, I used wicker baskets with adhesive bookplates to corral some of the items I needed to store, giving them a neat and clean look. I also had some clear lidded bins for storage, and I made labels for those using my Silhouette Cameo cutting machine + adhesive vinyl.
My binders found a little spot in this unit as well… can you tell I kind of have a thing for aqua?! 😉
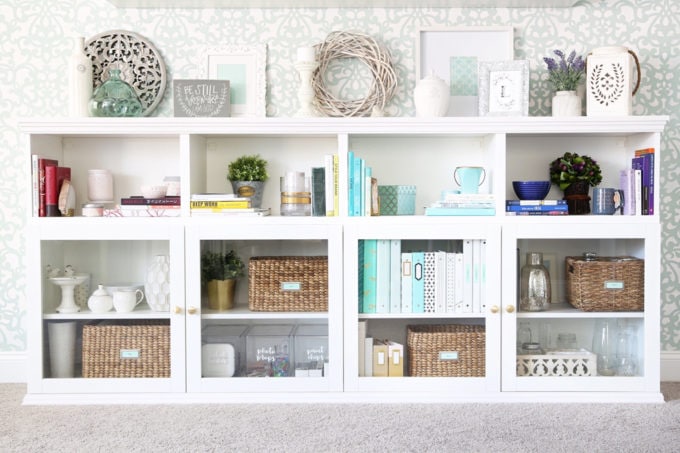
Overall, I am so thrilled with how the BESTA unit came out! It ended up being the perfect mix of functional and beautiful, and it fits in perfectly with the rest of my office!
[Psssttt… You can find ideas for organizing every single room of the house in this post!]
Have you ever done a project with IKEA’s BESTA system? I’d love to hear what you created with it in the comments below!
Have a wonderful day!

This post contains affiliate links. For more information, see my disclosures here.
It looks amazing, Abby! You hit the nail on the head when you said it was both functional and beautiful! Have a great day! 🙂
Thank you so much, sweet Sarah!! Hope you’re having a wonderful week!
~Abby =)
I just love IKEA’s storage systems. This looks SO good – love how it turned out!
Aren’t they just the best?!? Love them! 🙂 Hope you’re having an awesome week, Amanda! <3
~Abby =)
Looks great. Your hubby is a very talented man to make this piece look like it belongs perfectly.
He is very talented. I am blessed! 🙂 Have a great evening, Karen!
~Abby =)
This looks so sweet and beautiful! I had never thought of color coordinating books….I love how it turned out. (I also love aqua!)
Aw, thanks so much, Amy! Hope you’re having an awesome week! <3
~Abby =)
This is so beautiful. I love the way you’ve added the trim, it completely changes the whole ‘look’ without taking away from the practical nature of the BESTA system. I’m so glad we have IKEA in the UK too! We’re just about to order some PAX units for our office after seeing your clever use of them in an earlier post.
Ooo, fun! Hope you love them as much as we do! Hope you’re having a great week! <3
~Abby =)
How did you get both pieces (the bases) to look seamless together? Did he glue them together? Same for the top pieces?
They fit together perfectly and are designed by ikea to fit together. They even include specific screws to join them.
It really looks beautiful!! And I love the look you gave the Pax units, it‘s perfect!!! (Made me think about at least changing the doors on the Pax in our bedroom.)
I‘ve been looking for a storage solution for our bathroom and considered Besta as it would have the ideal width but didn’t want the too clean simple look. But with your changes it would be perfect!
Only, there‘s no way my husband will do it (he‘s more the computer guy) so I‘ll have to think about whether I can do it myself… ?
Thank you for sharing the inspiration and how you turned it all into something special!!!
Aw, thanks so much, Michele! I’m pretty excited about how it turned out! Hope you’re having a great week! <3
~Abby =)
This turned out to be very nice. I loved the closed and open concept. The aqua color, give a little pop, but creates an elegant appearance. Kudos to you and Donnie for a job well done!
Aw, thanks so much, Debra! Hope you have a wonderful week! <3
~Abby =)
Homerun, Abby! You and Donnie did an amazing job. Plus, I love your stenciled wall!
Aw, thank you so much, April! I’m pretty excited about it. Hope you have a wonderful week! <3
~Abby =)
Can’t beat IKEA for home organization! Great hack!
Gotta love IKEA! 🙂 Have a great week!
~Abby =)
Hi Abby, I am at the end of this project and the doors do not fit over the bottom trim. I am using the Lappviken doors but the dimensions are the same as the Sindvik. Did you have to drill holes to make them fit? Thanks, Jeff
Hi, Jeff! We did not have to drill holes in the doors. We didn’t cover the bottom part of the frame with the trim we added, so the door fit as intended. I hope this helps!
~Abby =)