DIY Upholstered Headboard with Nailhead Trim
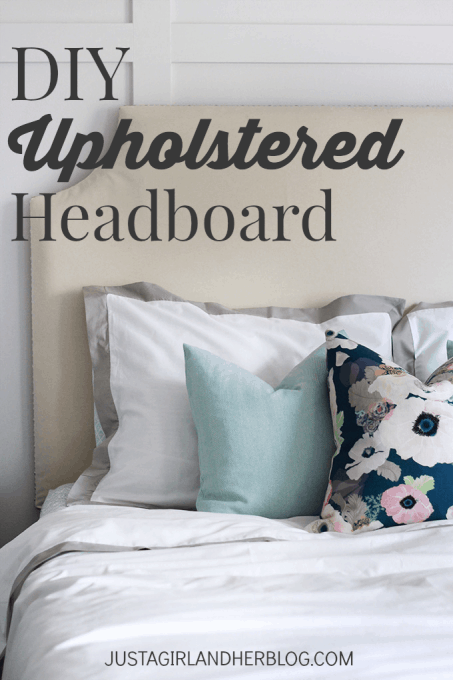
Hi, friends! I am so excited to share our brand new DIY upholstered headboard with you today! Except… I have to warn you. I’m going to need a little grace on this one. You see, I was so excited to take the final pictures of the headboard that while I was getting my camera ready I accidentally deleted a few of the in-process pictures that I had intended to show you. Oops. So please excuse my little photoshop renderings that are not nearly as cute as the real thing, but they will just have to do! 🙂
This was Donnie and my first time DIY-ing a headboard, and we were surprised at how easy the process was! To help us with our project, we referenced fabulous tutorials by Chelsea at Making Home Base and Kate at Centsational Girl, so be sure to pop over and check out their beautiful DIYs as well!
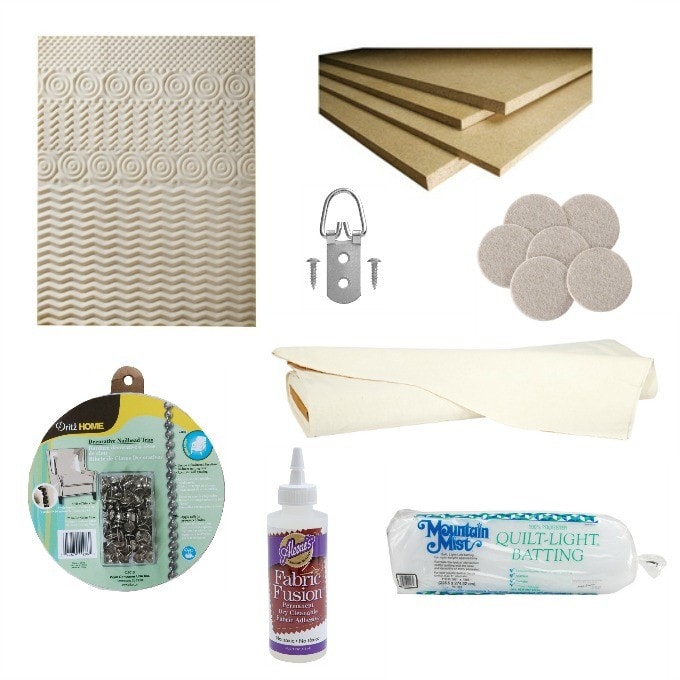
Here’s what we used to complete our headboard:
{List contains affiliate links.}
- Queen-Sized Mattress Topper
- 3/4″ Particle Board, originally 48″ x 96″, cut down at the store to 36″ x 62″ for our queen bed
- 4 Extra Heavy Duty 2 Hole D Rings
- Felt Pads
- Duck Cloth Canvas, 2 yards
- Nailhead Trim Kit
- Fabric Glue
- Quilt Batting, Queen
Tools needed:
- Jigsaw
- Cordless Drill
- Staple Gun (Ours was an upholstery gun and it worked really well.)
- Rubber Mallet
This was a fun project for Donnie and I to do together because it was the perfect mix of man-with-tools project and girl-with-craft-supplies project. 🙂 While I headed to Joann’s to grab fabric, Donnie headed to Lowes to grab particle board. He got 3/4″, but in hindsight, 1/2″ may have been better; our headboard ended up being pretty heavy. He had them cut the particle board to our desired size at the store– 36″ x 62″ for our queen-sized bed.
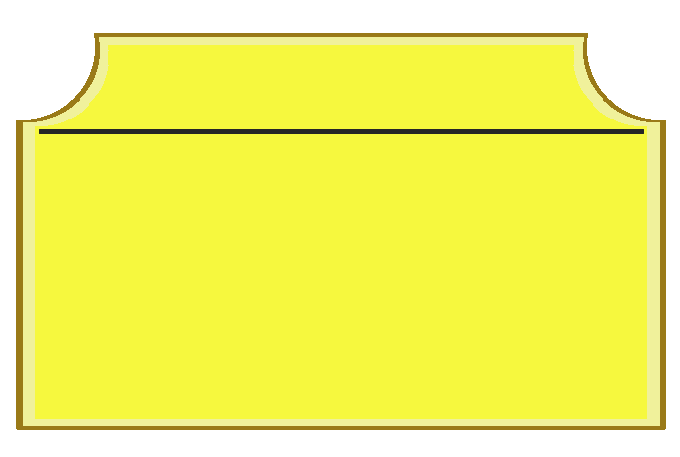
So we started out with a piece that looked like this:

I wanted to give it a little interest, though, so we used a jigsaw to cut the corners and give us this shape:

The method Donnie came up with to mark the round areas we wanted to cut out was super simple. Since I didn’t take a picture while we were marking the board, I had my favorite 6-year-old assistant help me recreate it on a piece of paper.
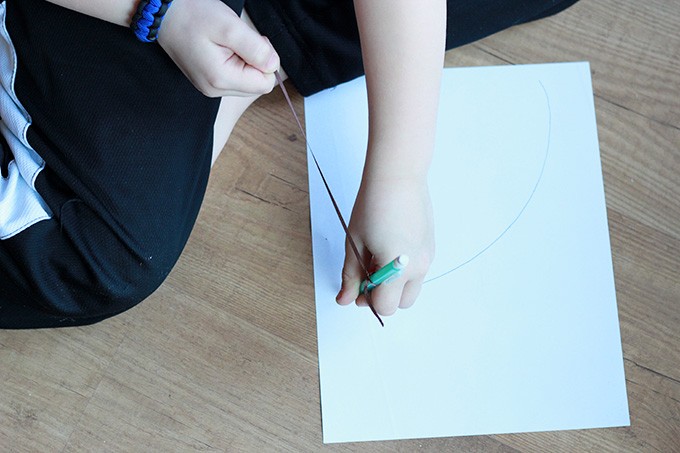
We took a piece of ribbon and tied it to a pencil, cutting the ribbon at the length we wanted our half-circle cut-outs to be. Then holding the ribbon taut and keeping the non-pencil end of the ribbon planted in one spot, we moved the pencil to create a perfect arc. We repeated the process on the other side of our board, and we had perfectly matching, perfectly round cut-outs.
Thanks to Donnie’s love of Instagram, we have a picture of the next step… 🙂
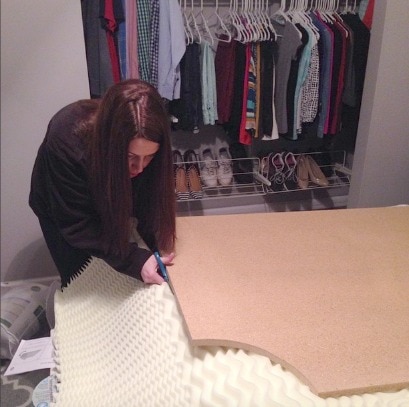
We laid the particle board on top of our foam mattress topper and cut around it so that the foam was the same shape as our board. Then, using the leftover foam, we cut out the shape of the board a second time so that our headboard would be extra cushy. We adhered the flatter side of the mattress topper to the particle board with the fabric glue…

…then took the second layer of foam and placed it on top of the first piece with the “bumpy” sides facing each other. (The line is showing that we had to put together two pieces of foam to make the second layer because of the sizes of the leftover foam.)
Next it was time for batting. We wrapped the batting around the board and foam and, pulling it taut, used the staple gun to adhere the batting to the back of the board.
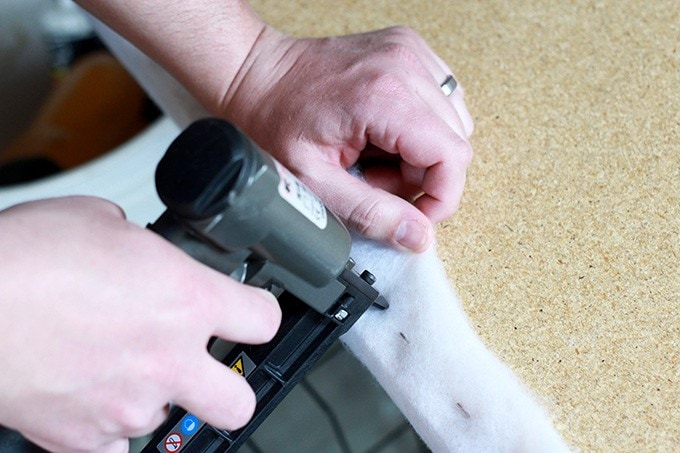
When we had stapled the batting all the way around the board, we had this:
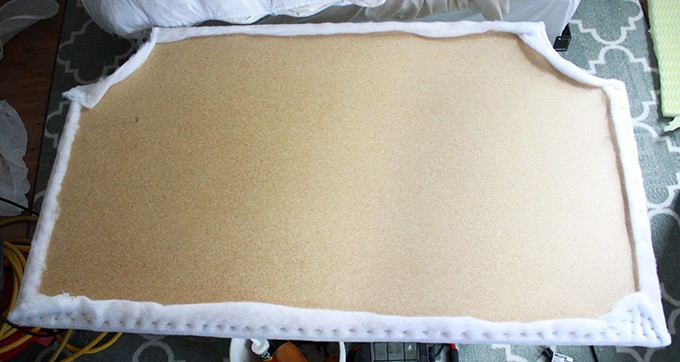
Using the same method, we wrapped the fabric around the board/foam/batting, pulled it tight, and stapled it to the back of the board as well.
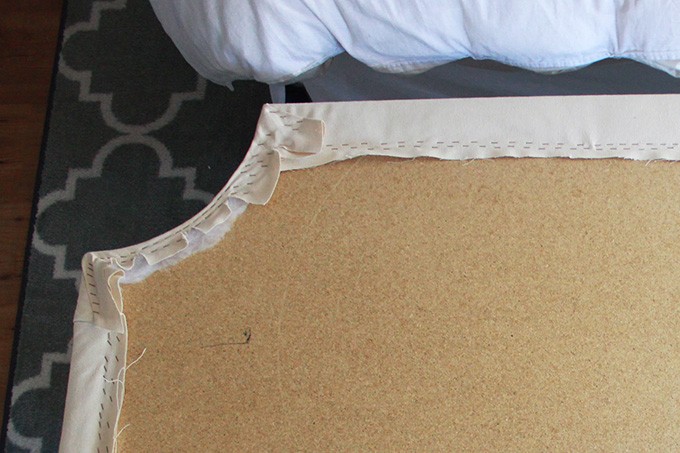
The rounded corners were a little bit challenging at this point because the fabric would do all sorts of funky things when we tried to get it to lay in the curve. To solve this problem, we cut little splits in the fabric so that it could separate and form to the curve of the headboard. This was kind of tricky– if we didn’t cut far enough we couldn’t manipulate the fabric the way we wanted to, and if we had cut too far, you would be able to see the slit on the front of the headboard, which we didn’t want. We worked slowly and carefully, though, and it all worked out just fine.
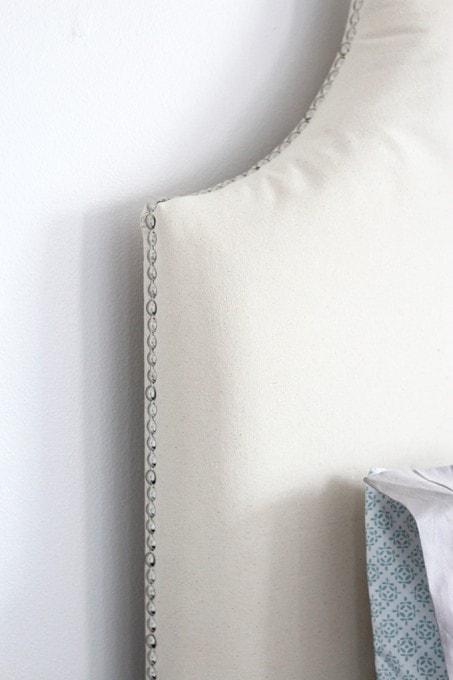
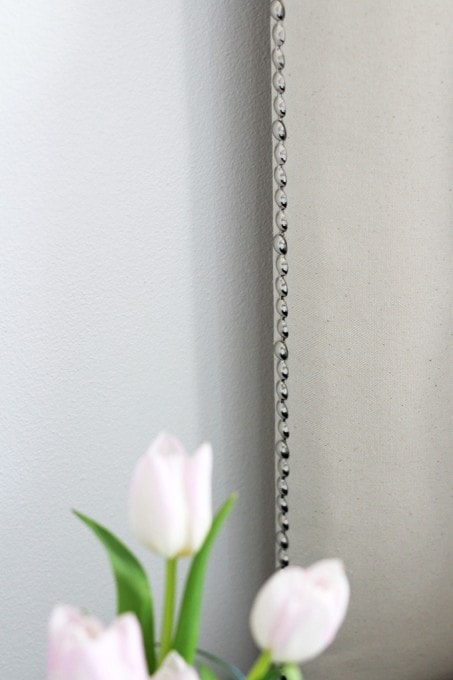
After the fabric was attached, it was time for the nailhead trim! Initially, I had planned on putting the trim on the front of the headboard. After we saw the thickness of the foam and batting, though, we were worried that it wouldn’t stay in place through all of those layers, so we opted to place the nailhead on the outer edge of the headboard instead.
Rather than pound in each nailhead individually, we were able to buy a roll of “faux” nailhead trim. We only had to pound in every 5th nailhead, which made the process so much easier.
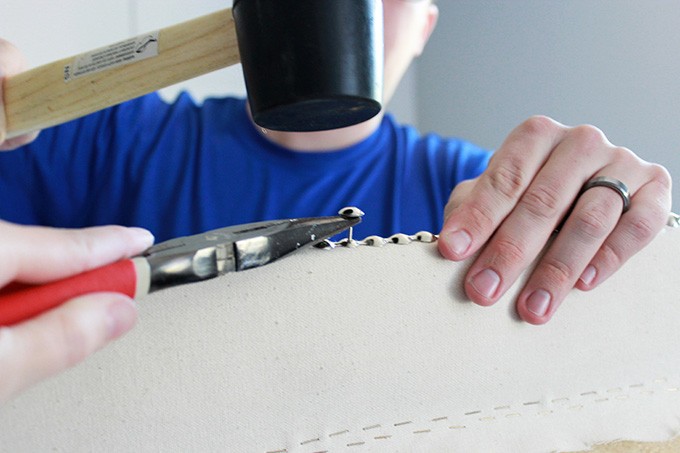
I would hold the nail in place with needle-nose pliers while Donnie used the rubber mallet to pound it into place. (Don’t use a regular hammer– it will crush the nailhead!)
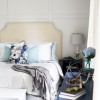
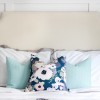
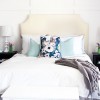
We used 4 heavy-duty d-rings to attach it to the wall and also placed a few felt pads on the areas where the headboard and wall met so the wall wouldn’t get scratched. When all was said and done, we ended up with…

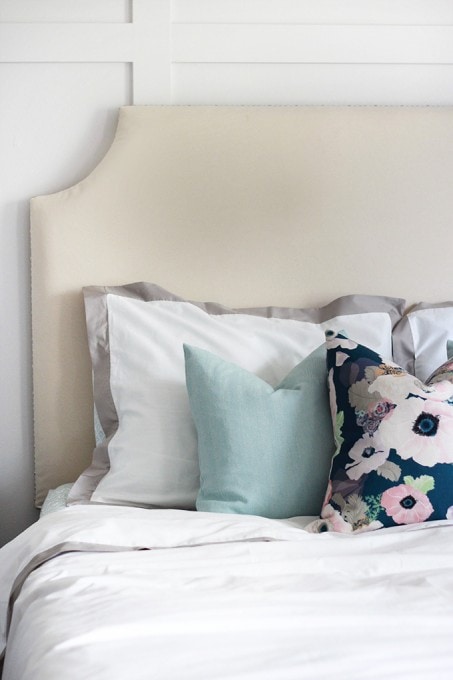
And of course the nailhead details are my favorite!!
The room is starting to come together, with only a few more small projects to go! I’m excited to see everything in place! If you’ve missed any of the master bedroom progress so far, you can check out the previous posts below:
 Master Bedroom Reveal
 Plans for the Master Bedroom
 Board and Batten Accent Wall
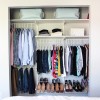 How to Organize a Small Closet
 DIY Upholstered Headboard
 Bedding Update
 Master Bathroom Vanity Makeover
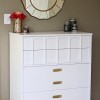 Gold and White Dresser
 Masculine Dresser Makeover
Thanks so much for following along! Have a great week!

This post contains affiliate links. For more information, see my disclosures here.
Wow! It looks great and I love it against your new wall…
Thank you, Sara!! Hope you’re having a wonderful week!
~Abby =)
I think that your headboard is very CHICH. I love it!
Thank you so much, Sabrina!! Have a great day!
~Abby =)
How great is that! I have been wanting to get a headboard for our bed, maybe I will just try to make one.
It’s easier than you think! You can do it! 🙂 Hope you’re having a great week, Julie!!
~Abby =)
Gorgeous and so much brighter than the before pictures! I also LOVE those floral pillows and look forward to the full room reveal!
Thank you, Katie! Yes– so much brighter!! 🙂 Hope you’re having a wonderful week!
~Abby =)
I love it! How much would you estimate the project cost? I’ve been wanting to make our own headboard for a while now.
Hi, Jamie! It ended up being about $80. My inspiration piece was $399, so I’d say we saved a good bit! 🙂 Have a great evening!
~Abby =)
Wonderful! The whole result looks absolutely gorgeous. This is a really big project, can’t believe you did it again! You must be really handy! I also love the little details.
Thanks for sharing! <3
THOUGHTS IN TIFFANY BLUE
Thank you, Joanne! It was actually easier than we expected, which was a nice surprise! 🙂 Have a great night!
~Abby =)
SO pretty Abby!!! LOVE the shape and that nail head trim looks amazing around the outside edge! Love it girl!
Thank you so much, friend! You are the sweetest!
~Abby =)
Abby, your head board looks absolutely fabulous!! And I LOVE LOVE LOVE the pop of the floral cushion. SO pretty and relaxing!
Thank you so much, Miss Kaitie!! Hope you’re having a wonderful week!
~Abby =)
So pretty! You guys did a great job. I love that delicate nail head trim, and that floral pillow is to die for!
Thank you, Emily! You are the sweetest! Hope you’re having a great week!
~Abby =)
Is it weird that out of this whole post my favorite thing is your pillows? They’re just so pretty! The headboard is gorgeous too of couese, great job!
Lol! I love the pillows too– I’m kind of a pillow fanatic, much to my husband’s chagrin! 😉 Hope you’re having a great week, Betsy!
~Abby =)
Spectacular job, just like the pros.
Cindy
Thanks, Cindy! Have a great weekend!
~Abby =)
Great job, Abby (& Donnie)! Love the nail head trim!
Thanks, friend! That means a lot from the queen of upholstering! 🙂 Hope you’re having a great week!
~Abby =)
Well done! I love nail head trim – it’s so classic! xx, b @ being-blanca.com
Thank you, Brett! Have a wonderful weekend!
~Abby =)
It really looks great Abby! I’d love for us to tackle a DIY headboard, but not sure the hubs wants to take it on. Even though I know it would be pretty simple
Love how the room is coming together!
You can do it! It’s easier than you think! 😉 Thanks so much, Tiffany! Have a wonderful weekend!
~Abby =)