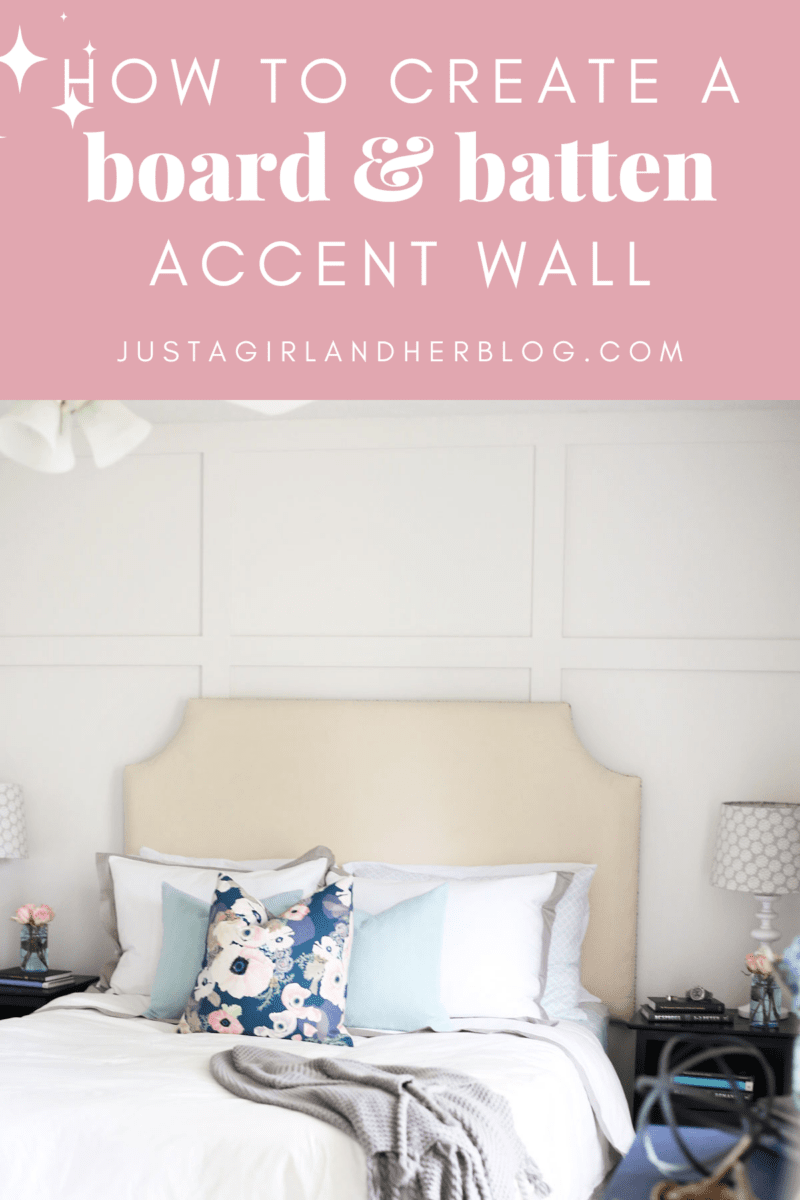
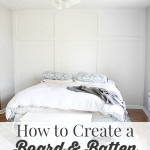
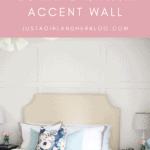
How to Create a Board and Batten Accent Wall
See how we made a DIY board and batten accent wall on a budget, from floor to ceiling, without removing the baseboard!
Last week I talked about our plans for a primary bedroom refresh, and I am thrilled to say that we have been making progress slowly but surely! As I did with my fabulously feminine home office, I thought I would pop in each week just to give a little update on what we’ve been up to.
Though “in progress” pictures may not be totally Pinterest-worthy, I think it helps to show how things unfold in real time because the reality is, most “before and after” photos don’t happen overnight!
Our Bedroom “Before”
Just as a reminder, this is where we started…

Oh hey there, super dark back wall! That wall has bugged me pretty much since the second I painted it, so the first item on my to-do list was to create some sort of board and batten feature and lighten things up a little bit a lot.
I did some research and think I looked at just about every type of board and batten on the entire internet. 🙂 Eventually, we narrowed it down to a few favorites:
- Floor to Ceiling Board and Batten from Krista at The Happy Housie
- Square Grid Accent Wall from Sarah at Life on Virginia Street
- Planked Wall from Beth at Home Stories A to Z
- Dark Gray Accent Wall from Sarah at Thrifty Decor Chick
I really liked Sarah’s setup at Thrifty Decor Chick because our ceilings are not very high, and I felt something similar might make our room look bigger. Donnie loved it this style too, so we got to work.
Making a DIY Board and Batten Accent Wall Step by Step
Tools You’ll Need
We went about our version a little differently since we were dealing with a smaller room and different baseboards.
Prep the Walls
While I was painting up a storm, Donnie got to work on the board and batten. The walls were in pretty good condition, so we didn’t have to apply a skim coat or cover it with any panels.
TIPS FOR CREATING A SMOOTH FINISH
If our walls had been damaged or were textured, there would have been more prep-work involved before we could jump right into our board and batten. Applying a skim coat of mud can be messy and labor intensive when sanding. At that point, adding panels that are painted may be the best option.
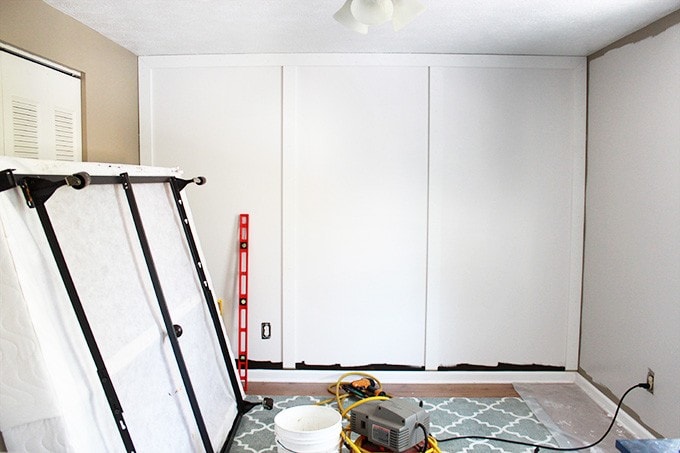
Install the Horizontal and Vertical Boards
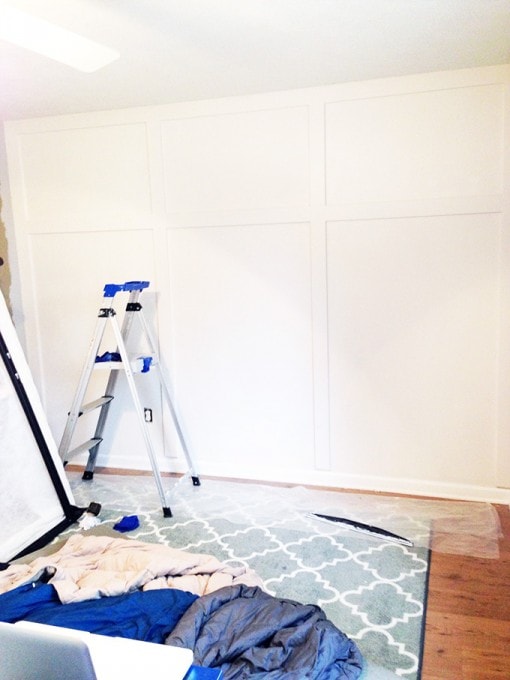
Using pre-primed MDF 1x4s, Donnie started by attaching the top horizontal board and the four vertical boards with a nail gun, dividing the wall in thirds.
And because he’s fancy, he even mitered the corners.
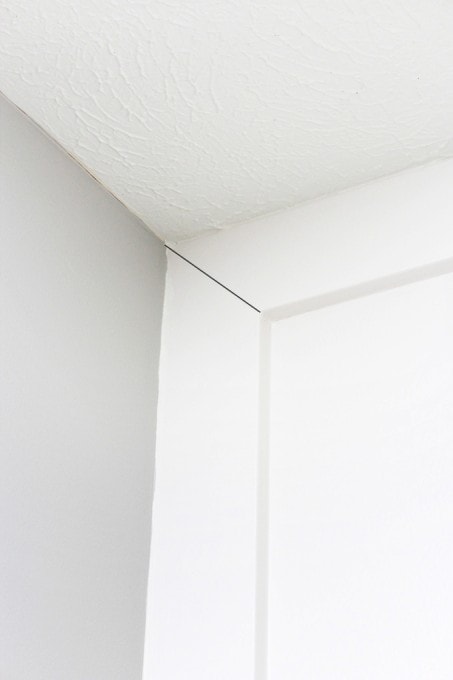
(You couldn’t see the line very well in my picture, so I drew it in for you.)
The amount of space between the battens will vary based on the size of the wall and how many boards are being installed. We didn’t want it to be too busy. So we only used 2 vertical boards for the sides and 2 coming down the center to divide the space into thirds.
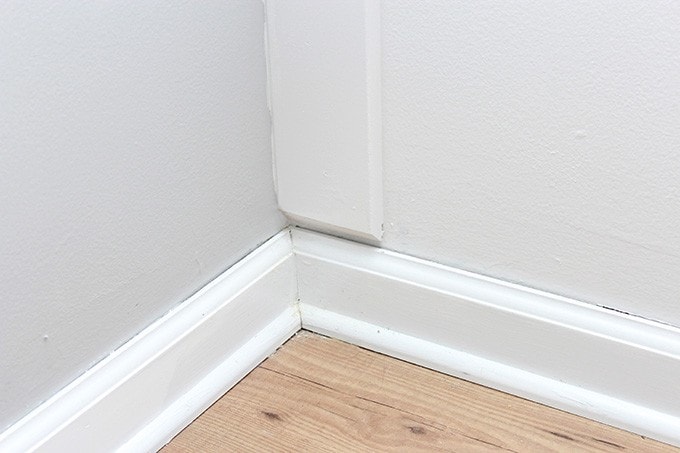
The Trick to Installing Board and Batten Without Removing the Baseboards
We debated a little bit about what to do with the bottoms of the vertical boards. We really didn’t want to have to remove our baseboards, so Donnie had the idea to cut the bottoms of the boards at a 45-degree angle so that they didn’t hang out past the baseboards, and it ended up being the perfect solution.
DEALING WITH CROWN MOULDING & BASEBOARDS
In most cases, the crown moulding (if it’s present) and the baseboards would be removed prior to installing any new pieces and painting. We just didn’t want to remove the baseboards and we didn’t have crown, so creating the angle at the bottom of the batten made the project easier for us.
Donnie then put the three horizontal boards in place (he may have had to do this part twice because a certain person who he loves very much didn’t like the first height he put them and made him move them… 😉 ), and it was ready for patching and painting! Even with the adjustment, it really ended up being a very easy job.
Prepping and Painting the Board and Batten Accent Wall
Before painting, we covered all of the nail holes with spackle and sanded them once they were dry. We also caulked the seams that were showing.
Then it was time to paint! We ended up using Behr Marquee Cameo White for the board and batten wall and Behr Marquee Silver City for the other walls.
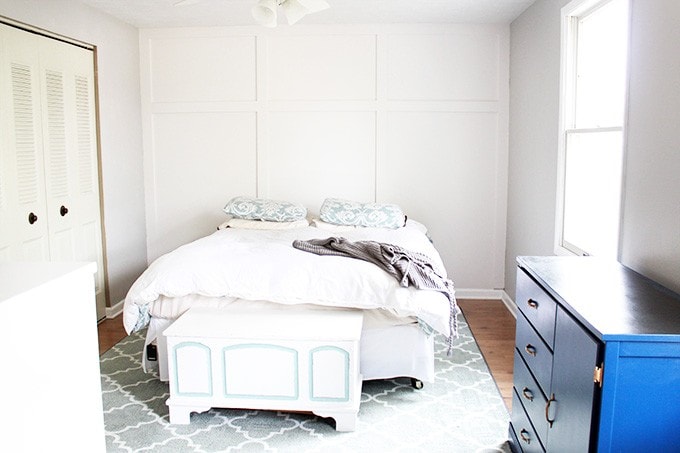
What’s Next for the Primary Bedroom
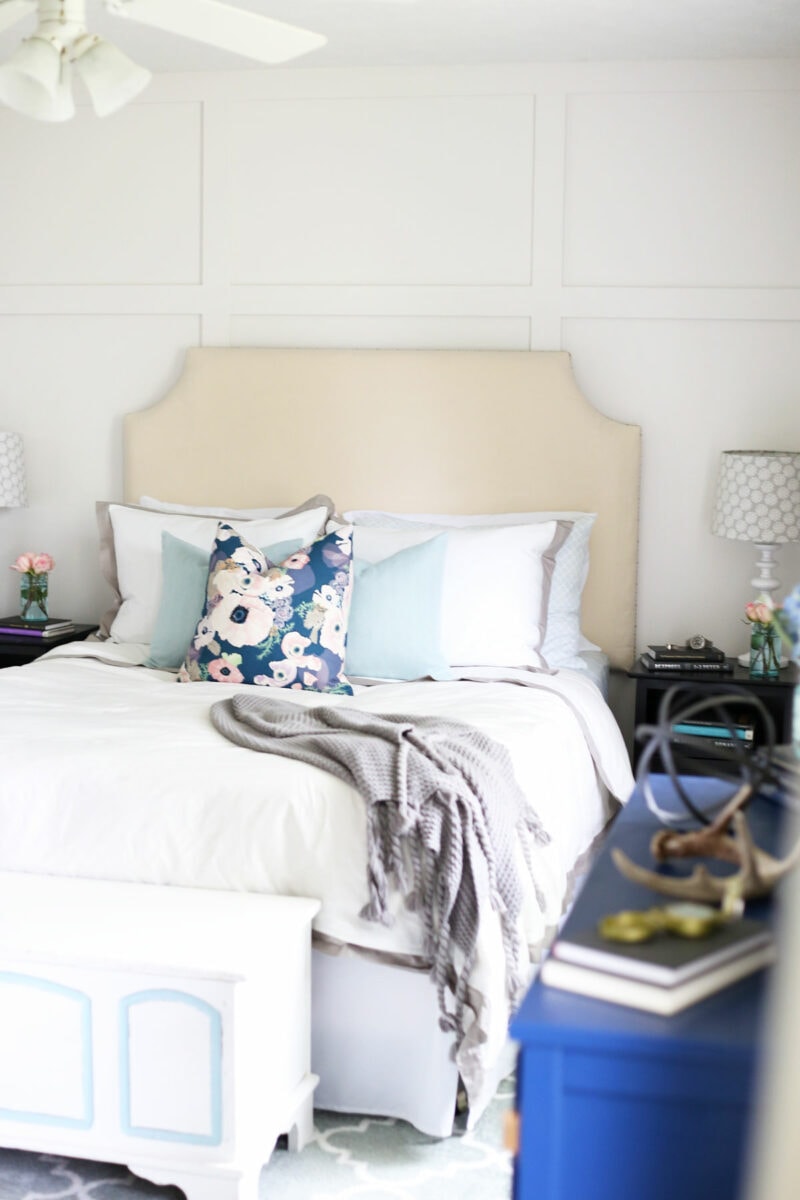
The room is a pretty blank slate right now, but we have big plans for it! You’ll notice that the big, chunky headboard is gone. We’re planning on making our own to replace it. And we also have another project in the works…
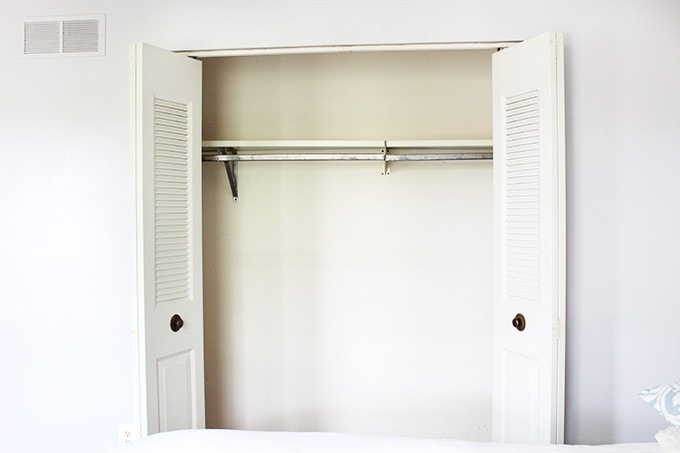
The closet! Especially for a primary bedroom, this closet is not very big at all, so it’s important to make the best use of the space. That single bar/shelf combo is just not cutting it, so hopefully when you come back next week we’ll have a better organizational solution for it.
Update: Our small closet is now organized and completely finished! We love how it turned out. It’s much more functional than before and gave us a change to declutter. You can also see the full reveal of the primary bedroom here!
DIY Board and Batten Accent Wall: Frequently Asked Questions
Want to save this post to revisit later? Be sure to pin the image below!
Thanks so much for stopping by, friends! Have a great day!
Have you installed any board and batten lately?

did this in my bathroom… great way to freshen up a room AND cover up where we pulled some NASTY 70s tiles off the wall. 🙂
That is so pretty, I love the idea of having this on your bed wall. I cannot decide if I want to to do this in my room or do a wall of wall paper matching the paint. I have a lot of wainscoting and board and batten in my house. I don’t want to go overboard. Seeing yours makes me lean towards doing it anyways, it is gorgeous!
Abby, this is BEAUTIFUL! I’m in love with the B&B project, your space looks completely different in the most amazing way 🙂 Total win with this one!
Thank you so much, Ann! You are so sweet! Have a great week!
~Abby =)
Great idea of cutting the bottoms at a 45-degree – I’ll have to remember that! Things are looking super already in the room – excited to see things as they progress! 🙂
Thank you so much, Draven! Hope you have a great week!
~Abby =)
I love how it turned out!! Board and batten is such a classy and simple way to dress up any room. I love how bright it looks in there now, compared to the dark wall before! All these tutorials I’ve seen lately on board and batten really makes me want to just find a wall anywhere in our house and do one! 🙂 Maybe I’ll start with our bathroom redo. I can’t decide! Either way, thanks for the inspiration! 🙂 Have a great week!
Thank you, friend! Warning: board and batten can be slightly addicting! 😉 Have fun with your bathroom redo!
~Abby =)
Hi,
Looks great! Did you leave a textured wall behind the 1×4 trim boards? Isn’t B&B supposed to be a flat board on the wall and then the 1×4’s over that?
Thanks, I’m inspired but don’t think leaving a textured wall behind would look right.
Hi, Angus! Our walls are smooth, not textured, so we didn’t have that problem. I have seen where others with textured walls had to install actual boards behind the battens to make it look smooth. Hope you’re having a great weekend!
~Abby =)
What was the height of the horizontal board that you decided to use?
Oh goodness, that was so long ago now that I don’t remember! And we don’t even live in that house anymore for me to be able to measure. I know that the ladder that’s sitting next to it in the one picture is just over 4 feet tall, so I’m guessing the bottom of the board is at about 5 feet. Sorry I couldn’t be more exact! I hope you have a wonderful holiday!
~Abby =)
Thanks! No worries