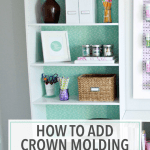
Simple Built-In Bookshelves with Crown Molding
Create simple built-in bookshelves with crown molding using this simple step-by-step tutorial! Give your bookcases an upgrade with a customized look!
It would be great if all home offices came with beautiful built-in bookshelves, but most of the time, we end up having to add storage pieces ourselves!
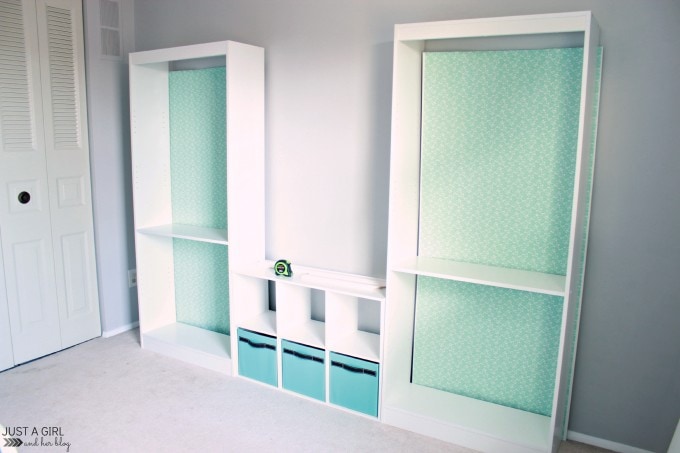
I picked up these very plain bookshelves. They were fine, but they weren’t exactly what I had dreamed of for this space.
(I talked about how I added the aqua backing in this post.)
I liked what we were starting with, but I knew it could be even better. In my home office + craft room, I was envisioning a full wall of storage that looked beautiful and custom. But I wanted to do it on a small budget!
I came up with the idea to create some simple “built in” bookshelves with crown molding, and they ended up being the perfect solution. They look pretty and updated, but they were also a much simpler (and more inexpensive) project than a complete wall-to-wall built-in unit.
Donnie helped me, but it truly only takes minimal DIY skills to complete this simple project. And it will make a maximum impact on your space!
Ready to get started? Let’s go!
How to Add Crown Molding to Create Simple Built-In Bookshelves
This post contains affiliate links. For more information, see my disclosures here.
Time needed: 2 hours
Bookshelves with Crown Molding Tutorial
- Gather all supplies.
Here is everything we used to complete this simple built-in bookshelf project:
-Bookshelf or bookshelves
–Crown molding
–Stud finder
–L brackets
-Measuring tape
–Miter saw or miter box + hand saw
–Wood glue
–Brad nailer + nails
–Caulk + caulk gun
–Spackling
-Paint + paint brush - Anchor bookshelves to the wall.
To give our bookcases a more built-in look and ensure that they didn’t fall and hurt anyone, we wanted to make sure they were securely anchored to the wall.
We used a stud finder to locate the studs. Then we used a few L brackets to attach each bookshelf to the stud in the wall.
Because the brackets were at the top of the bookcase and are so high up, they stay neatly hidden and no one will ever see them.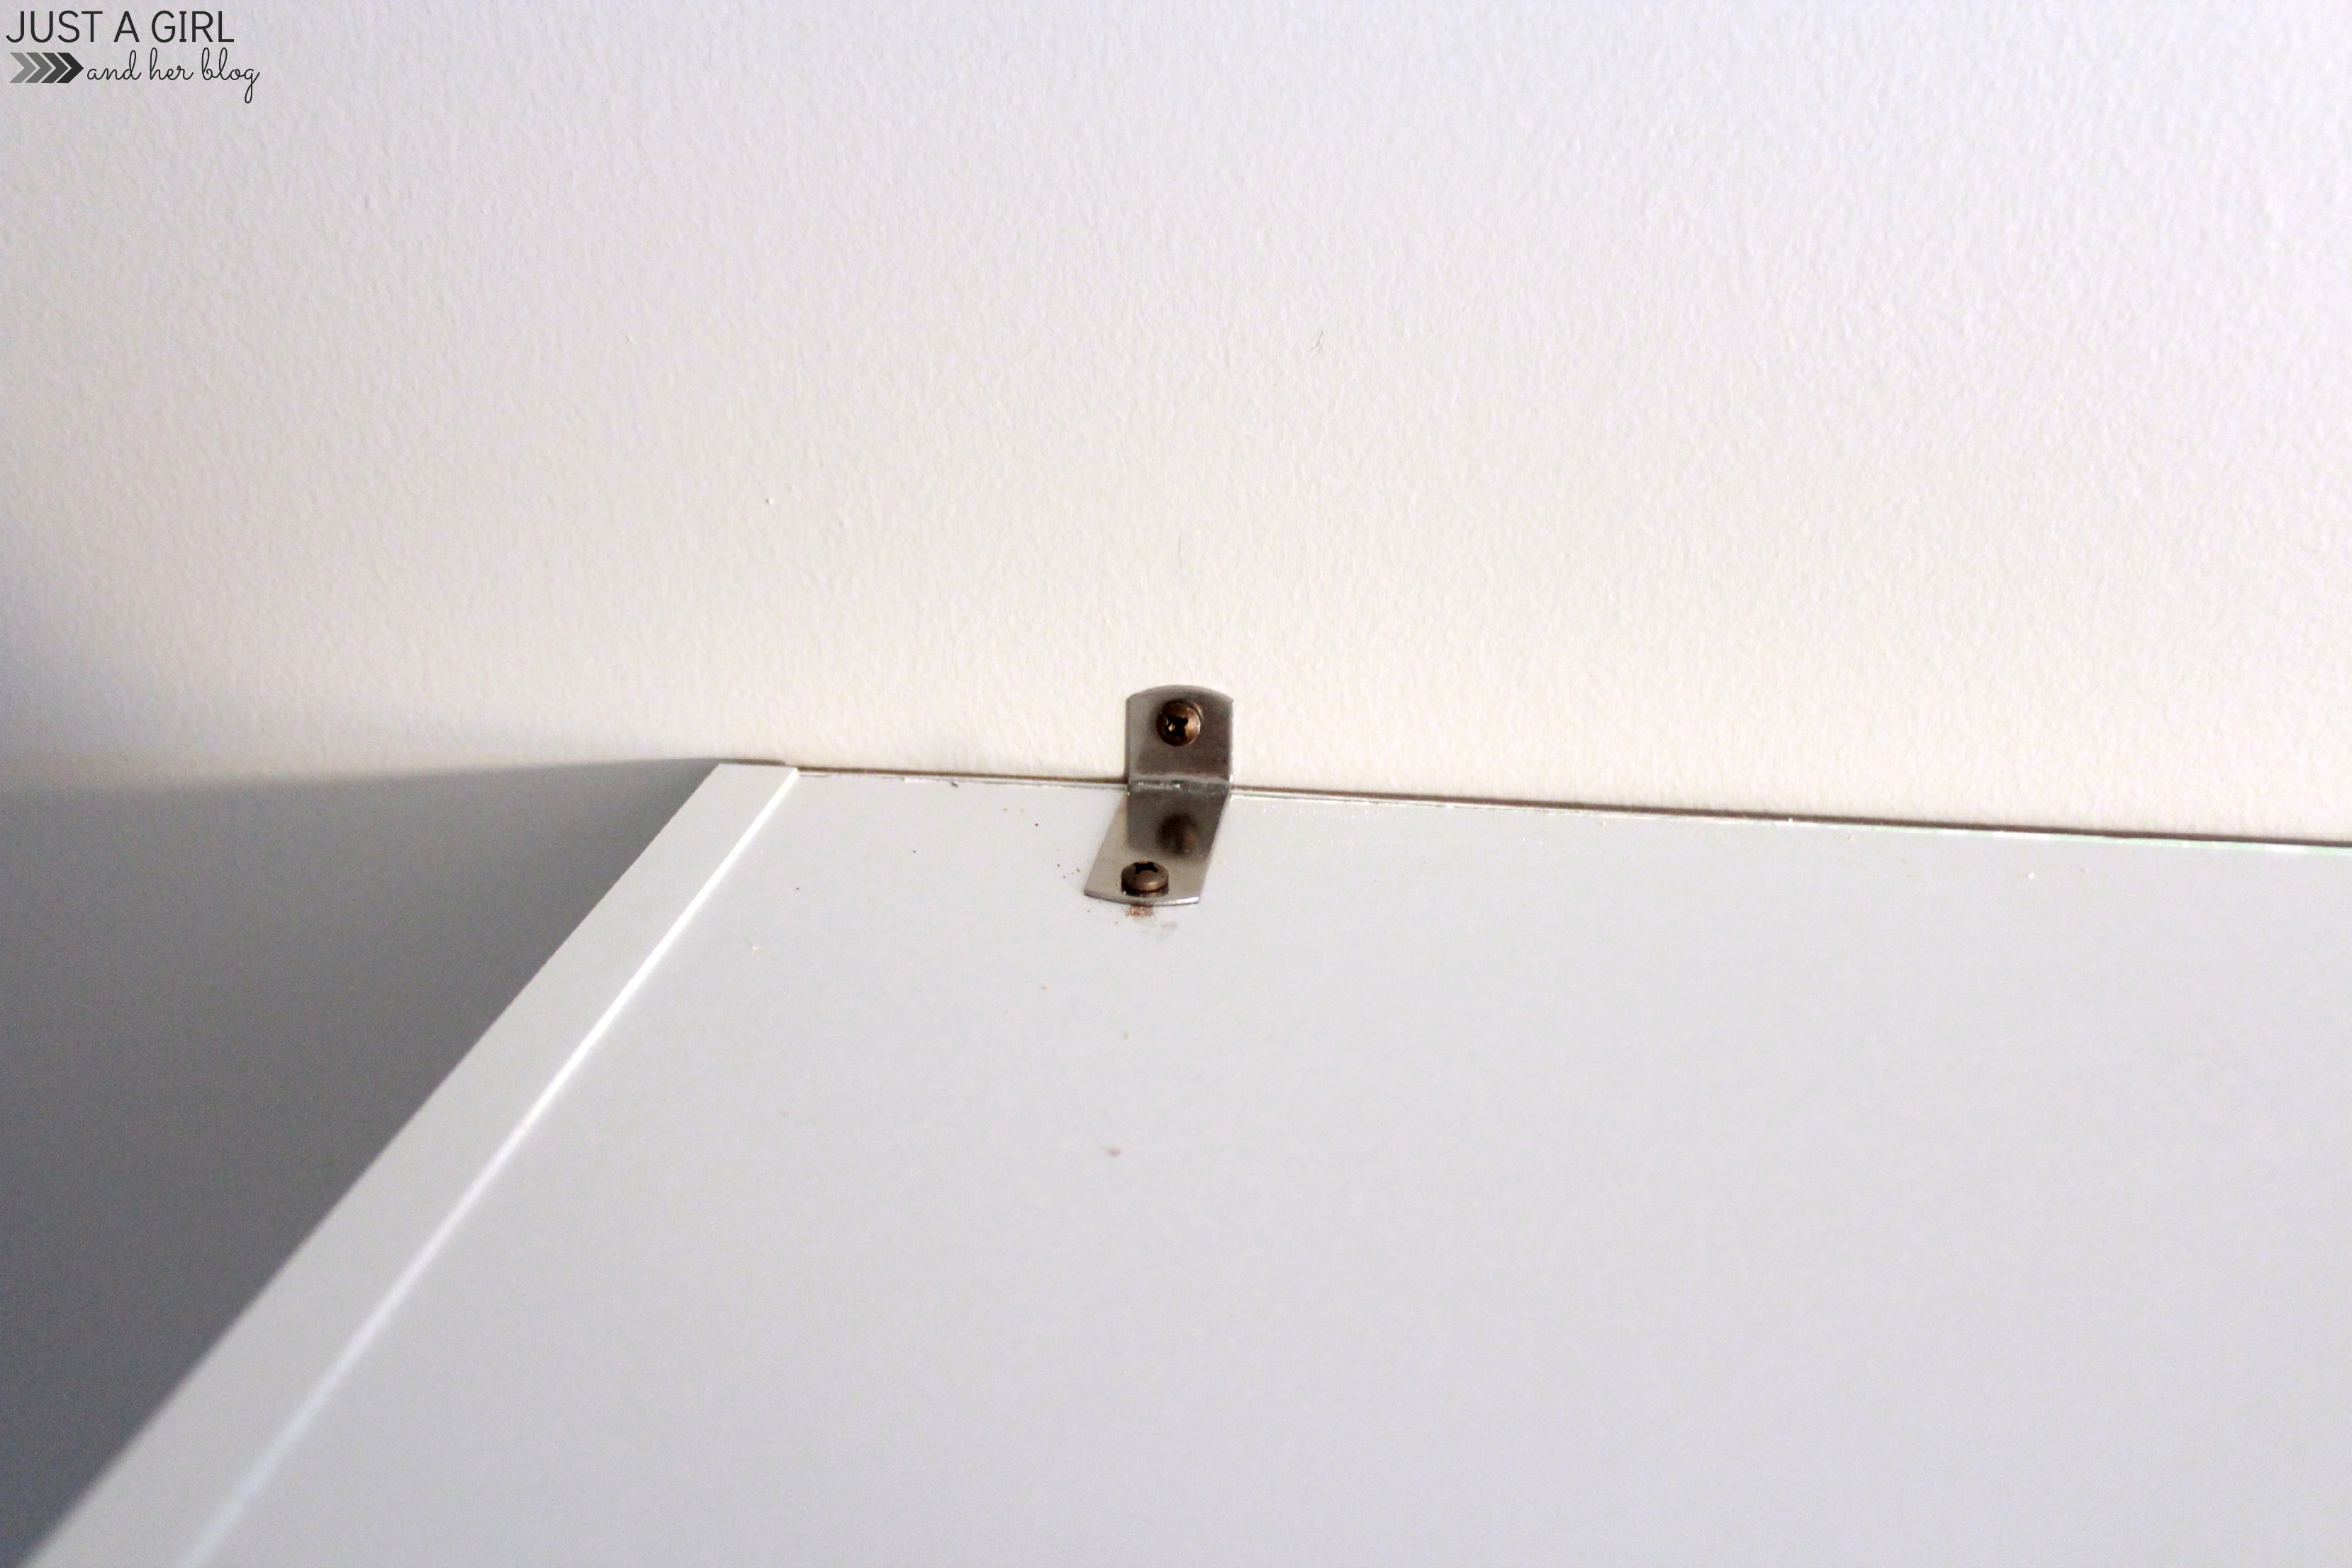
- Measure and cut the crown molding.
Once the shelves were securely attached, we measured and cut pieces of crown molding for the fronts and sides of each unit. We were sure to design the molding so the sides would end flush with the wall.
To make the cuts, we used a miter saw to cut at a 45 degree angle. The front pieces of crown molding have 45 degree cuts at each end. The side pieces have a 45 degree cut at the end that will meet up with the front piece and a straight cut for the end that will butt up to the wall.
If you don’t have a miter saw, you can use one of these inexpensive miter boxes to cut perfect angles for your crown molding. They work well too!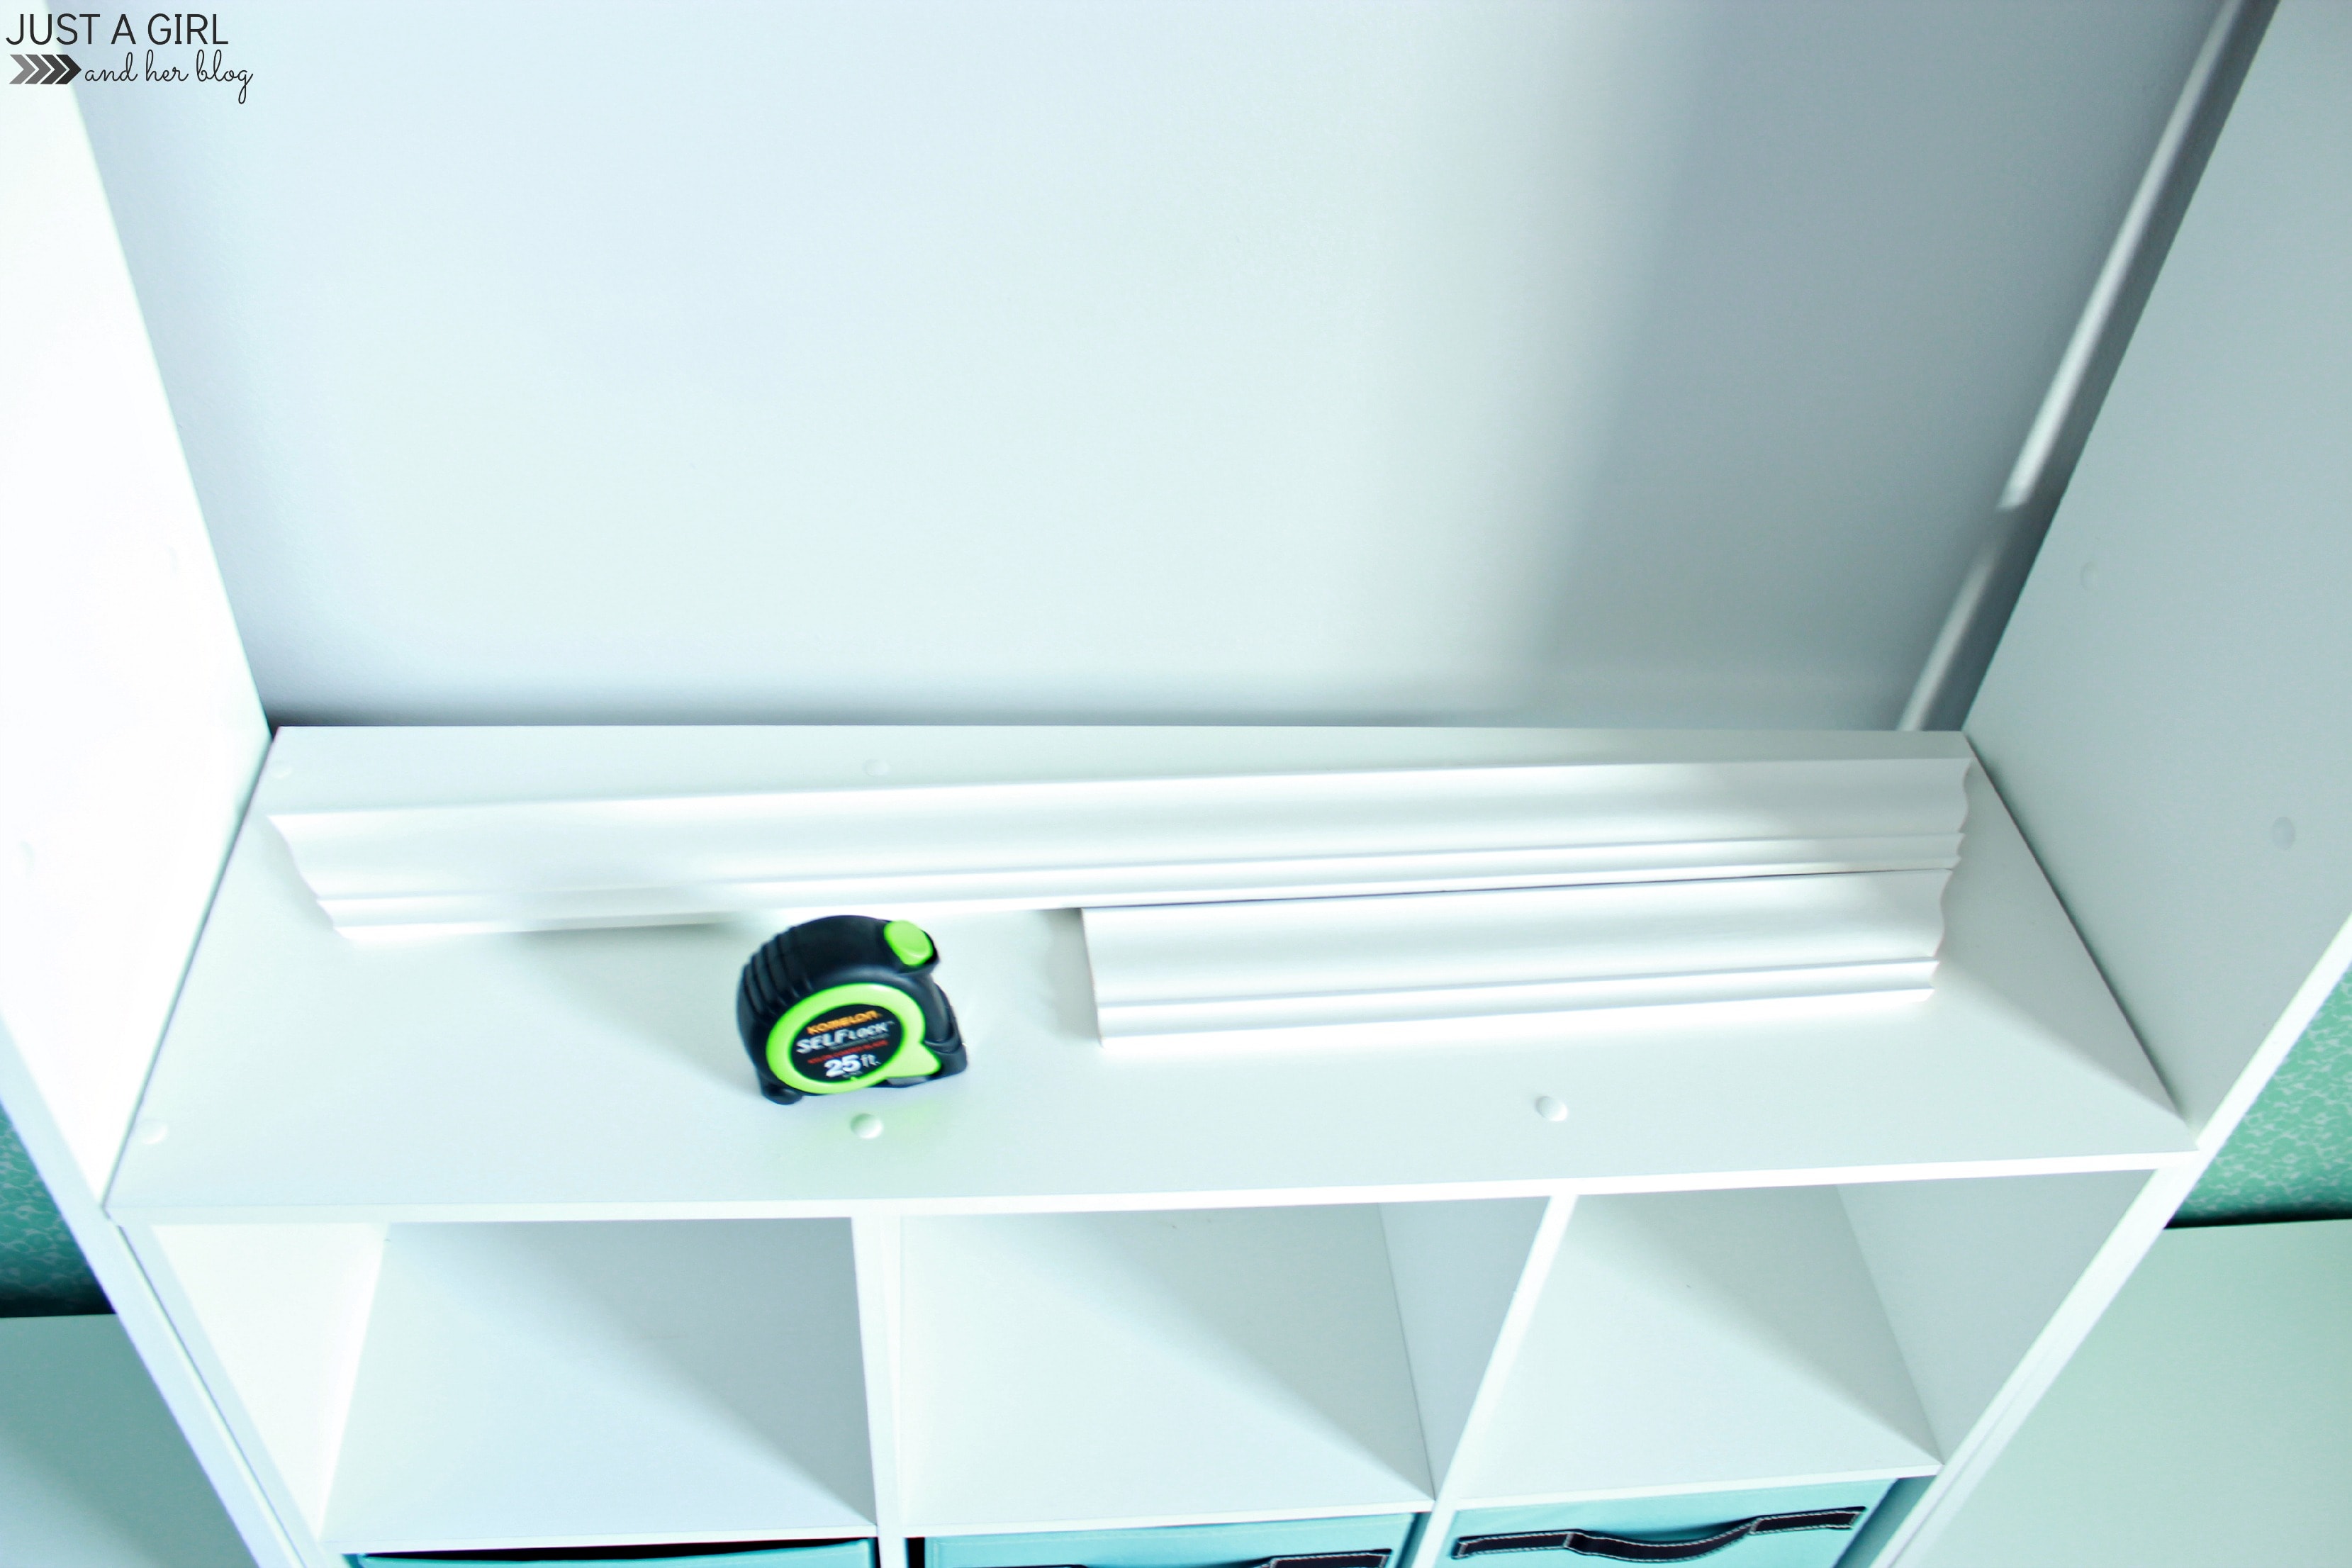
- Glue crown molding and attach to bookshelves.
Next we used wood glue to cover the edges of the molding and pressed them together at the corners.
While the glue was still wet, Donnie used a small gauge brad nailer to attach the crown molding pieces in their designated spots. (Don’t skip the glue step. The glue is going to be more important than the nails!)
If you don’t have a nail gun and an air compressor, it’s almost as easy to use little finishing nails and finish them off with a nail-punch.
It only takes a few nails to attach the crown molding pieces to the bookshelf and to one another.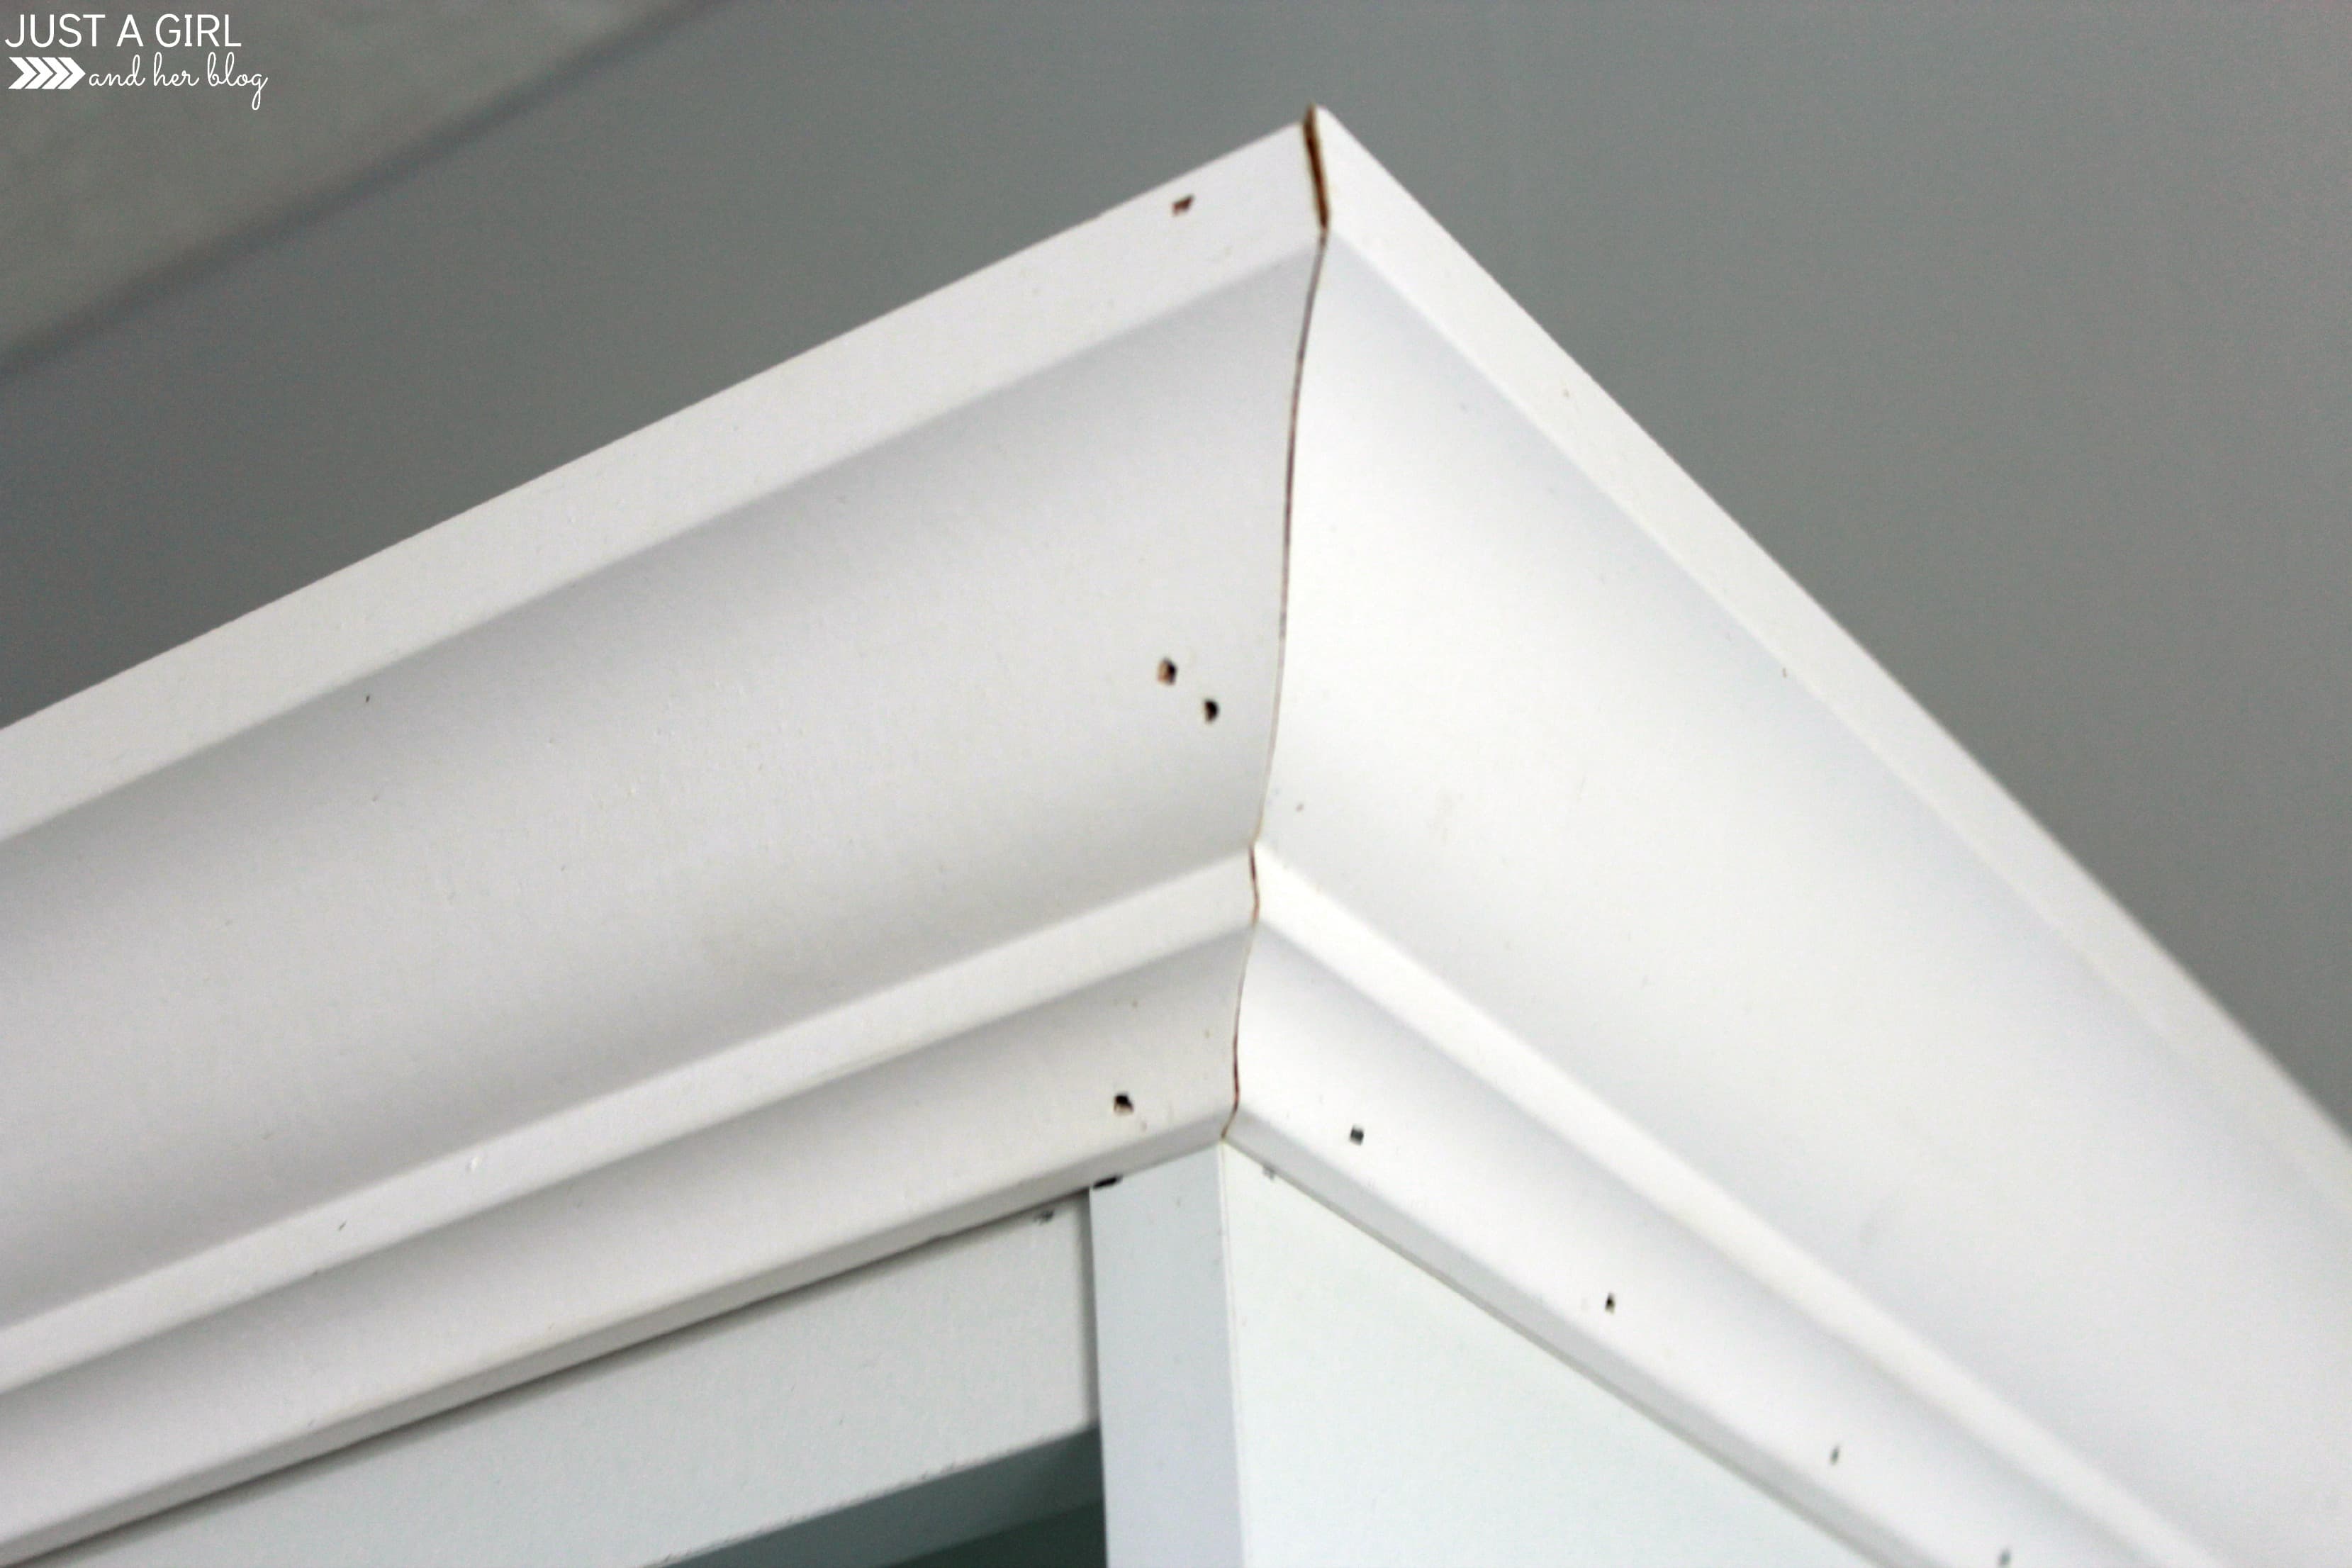
- Patch and paint the crown molding.
We certainly couldn’t have all of those glaring holes and seams showing, so we caulked and patched up all the holes.
We then painted the molding a nice bright white, which we matched to the bookcase itself as closely as possible.
- Enjoy your newly customized bookcases
I mean truly– this project was SO simple! We were able to complete both the bookshelf project and most of this pegboard project in just one morning, only having to finish up a few small details after waiting for paint to dry.
I love it when an easy project like this one makes such a big impact.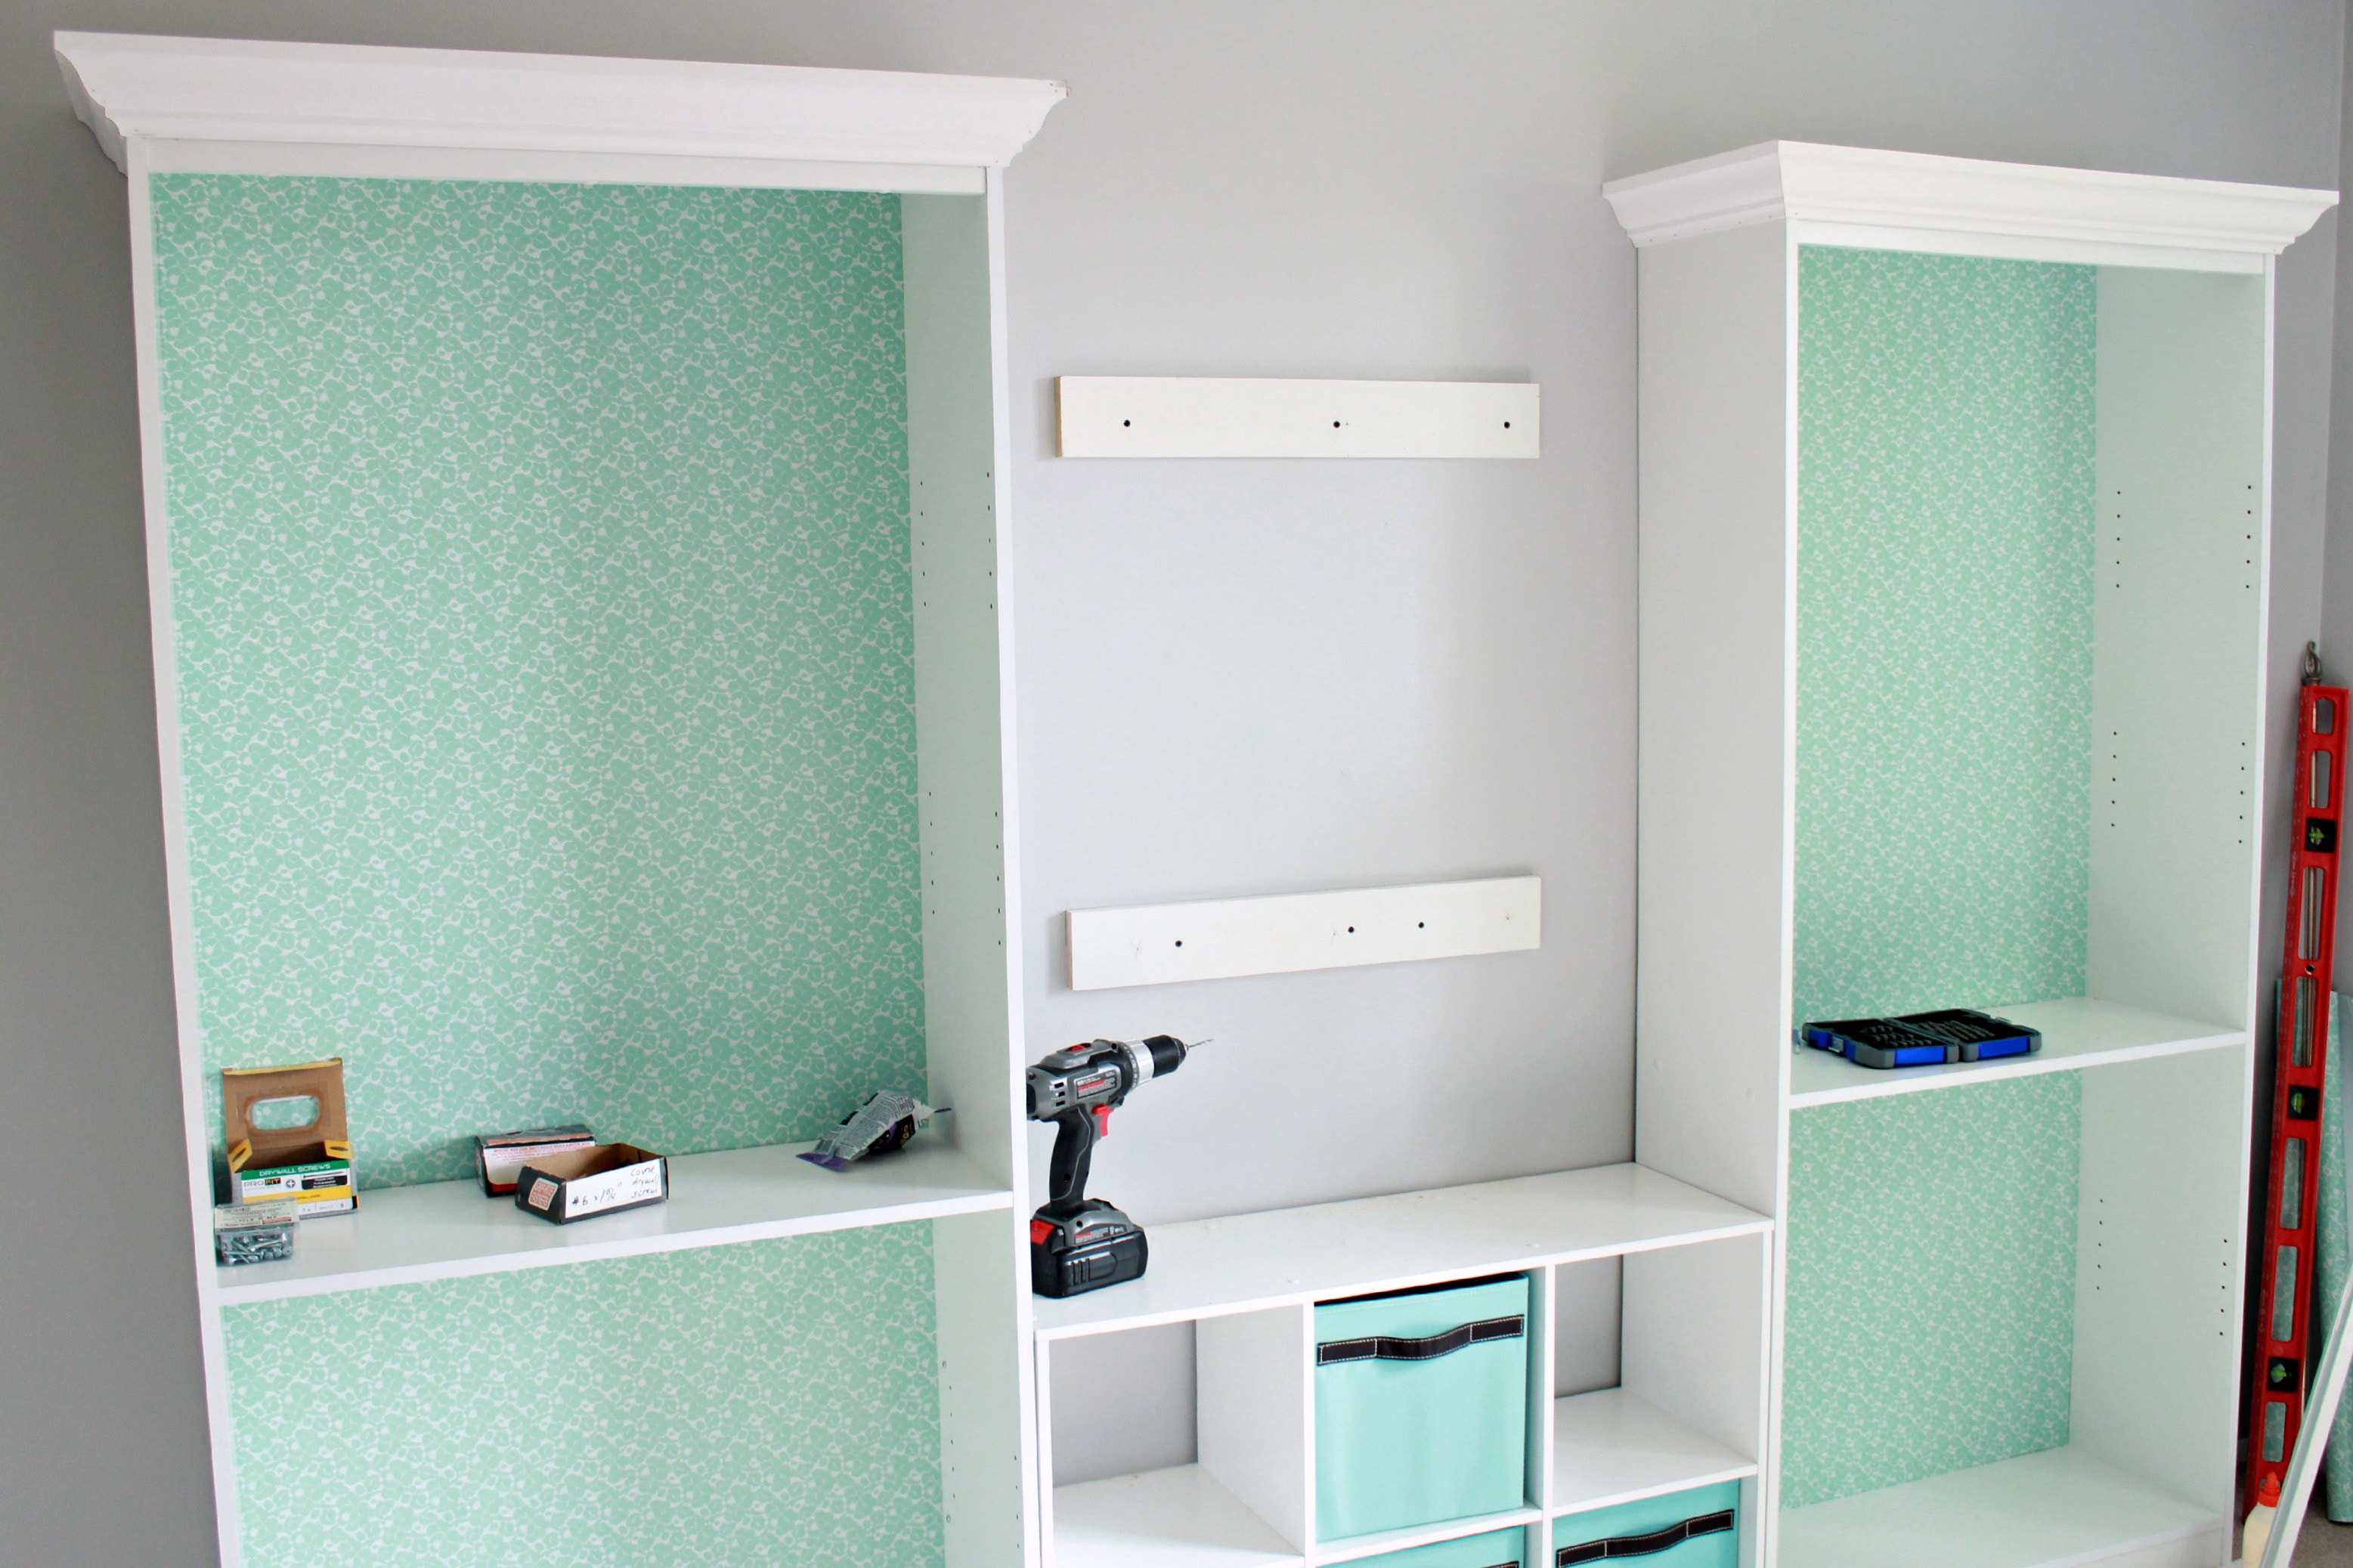
Built-in Bookshelves with Crown Molding: Frequently Asked Questions
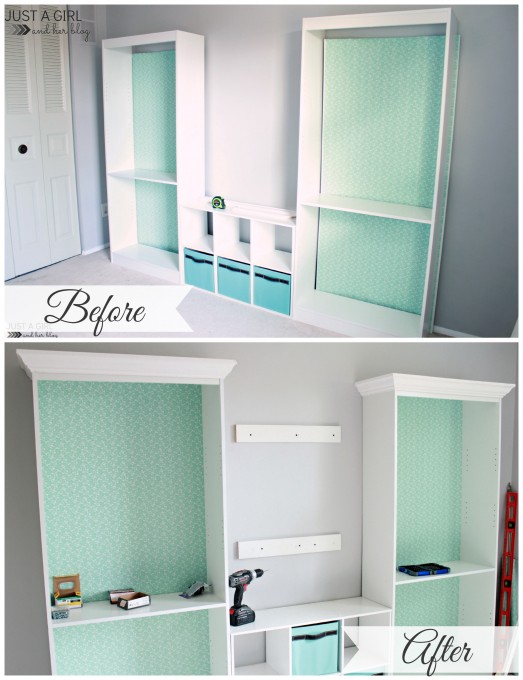
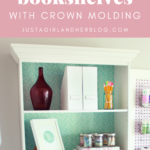
Simple Built-In Bookcases: Before and After
It’s my favorite part– the before and after! Here’s a look at the bookcases before and after adding the crown molding:
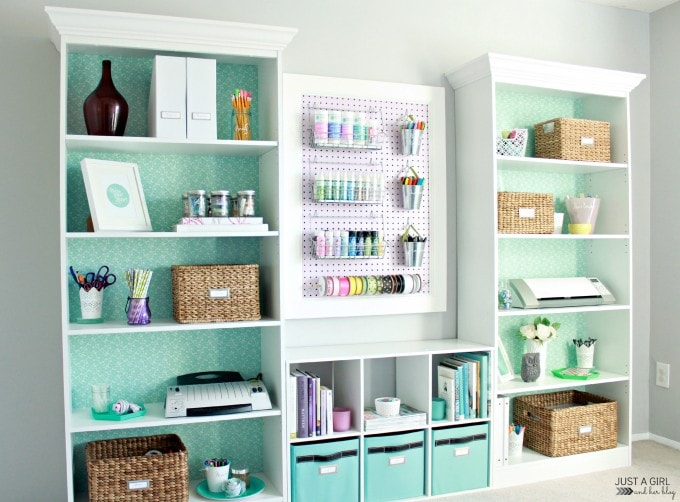
And here’s what the final full built-in bookshelf unit looked like once I hung the pegboard and added all of the office accessories and craft supplies I needed to store:
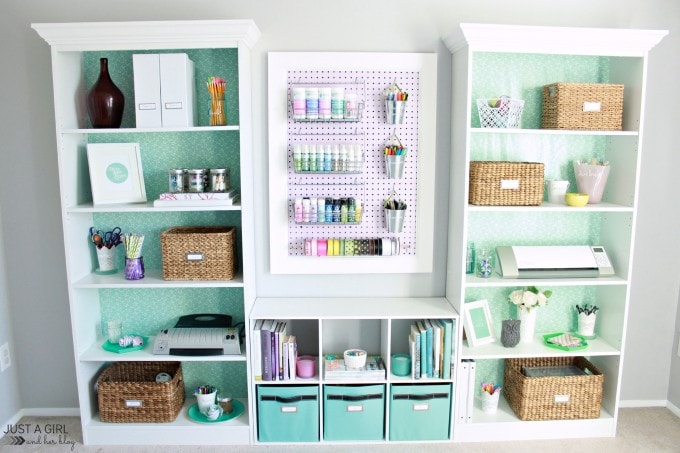
This project definitely taught me that DIYs do not have to be complicated to look nice and make an impact on the space! If you’re looking for an easy way to elevate the look of your room, these simple built-in bookcases with crown molding are it!
TOOLS YOU’LL NEED

[Psssttt… Get 100 brilliant ideas for organizing every room of the house here!]
Have you done any easy but impactful DIYs lately? Would you ever spice up your bookshelves with crown molding?

This post contains affiliate links. For more information, see my disclosures here.
Looks so great and pretty. I installed crown molding around my first floor all by myself and I learned right there that caulk was my best friend. I wish my hubby would have helped me.
Girl, you are my hero! I need to start working on my power tool skills, lol! Hope you’re having a wonderful week!
~Abby =)
Looks great, Abby, and thanks for the tip on the stud finder. Mine’s a dud and have been wanting to get one that actually works.
I hear ya! We actually had two that day, and the bigger, more “technical” one failed us, so we swear by this little guy! 🙂 Hope you’re having a wonderful week!
~Abby =)
Pretty book shelves! So much better than how they look right out of the box. Can’t wait for your big reveal! So nice to have your own office. 😀
Thank you so much, my friend! The reveal just went live– eeek! So excited! Hope you’re loving your new house! Have a wonderful week!
~Abby =)
What a difference that made! Can’t wait for the big reveal, Abby! Looking fabulous!!
Thanks, Kendra! The reveal just went live– I’m so excited! Hope you’re having a wonderful week!
~Abby =)
Looking good, friend!!! I bet you’re having a blast putting everything together!!
Thanks so much, Selene! It has been such a fun project! Hope you’re having a wonderful week!
~Abby =)
The bookshelf looks good so far. Love the color.
Thank you, Julie! I am loving aqua lately!! Have a great week!
~Abby =)
The crown moulding turned out beautifully!! And I don’t blame you for wanting to lock yourself in there because I know I would. I love being in my office!
Best of luck with the finishing touches!
Thank you so much, Renee! I may actually do it for short stints from time to time. 😀 Hope you’re having a wonderful week!
~Abby =)
Thanks for sharing this!
You are most welcome, Leslie! Hope you’re having a wonderful week!
~Abby =)
I love the way this turned out! I cant wait to see the finished room!!
Thanks so much, Desiree! It’s coming SOON! 😀 Hope you’re having a wonderful week!
~Abby =)
Hi Abby,
They look great, and I love the backing. I’m thinking of putting a set of these in our bedroom for some storage and am glad to see how you added the molding!
Ooh I love that idea for a bedroom! Donnie and I share a non walk-in closet in our room, so I’m always looking for ways to add more storage! Can’t wait to see how your bedroom turns out! Hope you’re having a wonderful week!
~Abby =)
Abby I love the pretty paper you’ve used on the backs of your bookcases. Isn’t it amazing how quickly bookcases can go from average to fabulous built in look by adding crown! Love your bookcase unit and curious what’s going up in the center.
Thank you, Marie! There will be a pegboard in the center to hold some more of my craft supplies– storage galore, lol! Hope you’re having a wonderful week!
~Abby =)
I love this! :0)
Thank you so much, Susan! Hope you’re having a wonderful week!
~Abby =)
This is going to be an epic space. I know you, I can see some of what’s be done. It’s going to rock. The blue backing really drew me in. Such a pretty color! And you are so detailed in your instructions. I feel confident I’ll be able to recreate once I work up the nerve to work a power tool!
Awww, thank you! You are the sweetest! I’m excited for the reveal– it’s coming SOON! Good luck with those power tools! 😉 Hope you’re having a wonderful week!
~Abby =)
The crown totally fancies it up – such a great decision!
Thanks, Sarah! I do feel so much fancier now, lol! Hope you’re having a wonderful week!
~Abby =)
WOW! I’m in LOVE with this! Your style, colors, and ideas! So cool! Thanks for sharing! Visiting from Home Stories A to Z link party. 🙂
Thank you so much, Heather! You are so sweet! Hope you’re having a wonderful week!
~Abby =)
What a huge difference the molding made! I love this look! I have been wanting to do this to some cabinets we put in, but have yet to get a nail gun! 😀
Thank you, Heather! Yes, it was such a simple project that made a big difference! Woo hoo for that kind! 😉 Hope you’re having a great weekend!
~Abby =)
Perhaps I missed it, so I apologize if I did, but what were the exact bookshelves you used from Staples?
Hi, Audra! The bookshelves are these ones: https://www.staples.com/South-Shore-Work-ID-5-Shelf-Bookcase-White/product_148175#collAttrId=?PID=6157437&storeId=10001&AID=10428703&SID=lzj753wbfwec&cm_mmc=CJ-_-6157437-_-6157437-_-10428703&CID=AFF%3A6157437%3A6157437%3A10428703&CJPIXEL=CJPIXEL Hope this helps! Have a great day!
~Abby =)
Love this transformation and organization! Following you now on Pinterest too! -Michele from Neat Little Nest
Thanks so much, Michelle! Hope you’re having a great week!
~Abby =)
I love this transformation!! I was hoping to do something very similar in our home office.
My question is: when attaching the crown molding to the top of the bookshelf, where do you place it? Does it sit right on top of the bookshelf, or, does it overlap the edges a little bit?
Thanks!!
Hi, Anu! The molding overlaps the header of the bookshelf to make it easier to attach. I hope this helps! Have a great weekend!
~Abby =)
What size crown molding did you use for your bookshelves? They look beautiful!!
Thank you, Aimee! Our crown molding was similar to this: https://www.lowes.com/pd_380346-1487-C+F+49+12+FJPMD_0__?productId=3583834&Ntt=crown+molding&pl=1¤tURL=%3FNtt%3Dcrown%2Bmolding&facetInfo= . Hope this helps!
~Abby =)
Abby, we are beside ourselves trying to figure this out. I got the shelves from staples and some crown moulding from Home Depot along with a miter box from lowes .. We cannot for the life of us get these corners to match with the miter box. I’ve scowered the Internet (Google, YouTube) for videos or how tos on cutting the corners to match but everything seems to be with a circular saw.. Not miter box and it just isn’t translating for us. We’ve tried the 45* angle on both sides of the box, holding wood upside down, right side up, backwards, forwards.. The front and side corners just won’t match up. Do you have a how to with a miter box!?
Love your feminine office update! Can’t crown molding make inexpensive bookcases look like a million bucks! Love that you wallpapered the inside backs of your cases. Great job!
Abby,
I have been following your blog for some time now and, I love what you do. Clear, concise posts and easy to follow directions for DIY projects, etc.! I will definitely be attempting this crown molding project after my upcoming move. Any tips for easy organizing/decorating a brand new place? Think of it as a blank slate and assume we don’t have much to work with but can thrift shop ’til we drop to make projects happen.
Cheers!
Thank you so much for your sweet words, Summer! As far as decorating and organizing a new place goes, my best advice is to take your time! I have found when I try to make decisions quickly just to get a space finished, they are usually the wrong ones, lol. It has taken a bit to “get to know” the house and how we use it, so we’re just working on things slowly but surely over here! Best of luck with the move!
~Abby =)