Painted Hutch Makeover
Give new life to your china cabinet by following the steps in this post to complete a beautiful painted hutch makeover! It’s amazing how much a piece of furniture can transform with just a little bit of paint!
One of my very favorite things to decorate for our home tours (like my recent fall home tour!) has always been my grandmother’s hutch that sits in our dining room. There’s just something so fun about playing with dishes and flowers and mugs and bowls and arranging them beautifully on the shelves.
Add to that the tremendous sentimental value that this piece holds, and it’s probably pretty easy to see why I love decorating it so much.
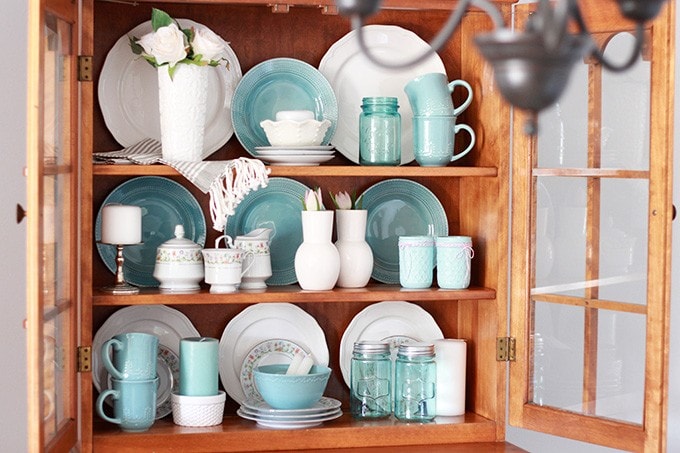
As I’ve decorated and photographed this piece more and more though, the orange-y color of the wood started to bug me…

So I finally decided to bite the bullet and take on the project of painting this piece so it would fit the style of our home a little better.
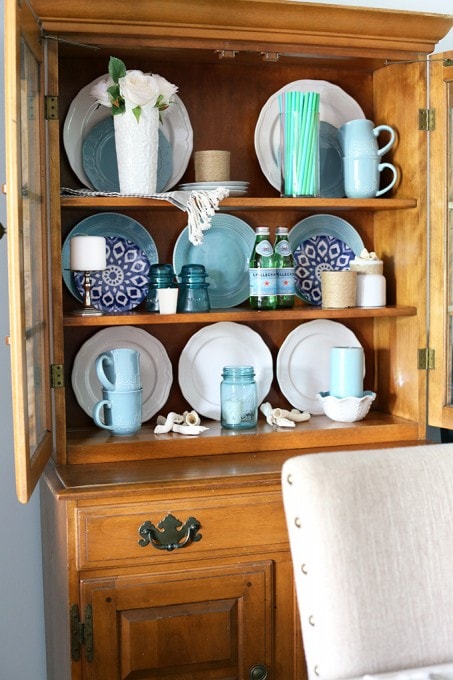
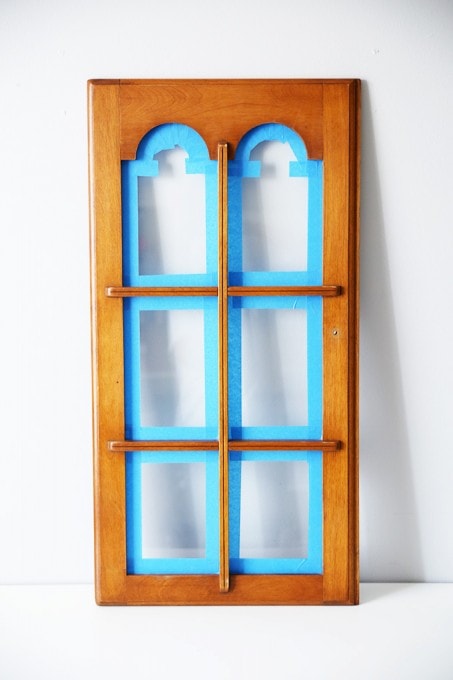
Here’s the full shot of what I started with:

I know some people are totally anti-furniture painting, but if you look closely, you can see that this piece was not only quite orange, but had suffered some wear and tear over the years, with several nicks, scratches, and worn edges. It was definitely time to give it some TLC!
How to Paint a Hutch Step-by-Step
This post contains affiliate links. For more information, see my disclosures here.
Though this was a fairly large piece of furniture, the painting process was pretty simple and straightforward. Here are the steps I used to transform the china cabinet…
1. Disassemble and remove the hardware.
The china cabinet is actually two pieces, so Donnie helped me take it apart and remove the doors and all of the hardware.
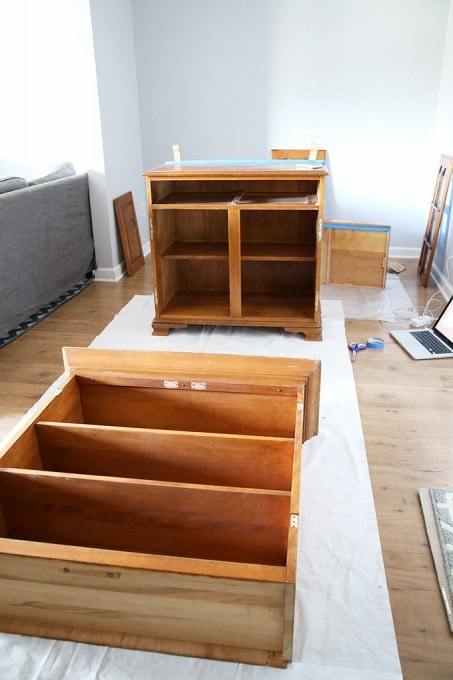
2. Wipe it down, lightly sand, and tape off the glass.
I pretty much took over our entire dining room for this project. Good thing my boys really love me! 🙂
I started by wiping down the entire piece really well to get rid of any dust and residue. I gave the whole thing a light sanding just to remove some of the shiny finish and wiped away the dust.
sanding tips
- For the best results, use a fine grit sandpaper. This preps the surface without causing any damage.
- Always sand unpainted furniture and furniture with chipping paint in order to get the smoothest finish that will stand the test of time.
Along with sanding, I also took the time to tape up the windows to save myself from having to clean them up after I was done painting.
3. Paint and poly.
When alllll of the prep work was finished, I was finally ready to paint! I chose Behr Ivory Keys as my paint color, which is a beautiful creamy white.
painting tips
- Some prefer to use a separate primer. Since the paint I chose was white and included a primer, I just applied multiple coats.
- Chalk paint rarely requires a primer and is great if you want a matte finish.
- Flat paint is hard to keep clean, even though it hides imperfections. I wouldn’t recommend painting an old hutch with flat paint.
- I used an eggshell sheen for painting this piece of furniture, which gave it a fresh look without looking too shiny. If you have a piece that you think will need to be wiped off frequently, it may be worth choosing a semi-gloss sheen for easier cleanup.
I’ve painted a lot of furniture before, but this piece was definitely the biggest, most detailed piece I had ever tackled. The hutch’s wood also soaked up the paint like no piece I had ever worked on in the past, so it took a few coats to really get the smooth white finish I was going for.
After I had finished painting, I sealed everything off with a few light coats of polyacrylic to help protect it a little bit more.
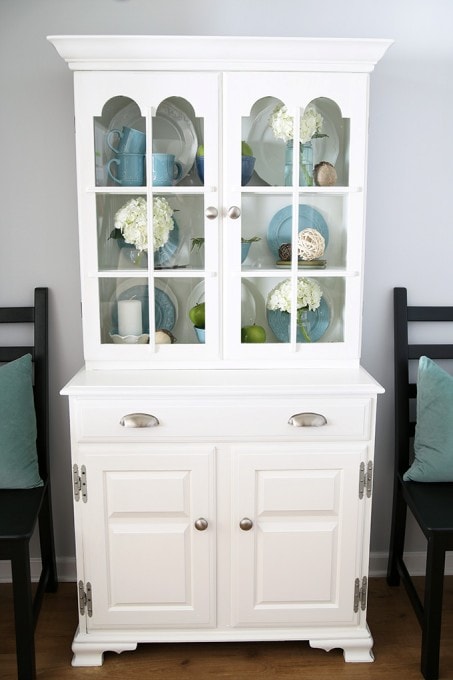
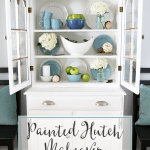
4. Reassemble and style the painted hutch!
I attached some new hardware that I had left over from our kitchen renovation, and I was done!

Bye bye orange, hello beautiful white!

One kind of neat thing happened while I was working on this project. I was up to my elbows in paint and my phone buzzed. It was a text from my dad saying that it would have been my grandmother’s birthday that day.
It seemed kind of appropriate that here I was, working on a piece that used to be hers on what was such a significant date in her life. She passed away when I was in 8th grade, but I am so thankful to have a little piece of her in my home to help me remember her.
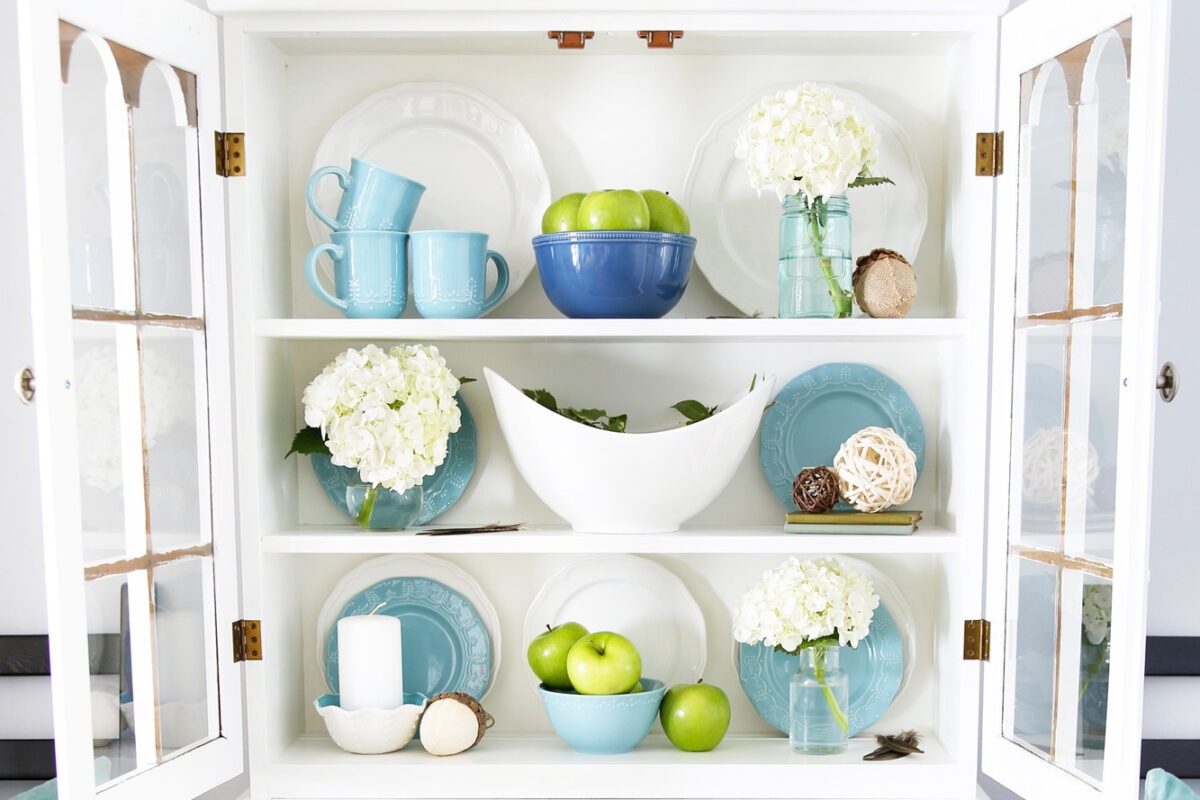
Oh and now my favorite part… the before and after:
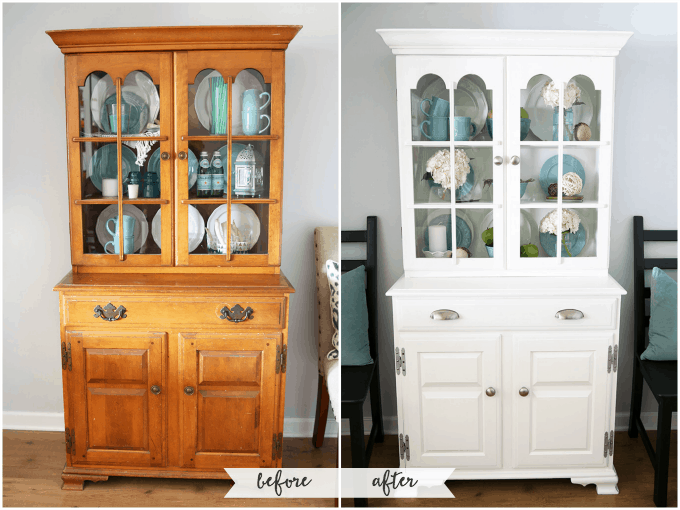
Quite a difference, right?! Oh, the power of really fabulous paint! I am thrilled with the final result and am excited to continue to style this piece for years to come.
Painted Hutch: Frequently Asked Questions
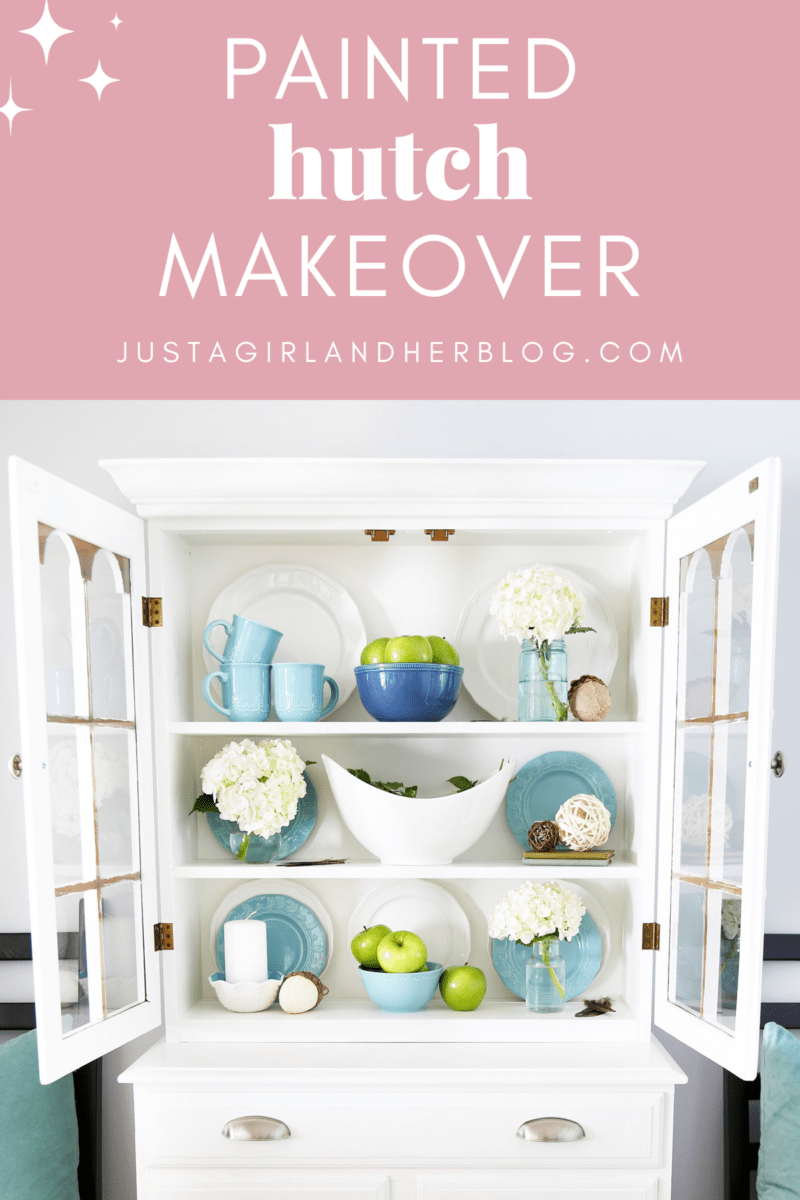
Want to save this post to revisit later? Be sure to pin the image below so you can find it easily!
Thank you so much for following along! Have a wonderful day!

This post contains affiliate links. For more information, see my disclosures here.
Abby what an amazing transformation! I love the white you picked..I may have to try that color 🙂 xo
Looks great Abby! I love white furniture and I am slowly painting my black furniture that I loved so much years ago… white 🙂
I love how you transformed a piece of furniture that holds such special memories for you. The neutral white color will be a beautiful backdrop for all of your seasonal displays.
This looks amazing! I’ve never tried painting furniture – too intimidating … maybe one day. 🙂
It’s beautiful, Abby – I love the fresh white color and it really is a great backdrop to your beautiful styling. Love this transformation.
I love the way the white makes it look so beautiful! Where did you get your blue jars at?
Looks so pretty! I’ve been looking for a dresser or a hutch to paint and make my own for a while now for our living room. All our lovely wedding gifts need a place to go 🙂 Lovely job!
To be honest the old and new looks fab for me. I would not have the guts to paint that hutch. I have a similar one (a wedding gift from my gran), but I won’t be able to paint it. I would feel as if I am losing all those memories.
Enjoy your new look hutch!
Beautiful redo! I think this has made your piece look so fresh.
I am in love with the blue vortex color!
I love your redo–the white really has brought this to life!
I am personally in love with blue vortex–so pretty.
This looks fantastic, Abby! I recently painted one of our old buffet tables aqua and it turned out absolutely gorgeous. I changed the hardware and it’s like a completely different table!
https://lindsayssweetworld.blogspot.com/2015/09/diy-buffet-table-makeover.html
Wow! That looks so polished now I love it! The dishes and décor inside now really stand out. I have a small piece of furniture that I picked up at a flea market that I want to refinish and I’ve been trying to think of what color to use, and after seeing this I’m leaning towards the white! Also – I’m gonna have to get some updated hardware as well.
LOVE the hutch makeover, it turned out beautifully!
I’m loving the color Galapagos.
Love the transformation Abby!! Looks amazing!
What a sentimental great piece. The white really suits your place and brightens everything up and the hardware is the cherry on top.
Lauren Baxter | Lovely Decor
xx
Question did you paint with a roller or a brush? how did you get it to look so smooth??? thanks for your time. love it.
This is amazing! I love the finished look – like brand new! And how special is this piece to you! Thanks for the giveaway!
What a great transformation! (Love that ivory – I have a gallon of it waiting for a project too.) And, of course, the way you’ve styled your hutch is just dreamy. xo ~Kerri, A Pop of Pretty
Wow, what an amazing transformation with just some paint, new hardware and some hardwork. It looks great!
It looks beautiful! I am actually just redoing a china hutch as well! Almost the same, and old wood piece (mine is just a Craigslist find) that I am painting white too. I am doing the inside back a light grey though. This gives me the motivation to finish! I am half done and it is currently taking over our garage. Wonderful job. And lovely way to honour your Grandma’s piece 🙂
Love this painted hutch, Abby! I have a passed down piece in my dining room that I really want to paint too. Yours turned out so great and your styling is perfect!
That is so beautiful!
The Blue Vortex color is so beautiful! I’m also drawn to the Coralette. They’d probably look great together too!
Looks fabulous. Love the soft white.
Abby, this is such a beautiful piece and how cool that it belonged to your grandmother. I love that you painted it white and it now looks modernized and pretty, while still being sentimental 🙂
~Katie
I recently had my pine colored dining table painted white. It looks terrible. The tannins are coming through and they are all over the table. I need to find someone else to re-do it. I also have a hutch that I wanted this woman to do but the table is such a mess I haven’t dared asked her to do the hutch. Did you put something on it before you painted it? I am thinking about trying it myself.
Oh that is disappointing! I didn’t put anything on this piece before I did it, but I painted an old dresser once to turn into a TV stand and was worried about how it would take the paint, so I did a few coats of polyacrylic first to kind of seal everything in and then did the paint, then more poly on top. I hope this helps! Best of luck with your table!
~Abby =)
It looks gorgeous! I just recently painted my grandmothers china cabinet as well. Unfortunately, it’s still sitting empty. I love the way you styled yours!
Beautiful! So fun to find a great new color in my favorite paint! Love that you painted it on your grandma’s birthday, I got a few goosebumps when I read that. 🙂
Aw, thank you, sweet friend! It was a pretty cool coincidence! 🙂 Hope you had a wonderful week!
~Abby =)
I just love this! I need to try and be more adventurous.. I want to repaint our kitchen table eventually..
Absolutely stunning. Love the history and story with your blog. Treasure those pieces. Did you wax or seal the piece afterwards?
Thank you, Kimberly! I used polyacrylic to seal it after it was painted, and it has held up well! Hope you’re having a great week!
~Abby =)
How did you get the handles off the drawers? I have a hutch like this and don’t know how to get the handles off? They seem to be glued on.
Hi, Denise! My handles were screwed on, so I was just able to unscrew them from inside the drawer. I can’t imagine that glue would be strong enough to hold handles on a piece of furniture with all of the pulling, so I’m guessing yours are screwed in somehow? It’s hard to know without seeing the piece to be sure. I hope you’re able to get it figured out!