Paperless Tech Stack: 10 Tools You Need to Go Paperless
Create your paperless tech stack! If you’re thinking of going paperless, these are the 10 tools you’ll need to create your digital filing cabinet and eliminate paper clutter for good!

More than a decade ago now, sick of constantly being buried under messy paper clutter, our family made the decision to go paperless.
We began storing all of our important documents in a digital filing cabinet rather than a physical one, getting rid of our ugly, bulky filing cabinet altogether. We had no idea at the time, but that one decision ended up being a total game changer for us!
We’ve been able to eliminate paper clutter for our home, AND we now can access all of our most important documents at any time, from any location, with just a few clicks, all while keeping our private information safe and secure.
[You can get a rundown of our whole paperless process in our Ultimate Guide to Going Paperless.]
Grab this post in a simple downloadable guide by clicking on the button below!
10 Essential Tools for Going Paperless and Creating a Digital Filing Cabinet
This post contains affiliate links. For more information, see my disclosures here.
One of the most common questions we get when we talk to people about going paperless is, “What tools and technology do I need to create my digital filing cabinet?”
We know it can be confusing to try to figure out what all technology is needed to go paperless, so we wanted to make it easy and put everything together in one convenient spot!
When it comes to technology for going paperless, you’ll need…
- smart phone
- laptop or desktop computer
- Evernote (Personal edition or higher)
- mobile phone scanning app
- physical inbox
- paper shredder
- cloud backup and/or physical backup
- firebox or safety deposit box
- optional: Zapier or IFTTT for advanced automation
Read on for more details about each of these tools and the reasons why we think each one is important.
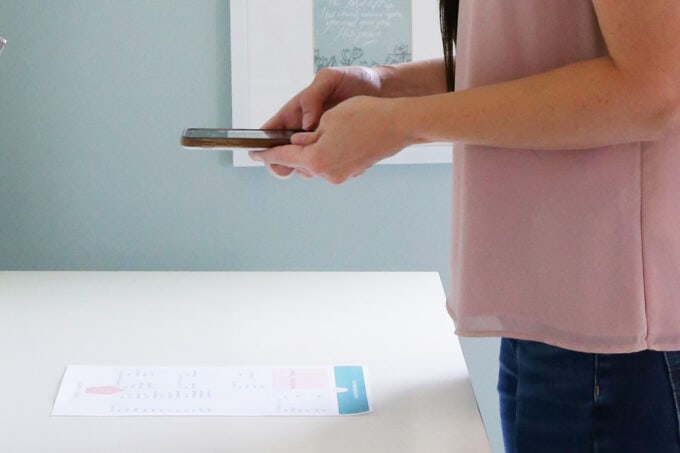
1. Smart Phone
Either an iPhone or an Android phone with a high quality camera will work for going paperless, but one or the other is essential. It would be challenging to create your digital filing cabinet without this essential tool.
Donnie and I use our smart phones to scan our documents and to access our digital filing cabinet anytime, from any location, with just a few clicks. The freedom and organization this has provided our family has been amazing.

The improvement in smart phone technology is one of the biggest reasons that going paperless is quicker and easier than ever. (You used to have to buy a big, expensive scanner to go paperless and no longer do– yippee!) We consider an iPhone or an Android phone a crucial piece of the paperless puzzle.
2. Laptop or Desktop Computer
While most of the functions we’ll need for going paperless can be done on our phones, most people (including us!) prefer to access and work with the documents in our digital filing cabinet using a laptop or desktop computer.

Our digital filing cabinet will sync seamlessly between our devices, making accessing our documents easy and convenient at all times.
3. Evernote (Personal Edition or Higher)
Evernote– aka our digital filing cabinet– is another must-have when it comes to going paperless. It is the industry standard when it comes to storing digital documents safely and securely.
Evernote has been around for more than a decade and continues to improve its technology and services. No other app we’ve tested (and we’ve tested them all!) has all of the organization, security, and OCR (optical character recognition) features we need to create an organized digital filing cabinet.
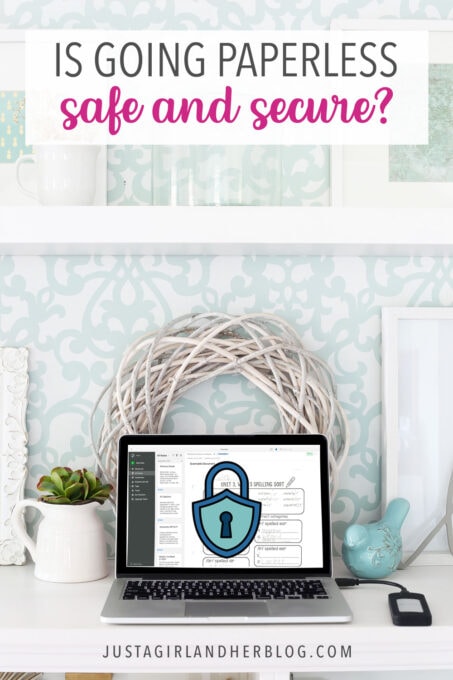
Evernote takes security very seriously and offers a wide range of features that allow users to keep their private information safe at all times. [If you have questions about the security aspect of going paperless, this post can help.]

You can definitely start out with the free version of the Evernote app to learn your way around, figure out how it works, and start saving your documents digitally. If you decide to use Evernote as your full digital filing cabinet, you will want to use the Personal edition or higher.
The Personal edition of Evernote has a small fee associated with it, but the convenience and peace of mind that come along with creating a secure digital filing cabinet make the investment well worth it! [See Evernote’s plans and pricing here.]
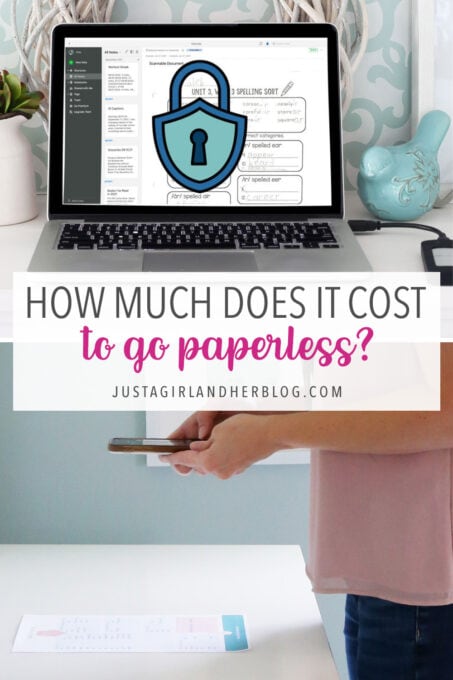
Related: How much does it cost to go paperless?
4. Mobile Phone Scanning App
Mobile phone scanning technology has become so good that it has eliminated the need to purchase a big, expensive high-speed scanner!
There are tons of different scanning apps out there that would work for going paperless. Unlike Evernote– which I think is absolutely essential for everyone– there is not just one scanning app that I would deem “required” for everyone to use. You are free to look around and choose the app that you like best.
Some of my favorite scanning apps I’ve used are Scannable, Scanner Pro (iOS only), SwiftScan, and Genius Scan (iOS and Android).
When choosing a mobile phone scanning app, here are some features you’ll want to pay attention to:
- quick to use
- provides high image quality
- applies OCR to the scanned document
- allows for customized file naming conventions
- seamlessly uploads to Evernote
5. Physical Inbox
This isn’t really “technology,” but it is a crucial piece of the paperless system.
No matter how hard we try, we will never be able to completely stop every single piece of paper from coming into our house. There will always be bills, kids’ school paperwork, invitations, official documents, and other items that come to us in hard copy.
It’s important, then, to have a central location to collect all of this paperwork so we can take action on it during our weekly processing session. We use a mesh drawer in Donnie’s office as our inbox. In the past, we have also used a desktop organizer.

(You can see some of our favorite inbox options right here.)
Your physical inbox should be in a convenient location where you can easily add items to it throughout the week. It should also be accessible during your weekly processing session where our aim will be to get that physical inbox down to zero if at all possible.
6. Paper Shredder
Since we’ll be getting rid of many of our physical documents, we want to make sure we do it in a way that is safe and secure.
As a general rule, I simply recycle any documents that don’t have sensitive information on them. But if a document includes account numbers, passwords, or other information that I wouldn’t want others to have access to, I will shred the document as an extra precaution.
You can see some of our favorite paper shredder options here.
7. & 8. Cloud Backup and/or Physical Backup
One of the things people get most nervous about when it comes to going paperless is losing all of their information when they don’t have physical copies anymore. Fortunately, we have a multi-tiered backup system that integrates with our paperless workflow that ensures that we will always have access to my digital documents, even if something catastrophic would happen.

We recommend using either a cloud backup system, like iCloud, Dropbox, or Google Drive, or a physical backup system like a thumb drive or external hard drive to keep your documents safe. It’s also ok to use both! That’s what we do.
Having a solid backup and security strategy are absolutely crucial before going paperless.
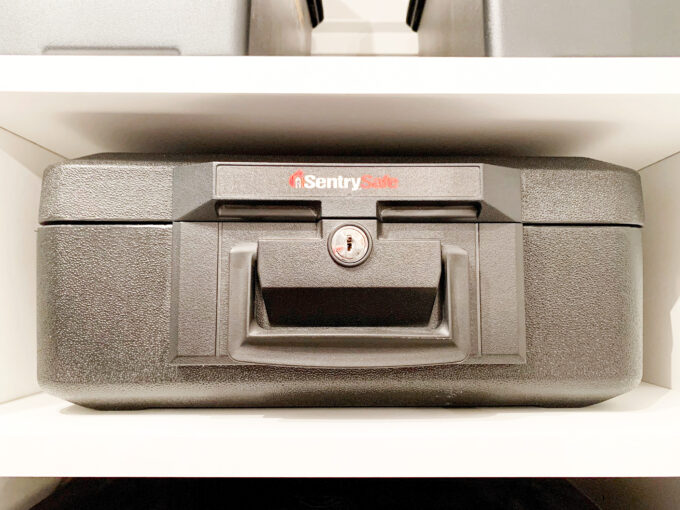
9. Firebox or Safety Deposit Box
Going paperless has been a total game changer for our family, but there are a few pieces of physical paper that we will always need to keep around.
These are items like…
- original birth certificates
- marriage certificates
- passports
- social security cards
- car titles
- any documents that contain an original signature or have a raised seal
We keep these essential documents locked up tight in a small firebox to keep them protected at all times. (We probably have less than 15 total.) A safety deposit box would also work well for this purpose.
10. Advanced and Optional: Zapier or IFTTT for Automation
If technology is intimidating to you and you’re feeling nervous about all of the gear we’ve mentioned already, don’t feel like you have to try this option yet. (But keep in mind that it’s available in case you get comfortable with your paperless system and want to incorporate it later!)
If you are a fan of technology and want to make your life even easier by setting up some automated systems, this option is for you! There is a fine balance between overcomplicating your paperless workflow with automations and using automations that actually save you time.

Zapier and IFTTT allow you to set up automation rules so that if one particular action occurs, another action will automatically follow. Fortunately, many of the tools recommended in this guide work well with both of these automation solutions.
Zapier and IFTTT make it easy to get information both into Evernote (your digital filing cabinet) as well as out of Evernote in automated ways. For example, you could use Zapier or IFTTT to automatically add scanned PDF files that you add to Evernote to your cloud backup service, saving you from having to do it manually.
Want more info on going paperless?
So that’s the tech stack you’ll need to create your digital filing cabinet and go paperless! I know it can seem intimidating at first. But once you have your simple paperless workflow in place, it really will become second nature and you’ll be using all of these pieces without even having to think about it!
Learn More with Paperless Made Simple
Evernote has been a total game changer for our family because it has allowed us to completely ditch our physical filing cabinet, eliminate paper clutter, and gain easy access to all of our most important documents with just a few clicks on our smart phones.
Our course, Paperless Made Simple, has helped thousands of students ditch their paper clutter and create their digital filing cabinet with Evernote, walking them through the entire process step by step.
We only open up enrollment a few times per year, so if you’d like to be notified the next time Paperless Made Simple becomes available, be sure to join the waitlist by clicking on the button below.
If you’d like to learn more about going paperless, these posts can help:


Want to save this post to revisit later? Be sure to pin the image below so you can find it easily!

Do you maintain a digital filing cabinet? I’d love to hear about the tools you’ve found most helpful in the comments below!
Thanks so much for following along! Have a wonderful day!

This post contains affiliate links. For more information, see my disclosures here.

How do you go paperless with kids? They bring home so much paperwork and have all their art/school work.
You can use Evernote to scan in their artwork as well and keep it that way! I also show how I create photo books with my kids’ creations here: https://justagirlandherblog.com/how-to-organize-kids-school-papers/ . Have a great weekend!
The app “scannable” doesn’t have OCR.
That is correct. Scannable is Evernote’s scanning app, so it relies on Evernote to apply the OCR once the document is in the Evernote app itself. 🙂