Installing a Custom Closet System from EasyClosets

Welcome back to Closet Week here on Just a Girl and Her Blog! If you missed yesterday’s post, this week we are tackling our master closet to make it much more functional and organized (and I’m just a little giddy about it 😉 )! You can see some before pictures, read about the challenges in our current closet, and see what we have planned here.
Installing a Custom Closet System from EasyClosets
(A huge thanks to EasyClosets for providing a closet system for this series! My favorable opinion of beautiful and functional closets that keep our house organized is 100% my own. This post contains affiliate links. For more information, see my disclosures here.)
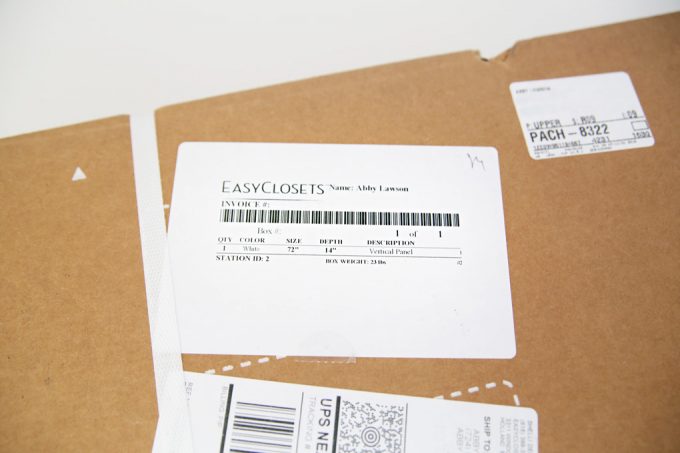
When we left off yesterday, we had just received our shipment of 31 boxes packed full of goodies from EasyClosets!
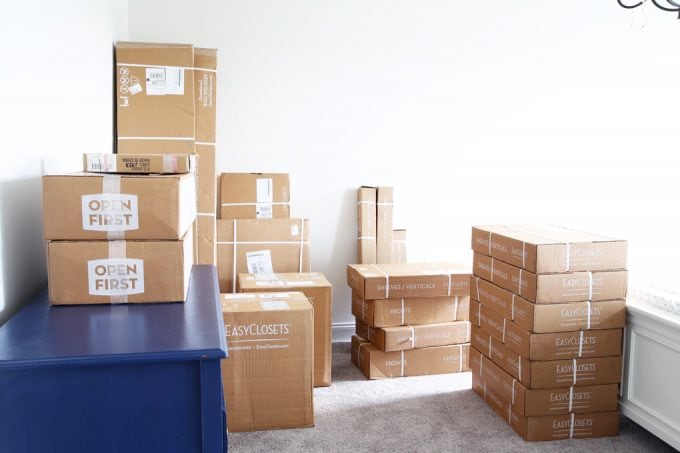
We were eager to rip into them and start installing our new closet system, but before we did that, we had some prep work to do. As a reminder, this is what we started with:
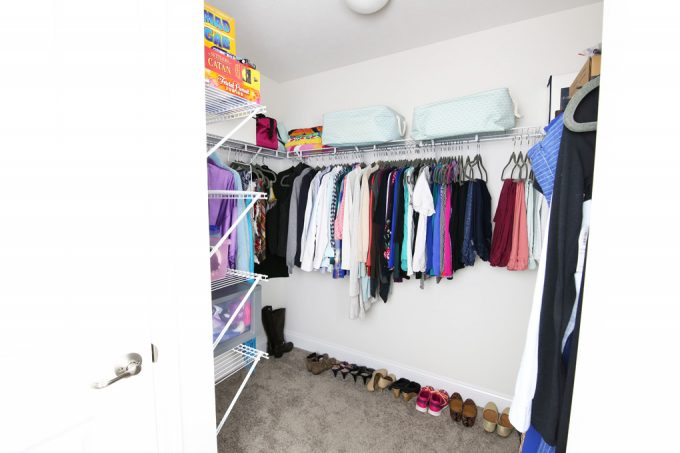
my side of the closet
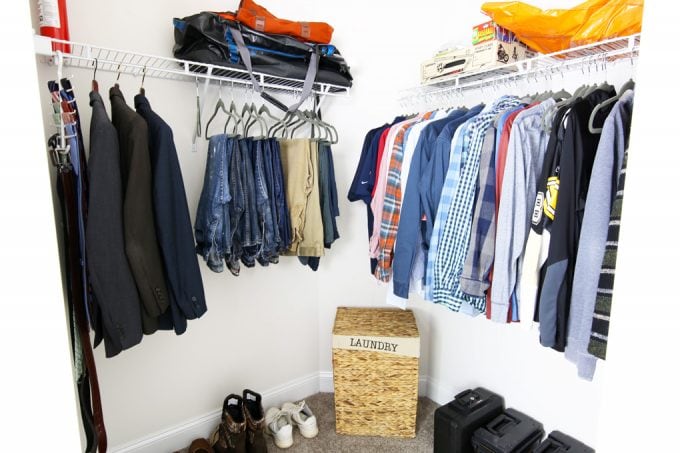
Donnie’s side of the closet
Our first job was to remove all of our belongings so that we could take down the wire shelves, leaving us with a blank canvas.
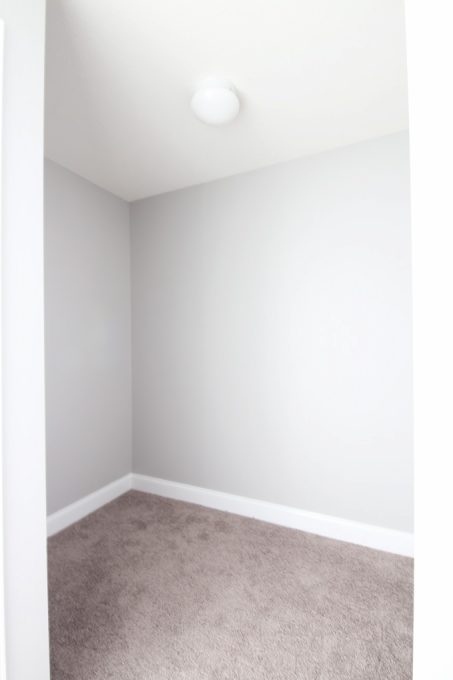
Removing the wire shelving, which was attached with drywall anchors, left a lot of holes all over the closet. We used drywall mud to patch the holes. After sanding the patch spots, we were ready to paint!

Donnie and I worked together to paint the walls gray so that our new white closet system would pop nicely.
Once we had painted, it was time for the real fun to begin! We began unboxing the closet pieces and organized them into piles so we could find exactly what we needed. We used the thorough instruction book EasyClosets had provided to guide us and got to work.
As we unboxed everything, we made sure to reference the packing list on the top of each box with the parts inside the box to make sure everything was there. We even cut out the box-specific packing list and kept those with the various piles of closet parts to keep everything organized.
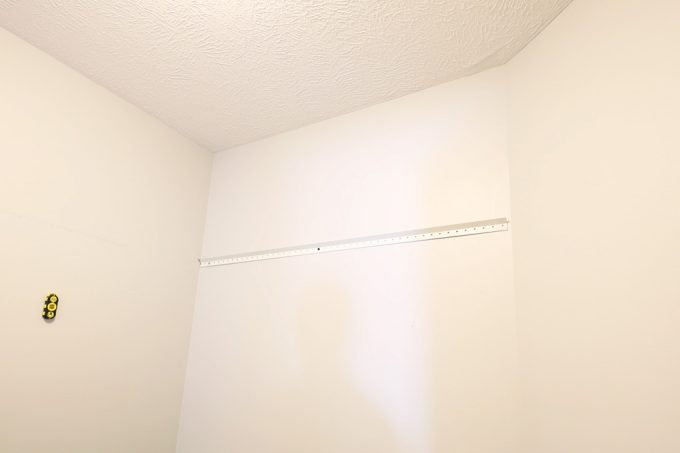
The EasyClosets pieces are installed on a rail system, so our first job was to draw a level line on the walls at our desired height so that we could ensure that our rail would be straight.We used a laser level for this portion, but a measuring tape and level would work just as well.
The instructions came with a recommended height, but because no part of our closet system touched the ground, we were free to install the rail at any height we liked. We ended up using the EasyClosets recommendation, which was to take our top shelf height of 84″ and subtract 8 1/4″ to get a 75 3/4″ rail height.
After we had our lines drawn, we were able to begin installing the rails. Donnie used an angle grinder with a cutting disc to cut the steel rails the lengths specified in the instructions for each closet section. (If you don’t have an angle grinder, a metal hacksaw would work as well.)
Next we used a magnetic stud finder to mark all the studs in the closet. We made sure to anchor the rails into studs where possible. When this wasn’t possible, we used the provided drywall toggle screws. These worked really well and provided a sturdy foundation for the rails even when no stud was available.
Once we had cut the rails, marked the stud locations, and made a level line, it took just a few minutes to anchor the rails with an impact driver for the rail screws and a screwdriver for the toggle bolts.
From there, we were able to place the vertical closet pieces on the rail, using the pre-cut notches provided. If by chance a vertical piece was placed over a screw, we used a utility knife to slightly notch the vertical board to avoid the screw head.
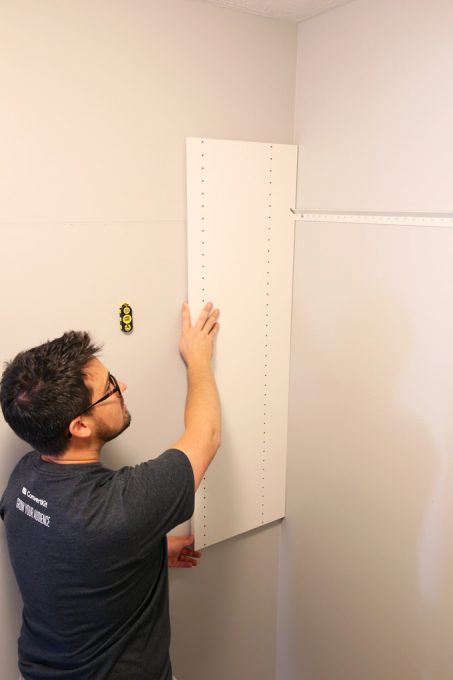
The rail and notched vertical board system that EasyClosets uses is really ingenious. It ensures that everything is perfectly lined up and at the exact same height and makes everything fit together seamlessly– we were impressed!

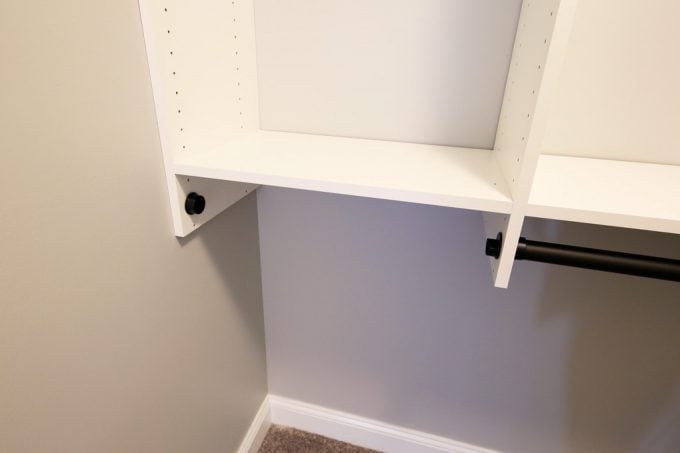
Once we hung the required vertical sections, we attached a cam-shelf to the top. This forced everything to line up perfectly. A cam shelf is just a shelf that locks into place instead of just resting on pegs. As you can see in the picture below, there are small locking cams on the bottom-side of the top shelf. The shelf pegs sit into the cams and then are locked into place with a quarter turn of a screw driver. It couldn’t have been easier!
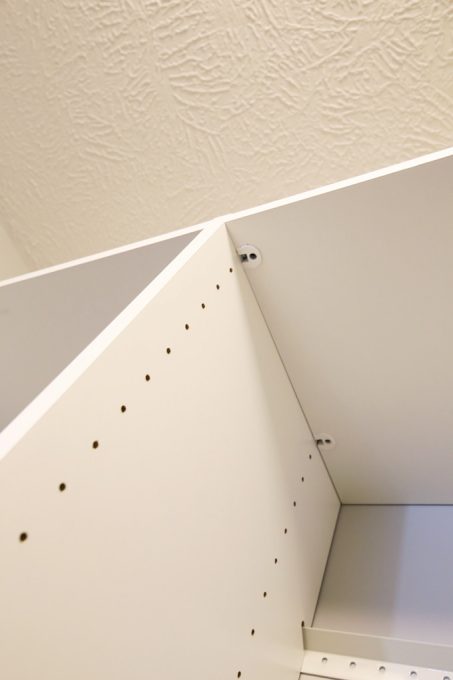
The custom instructions for each section of the closet included the number of cam shelves and also the number of peg shelves. The end function is exactly the same, but the cam shelves help create a more rigid unit as they lock everything together.

After we attached the cam shelves, we were able to add the other pieces, which differed depending on the configuration of the section we were working on.
This section happened to be for hanging clothes, so we put the hanging rails in place. The rod holders fit directly into the pre-drilled holes, making them easy to install while still being very sturdy.
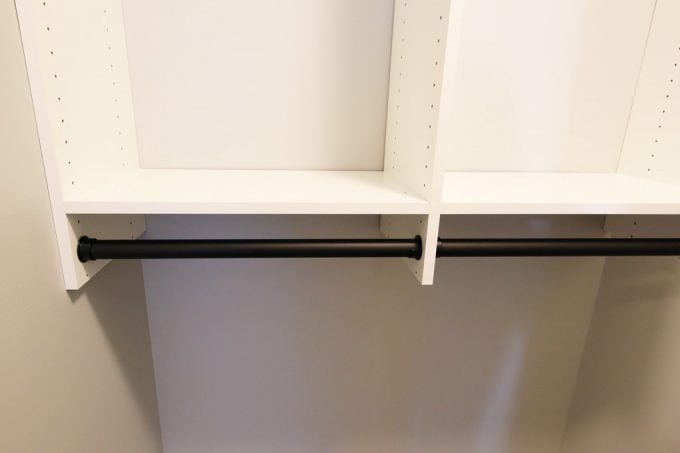
Some of our closet units consisted of nothing more than the wood frame, shelves, and clothes hanging rods. After the rail was hung, these would take no more than 20 minutes to get set up.
Other units consisted of various accessories like drawers and clothes hampers. Assembling the drawers and slides was a little more time consuming, but still easy with all the required drawer slides and hardware included.
Installing the drawers was just a matter of attaching the drawer front to the drawer box, fastening on the handle hardware, screwing the slides to the drawer box, and attaching the other part of the drawer slide into the wooden frame on the wall. Once assembled, everything slid right into place. We had no issues with assembling and installing the drawers, and they really do glide nicely and seem high quality.
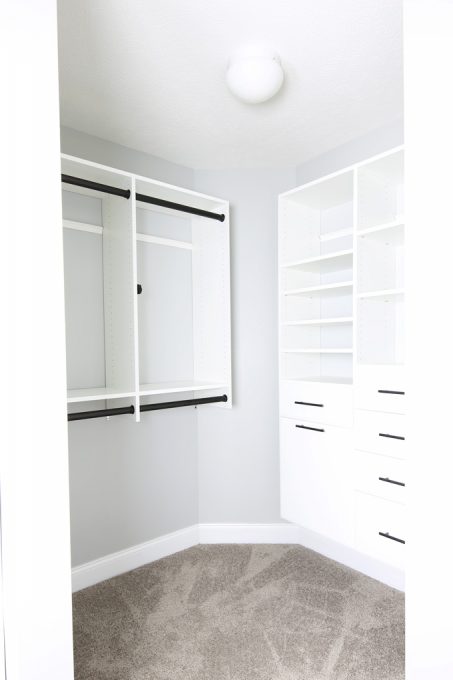
The photo above is Donnie’s side of the closet with all of the units installed! If you were paying close attention to yesterday’s post, you may notice that we made a slight modification in the design. We ended up merging two of the sections together to create a more open feel in the closet while still keeping all of the functionality of the space, and we are loving how it turned out!
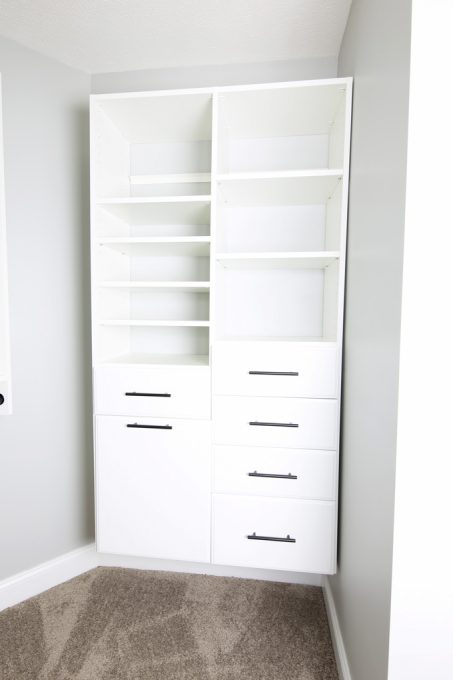
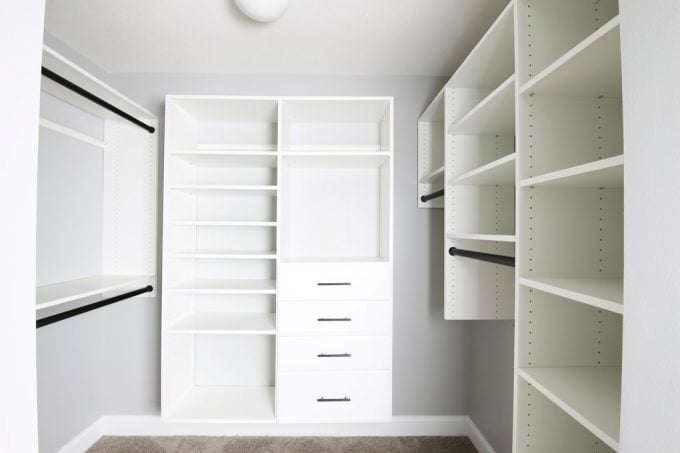
We followed the same process to install my side of the closet, which included three sections. The section straight ahead in the photo below has plenty of shelves for shoe storage, some drawers for personal items, and one of my favorite details of the space…
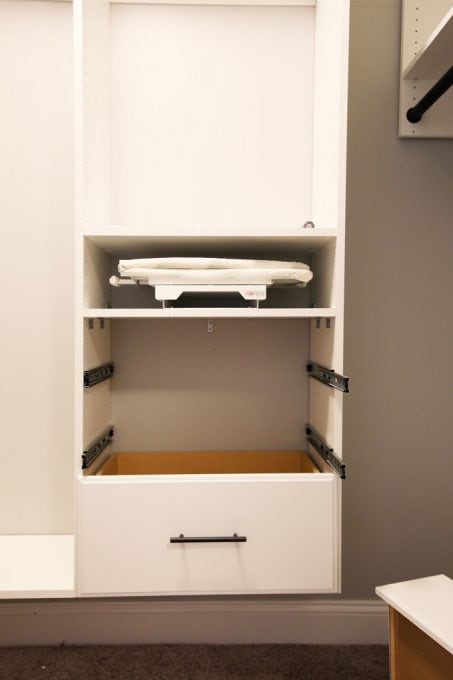
…the hidden ironing board! I snapped the photo below during the installation, and you can see how it folds up and will hide nicely behind a drawer front. My mind was blown when I discovered this feature on EasyClosets‘ site!
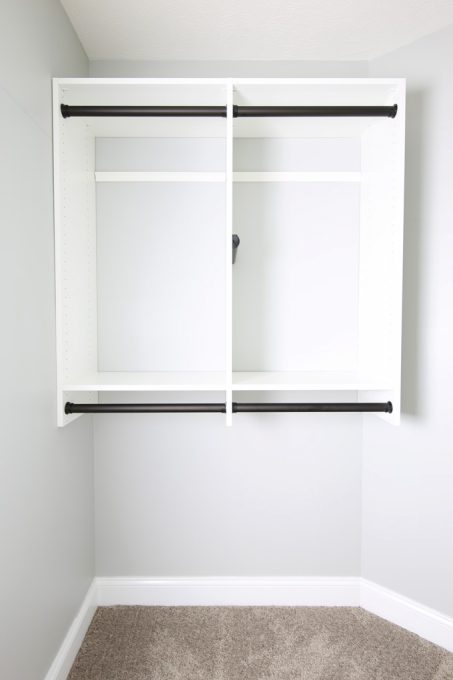
I also will have a double row of hanging items to the left of the shoe/drawer unit…
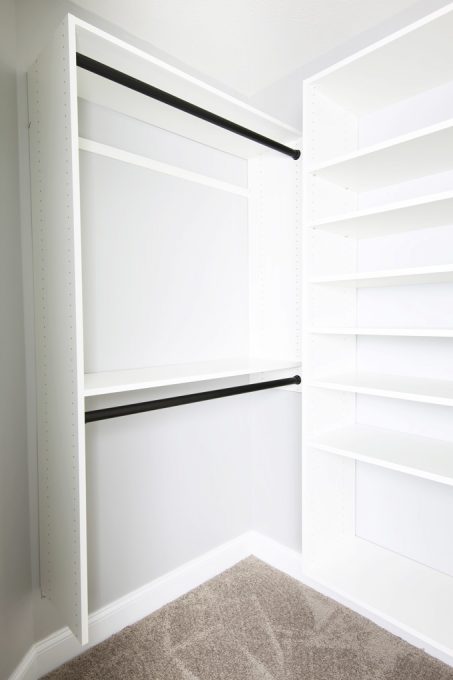
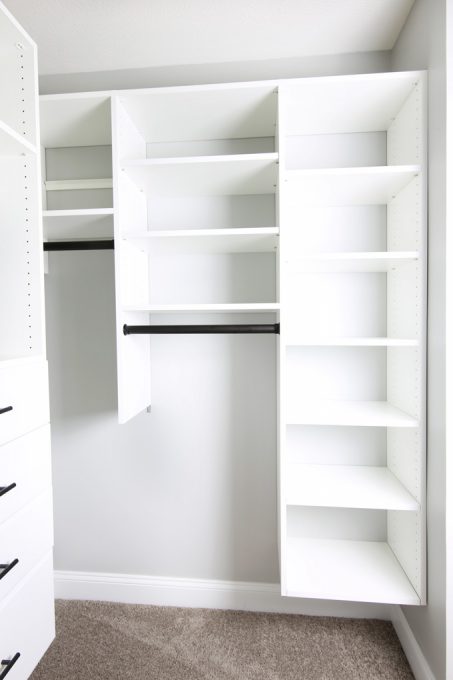
…and plenty of storage shelves and rails for hanging longer items to the right. I can’t wait to fill up this space and get it all organized!
It’s looking so pretty already, I can only imagine how much I’ll love it once the clothes and accessories are in place! Believe it or not, we’ll be back with the full closet reveal tomorrow! I’m so excited to show you how it turned out and give you the grand tour, so be sure to come back and check it out! See you then!
Follow along with our whole master closet series in these posts:
Installing a Custom Closet from EasyClosets (You’re here!)
A Beautiful and Organized Master Closet – The Reveal!
Working with a small closet? These posts may help:
How to Organize a Small Closet
How to Create an Organized Kids’ Closet
[Psssttt… You can find ideas for organizing every single room of the house in this post!]

A huge thanks to EasyClosets for providing a closet system for this series! My favorable opinion of beautiful and functional closets that keep our house organized is 100% my own. This post contains affiliate links. For more information, see my disclosures here.
Ohmigosh! I love that hidden ironing board… that may convince even me to iron every once in a while 😉 Can’t wait to see the final product!
Thank you, Brittany! And I hear you– that was one of my favorite features as well! 🙂 Hope you’re having a wonderful week!
~Abby =)
This looks fantastic Abby! Such an amazing storage system – and that hidden ironing board is unbelievable!!
Thank you, friend! We are excited about it! Hope you’re having a wonderful week!
~Abby =)
Love this closet. We are moving into our new home this weekend and this closet system looks amazing! Great post! Beautiful!
Best,
Lori Nicolson
Style Revamp
Thank you so much, Lori! Enjoy your new home– so exciting!! Hope you have a wonderful weekend!
~Abby =)
Oh cool I didn’t see this post yet. I saw the other post on your closet design with the blue prints and your big closet reveal. This is a whole toutrial on how to install and design your closet design and everything. I’m glad I found this post I can show my husband all three post on this now so we can get a idea on how to do this. Really loved this very helpful.
So glad it was helpful for you, Brittany! Have a great week!
~Abby =)
What is the paint color that you used for your closet?
Hi, Elizabeth! It is Behr Marquee Silver City: https://www.behr.com/consumer/ColorDetailView/MQ2-59 . My favorite gray ever! 🙂 Have a great week!
~Abby =)
Love the way your closet came out. You installed these in November and it is now February….are you still happy with this product? Anythung you would have done differently? Appreciate your thoughts.
Hi, Pat! We still LOVE the closet! It really ended up being the perfect setup for us! I think I mentioned to one of the commenters above: the hamper is on the small-ish side, so if you’re worried about that, you might want to work in two to your design, but I like that it helps me stay on top of the laundry and I don’t end up with one huge mound of it! 🙂 I hope this helps! Have a great day!
~Abby =)
Thanks Abby. Looking forward to ordering soon.
Hi Abby,
We just ordered from Easy Closets.com! We are paying two very handy people to install. Can you estimate the time it took you to install? Thank you in advance!
Oh you will love it so much! My husband and his friend installed it together, and I’m guessing it took them about 8 hours to do it? It was a fairly simple process. There were just a lot of boxes and pieces! 🙂 Enjoy your new closet!
~Abby =)