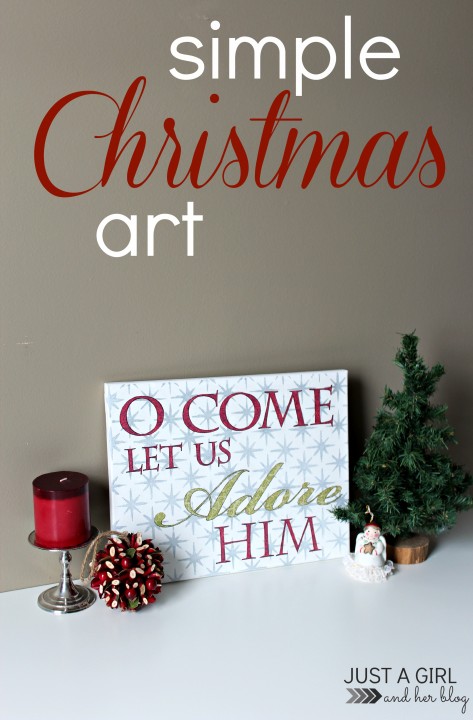
Simple Christmas Art for the Artistically Challenged (Like me!)
I’ve always had to deal with the annoying dichotomy of being creative but not artistic. I love to create, to come up with ideas, to spend hours working on a project until it’s just right, but ask me to draw something, and you’re lucky if I can put together a stick figure.
So when I found myself in need of an extra little piece of holiday decor, I knew I would have to come up with something creative that didn’t require much artistic ability at all. Let’s see how I did!
I used…
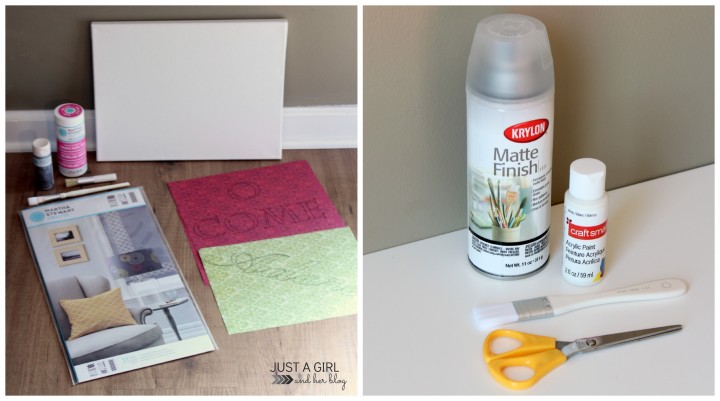
- 11″ x 14″ canvas
- decoupage + brush (leftover from my DIY Christmas Centerpiece)
- silver paint
- stencil brush
- stencil
- outline of words on scrapbook paper (I just used WordArt to make my words in Microsoft Word and printed directly onto the scrapbook paper.)
- white paint
- paint brush
- matte protective spray
- scissors
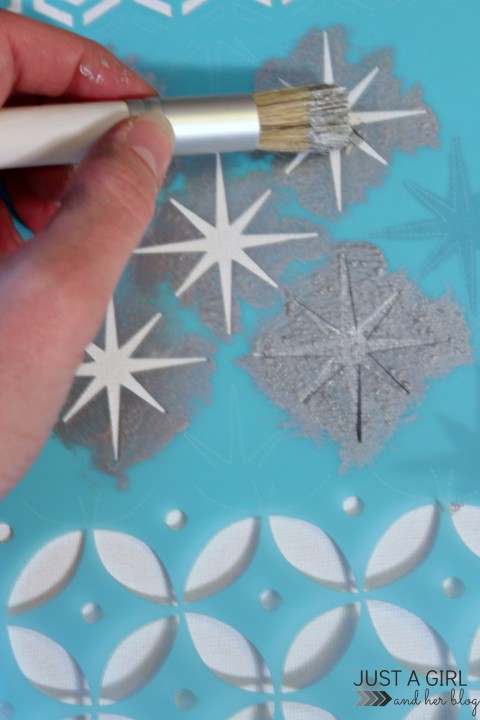
I may not be able to draw, but I can stencil like a champ! That’s because you just secure your stencil to your canvas (I used painters tape.) and use your stencil brush with a teeny tiny little bit of paint to paint inside the lines. (If you use too much paint, it will bleed underneath.) I started in the middle of my canvas and worked my way out, leaving a few minutes of drying time between stencilings so that I didn’t smudge my wet paint.
And eventually it looked like this:
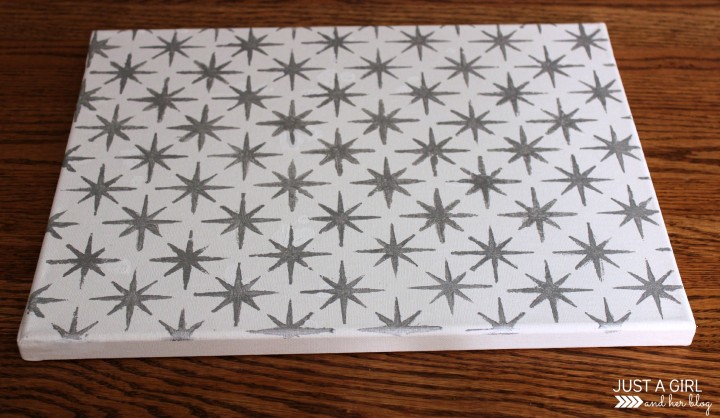
Woo hoo! While I was waiting for the paint to dry in between stencilings, I worked on cutting out my letters. It was a little time consuming to cut everything by hand, but just put on your favorite show and cut away, and you’ll be done before you know it. 😀
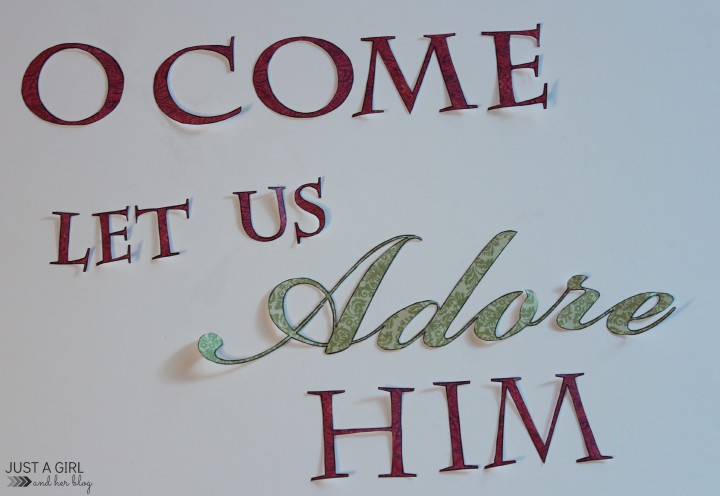
When I laid my letters on the canvas to figure out spacing, they didn’t stand out as much as I was hoping they would against the silver stars, so I did a few coats of whitewash over the stenciling to lighten it up a bit. To white wash, just create a mixture that is 1/2 white paint and 1/2 water (roughly– just eyeball it!) and brush it onto your canvas. It helps to give a little bit of an aged effect.
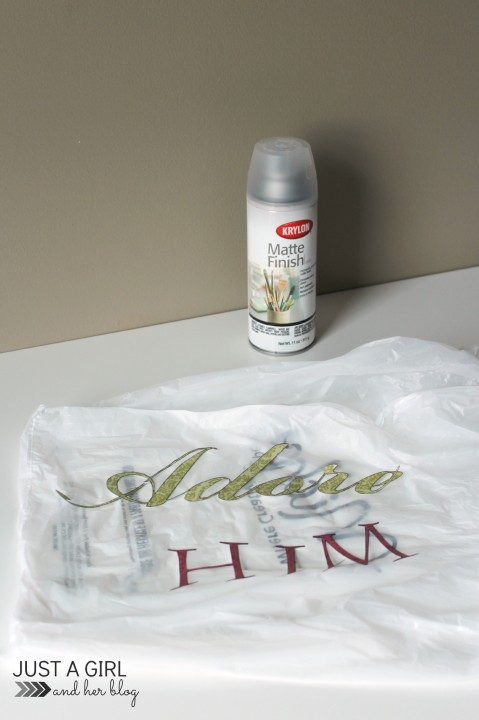
I also wanted the black outline from my printer to remain on the letters so that they would “pop” off the canvas even more, but as soon as I started decoupaging them, the ink wanted to smear. Yikes! To keep my whole project from becoming a mess, I sprayed the letters with Krylon’s Matte Finish protective spray (found at Michael’s), and I could decoupage them without worrying about the ink smudging.
I did two coats of decoupage over all of the letters, let it dry and…TADA!
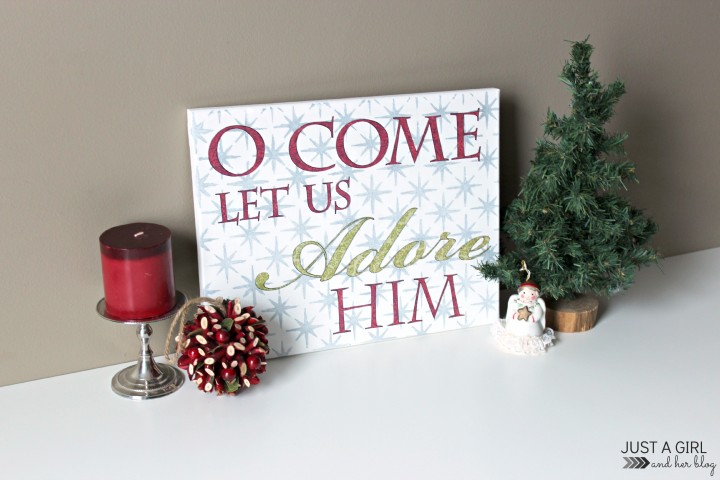
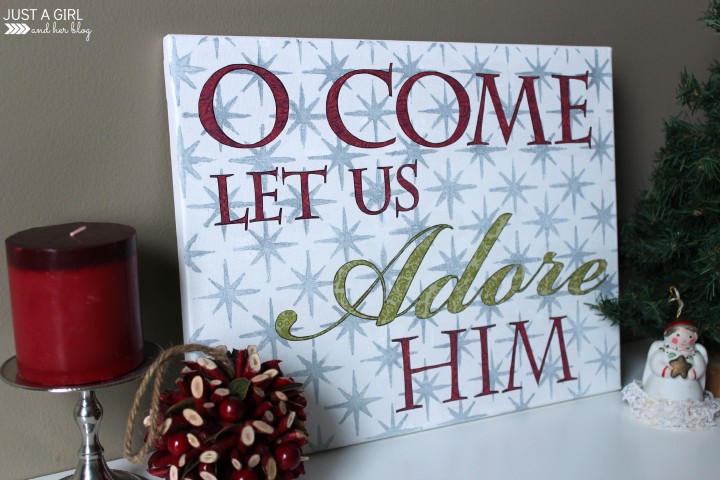
I had a beautiful sign to add to my Christmas decor with little artistic ability needed; all I had to do was stencil and cut out some paper! Now that’s my kind of project!
If someone as artistically challenged as me can create this little piece of art, you can do it too! (My mom saw it sitting in my craft room and didn’t believe I had made it at first. If you can trick your mom, you can trick anyone, people! 😉 )
So give this simple Christmas art a try! You might surprise yourself. (I know I did!)
Will you be creating any Christmas art for your home this year?

SO cute! Having the last name Sparks…my girls love to make things that say “Never let anyone dull your Sparkle”…those cute stars wold be perfect for a sign like that.
Thanks for sharing!
Ashley Rane Sparks
That is so cute! I want a fun last name like that! Thanks so much for stopping by, Ashley! Have a great week!
~Abby =)
Abby, this is beautiful! I’m totally loving all of the signs – you did a wonderful job! Thanks so much for sharing and pinning! Have a happy Thursday!
Thank you so much, Cindy! Your sweet comments always make my day! I hope you’re having a wonderful week!
~Abby =)
I suffer from the exact same dichotomy!! Lol
But this is so awesome you may have inspired me to try it. Love!
Glad I’m not the only one! 😀 You could totally handle this…It would be a great addition to the new house! Hope you’re having a great week, Kristy!
~Abby =)
This came out great Abby! It’s one of my favorite songs, I can’t help but sing it when I look at your sign 🙂
Thank you, friend! I love that song too! {Clearly… ;)} Hope you’re having a wonderful day!
~Abby =)
These are adorable and would make perfect gifts for my family! Thanks! 🙂
Thank you, Heather! Happy Crafting! 😀
~Abby =)
I love this, and you did a fantastic job with the tutorial! I’ve been wanting to do a professional-looking sign for my daughter’s room, and now I know how! Thanks! Dee 🙂
Thanks, Dee! Have fun with the one for your daughter’s room. I’m sure it will be adorable!
~Abby =)
Your title made me laugh, but your sign turned out fantastic! And you know what? I can’t stencil to save my life lol! XO
What?! But you could probably paint all of the little stars by hand– I have seen your many talents, Miss Christy! 😀 Hope you’re having a wonderful week!
~Abby =)
What a fabulous idea! I love the stenciled stars–before I read the details, I thought the stars must have been pre-printed. You did a great job and I love some of the signs your co-hosts came up with also. I may have to give this one a try!
Thank you so much for popping over and for your sweet comments, Tasha! Hope you’re having a wonderful week!
~Abby =)
I love it, Abby! This clearly puts the focus on Jesus and it’s super cute! I love that you were able to do this without a Silhouette. Stopping by from Inspire Me Please–have a great night!
Thank you so much for stopping by, Miss Carrie! I think it may have been a little quicker, but the old-fashioned cutting by hand method worked just fine! 🙂 Hope you’re having a wonderful week!
~Abby =)
You had to be artistic to be able to put all the words and stenciling together as you did to make your sign look so good. We’re all artistic in our own ways when we make things as we do. You do a wonderful job. I love your sign. Happy Thanksgiving
Awww…thank you so much, JaneEllen. You are so sweet! Happy Thanksgiving to you too!
~Abby =)
This sign is so pretty Abby and I was thrilled to read your post so I could learn your secrets! Love the stencilled background and the mod podged lettering is so crisp and bright against it – great job!
Thank you, Krista! I will share my secrets any time, lol. 🙂 Hope you’re having a great day!
~Abby =)
Wow! You did such a great job! It came out beautifully. I need to get to work on a Christmas sign for your link up party this weekend!
Thank you so much, Katie! Can’t wait to check out your sign!
~Abby =)
I really love this sign! Beautifully done!
Thank you so much, Taryn! You are so sweet. Hope you’re having a wonderful week!
~Abby =)
Love this! The text you chose, the silver stenciling, the fact that you decoupaged those letters so straightly…it’s such a fabulous finished look! (And gets me really excited for Christmas.) Great job, friend.
Thank you so much, Lauren! Your sweet comments always make my day. You’re the bestest!Have a great week!
~Abby =)
This is adorable! Now I have that song in my head <3 I would love for you to stop by and link up to my link party at https://ihearthandson.blogspot.ca/2013/11/show-off-friday-4.html
Have a great weekend!
Thanks so much for the invite, Jenn! Have a great week!
~Abby =)
This is awesome! I love easy art projects! You did a beautiful job 🙂
Hooray for easy projects! Thanks so much for popping over, Dria! Hope you’re having a wonderful week!
~Abby =)
LOVE this, Abby! Thanks for sharing! Pinned 😉
Thank you so much, Brenda! I appreciate it! Hope you’re having a wonderful week!
~Abby =)
What a neat project! It turned out beautifully. Thanks for the thorough tutorial. I’d like to create something similar for the holidays. 🙂
Thank you so much, Michelle! You are too sweet! Hope you’re having a wonderful week!
~Abby =)
Love how this turned out!! Hope you have a great week!
Take care,
Trish
Thank you so much, Trish! I hope you have a wonderful week as well!
~Abby =)
I just love this Abby! The colors you chose are so classic and the saying itself – Perfection!! Great job for a “non-crafty” girl {wink} 🙂
Thank you so much, Cindy! Yes, cutting and stenciling I can handle, lol! Hope you’re having a wonderful week!
~Abby =)
They are perfect and festive for the holiday! I love it!
Thanks so much, Tiff! Hope you’re having a wonderful week!
~Abby =)
What a lovely sign! The lettering came out lovely – I assumed you used a Silhouette to cut the letters. You’ve got a steady hand. 🙂
Thank you, Laura! I don’t know if it’s a steady hand or just small scissors, lol! Thanks so much for stopping by! Have a great day!
~Abby =)
This is absolutely gorgeous! I love the way the pattern and the words work together so well.
Thank you so much, Shannah! You are so sweet. Hope you’re having a wonderful week!
~Abby =)
I love this idea! It looks like something I could actually do. Thanks for sharing!
Thank you, Tanya! You could totally handle it! Hope you’re having a wonderful week!
~Abby =)
I love yours very much Abby 🙂 oh! gets me inspired for the Holidays 🙂
& I really loved reading your post; you are so funny , you know I love creating too but can’t draw anything & you did a beautiful job 🙂 thanks for the inspiration!
Thank you so much, Ingrid! You are the sweetest! Hope you’re having a wonderful week, my friend!
~Abby =)
I know this post is a year old…but can you tell me the fonts you used for your letters? Pretty Please 🙂
Hi, Libby! The cursive font is called Bickham Script Pro Regular, and the other font is Charlemagne Std. I hope this helps!!
~Abby =)
Can you tell me the exact name of the stencil I am have a hard time reading it.
Hi, Toni! It was from this Martha Stewart stencil set: https://www.amazon.com/gp/product/B007C7XSYE?keywords=martha%20stewart%20stencils&qid=1449772064&ref_=sr_1_5&sr=8-5 . Have a great week!
~Abby =)