My Top 5 Interior Photography Tips for Bloggers
One of the aspects of blogging that has been the biggest struggle for me since I first started my blog has been photography. My very first posts featured grainy photos taken with my iPhone, and it was obvious that I had no idea what I was doing!
A few months into blogging, I invested in my first DSLR camera, but still, I struggled. It was hard to figure out how to get all of the different settings just right so my photos would turn out bright, crisp, and clear.
But since I realized that, particularly in the creative niches, the quality of the photos can make or break the post, I’ve kept plugging away. After lots trial and error and taking thousands and thousands of photos, my photography has improved by leaps and bounds! And since interior photography for blogging purposes can be a little tricky, I thought I’d compile the very best tips and strategies that have helped me improve my skills.
Learn how to start a blog!
Get your new blog set up in a few short minutes with our easy-to-follow guide, and start growing your site today!
Equipment
Before we get into the tips, I wanted to give a rundown of the photography equipment I currently use. If all you have access to right now is a point and shoot camera or even your smart phone, don’t be discouraged– it is possible to take beautiful photos without a DSLR and make the very most of the equipment you already have. If you’re looking to invest in photography equipment for your blog, though, here are the pieces that are working for me:
- Canon 6D DSLR Camera– I started out with the Canon Rebel t3i, which was a great first camera to learn with. After about 2 years, I upgraded to the Canon 6D, which is a full frame camera, and I absolutely love it.
- Tamron AF 28-75mm f/2.8 Lens– I use this lens for the majority of the photos I take for the blog. It is a zoom lens, so it allows me to get many different types of shots– from full room shots to detail shots– all with one lens.
- Canon 50mm f/1.8 Lens– This is a fantastic little inexpensive lens. It is perfect if you do a lot of close up detail shots. If you’re trying to do full room shots, this lens may be a bit prohibitive because it’s hard to get a big area into the shot.
- Tamron SP 15-30mm f/2.8– Every once in a while I need to photograph a tight space or a full room that the previous lenses can’t manage, so I pull out this wide angle lens.
- Vanguard Alta Pro Tripod– As you’ll see in my tips below, I use my tripod all the time, and this one by Vanguard is awesome.
- Cowboy Studio Light Kit– I definitely prefer to use natural light whenever possible, but there are always a few areas in a house that get absolutely 0 natural light, so for those I use this light kit.
My Top 5 Interior Photography Tips for Bloggers
Now that I’ve covered equipment, let’s get into the tips! These are 5 things I do every time I take photos for the blog, and they have improved my photography immensely.
1. Create the Best Possible Lighting Situation
One of the most frustrating things to try to figure out with photography– and particularly interior photography– is lighting. Natural lighting is ideal, of course, but it’s not always possible to do every shoot on a bright day when it is slightly overcast so the sun isn’t too harsh. There are a few things I do to help create great lighting.
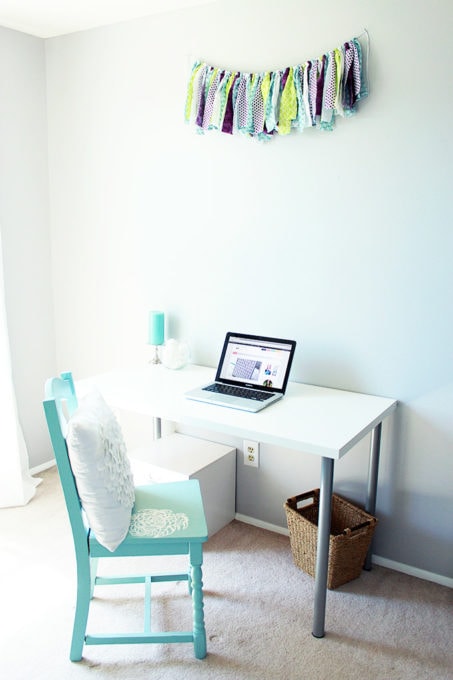
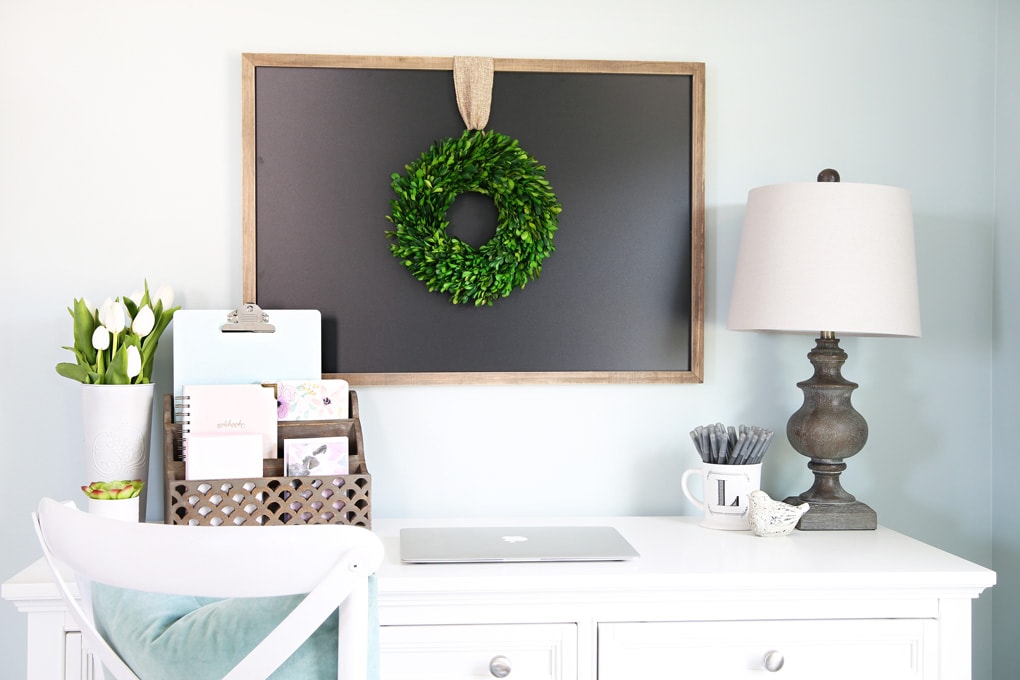
The first thing I did was experiment a ton and find the spot with the best lighting in our house. In our last house, this happened to be one particular wall in my office (which is part of the reason it became my office!) at desk height. This room only has one window, which is to the left of the desk, and for some reason the sun always seems to be shining perfectly (without being too harsh) on that spot, making it perfect for shooting photos of small projects or printables.
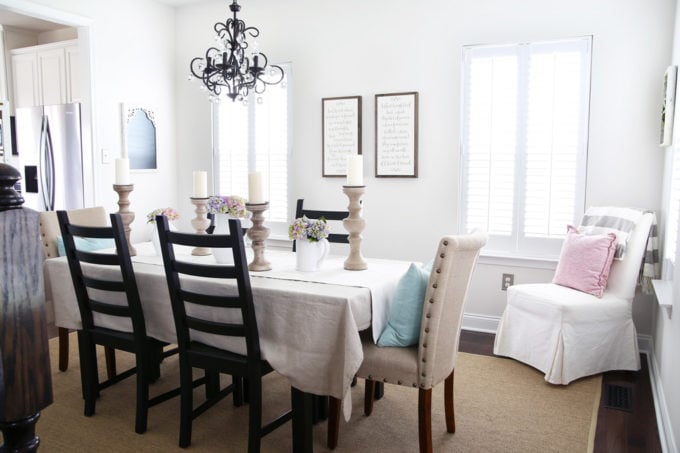
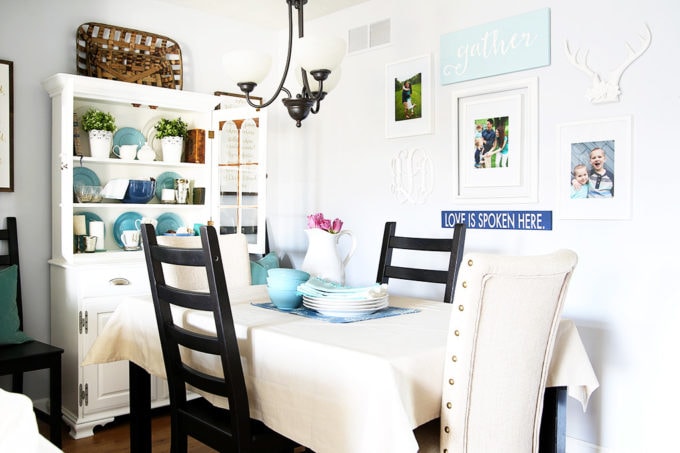
Sometimes I’m trying to shoot a whole room, and I obviously can’t move the entire room to the perfect lighting spot in our house! I do have a little trick that helps me improve the lighting in any room, though: I have lightweight white curtains or Roman shades in many of the rooms in our house. This is partly just because I love how they look, but they also serve a functional purpose.
If I am photographing a room and the light is too harsh, I can pull the curtains closed or put the Roman shades down; they will still let a lot of light in, but they’ll diffuse it enough that I’m not getting a harsh effect or yellow glow to my photos. If you don’t have white curtains or shades, I’ve also hung white bedsheets over the window to achieve the same effect.
The final thing I do to get enough natural light for my interior photos is to…
2. Use the Magic Formula: Tripod + Low ISO + Long Shutter Speeds
This formula completely changed my photography for the better. In order to get my photos light enough in our house, I used to bump the ISO all the way up to 800 or sometimes higher; I would also need to keep my f-stop low so that I could use a fast enough shutter speed that my photos didn’t turn out blurry. The problem with a high ISO, though, is that you get some grain to your photos, and they’re not incredibly crisp and clear. The other problem with this method was that it was hard to get an entire room in focus since I had to keep my f-stop so low so the photo would stay bright.
In the new method, I put my camera on the tripod so I don’t have to worry about holding it still for the photo. I keep my ISO at 100 for almost every single shot so my photos are as crisp as possible. If I want to have the whole room in focus, I’ll set my f-stop at a 10 or 12, and then I slow down the shutter speed to get the photo light enough.
ISO 100, f-stop 10, shutter speed 5 seconds
Our last house was really dark, so it wasn’t unusual to use even 10-15 second shutter speeds, but since the camera was on a tripod and my subject wasn’t moving, it worked well.
ISO 100, f-stop 10, shutter speed 15 seconds
I can use the same method if I’m taking a detail shot with a lower f-stop. I have my camera on the tripod with the ISO at 100. I can set my f-stop at 4 or 3.5 or even lower if I need to. Then I adjust the shutter speed to get the photo as bright as I need it, which in this case would be shorter since my f-stop is lower.

ISO 100, f-stop 4, shutter speed 0.6 seconds
And in a darker space…

ISO 100, f-stop 4, shutter speed 2.5 seconds
One issue you can run into when using a long shutter speed is that if you bump the camera when you push the button to take the shot, your photo can get blurry. There are a few ways to avoid this. One way is to use the camera’s 2 second delay. I turn on the delay, push the button, step back from the camera, and the camera takes the photo without me touching it at that moment. That method works in a pinch, but my favorite way to avoid moving the camera while the photo is being taken is to…
3. Learn How to Tether
Tethering also changed my photography for the better and has saved me a ton of time. With tethering, I use the cord that came with my camera (the same one you would use to transfer photos from your camera to the computer) to connect the camera to the computer. Then I get into the Canon EOS utility on my computer and choose the “remote shooting” option. This allows me to adjust the settings and push the button to take the photo from my computer rather than on the camera itself.
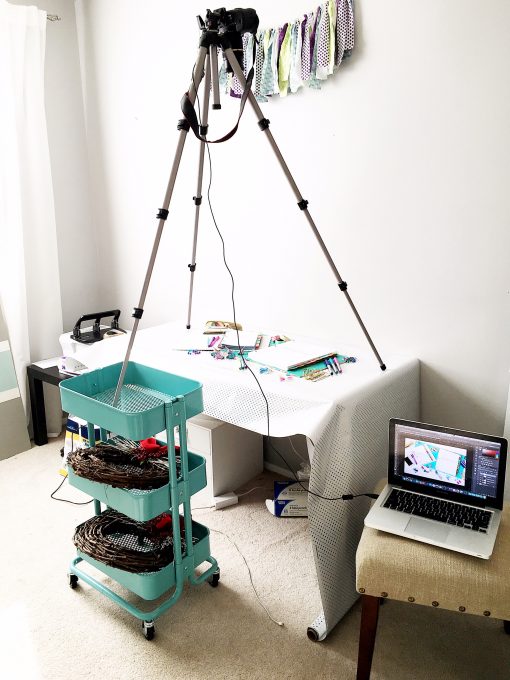
my camera tethered to my computer while photographing printables
The other reason I love tethering is that I can get a big preview of my photos on my computer, rather than relying on the tiny image on the screen on the back of the camera. This has saved me time for sure.
I used to have to do the whole shoot, upload my photos to the computer, check them all out, and then if I noticed something was out of place or they weren’t as clear as I wanted, I would have to re-do the entire shoot. When I tether and get a big preview of the photo on my computer immediately, I can quickly see if anything is out of place or if I need to change any of my camera settings to get the shot I want. I talked more about how to set up tethering in this post.
4. Take Shots from Many, Many Different Angles
When I’m doing a shoot, I usually have in mind the types of photos I want to take for my upcoming blog post(s). I don’t stop there, though. If I have a room or project set up for a shoot, I take photos from every possible distance and angle– close shots, medium shots, far shots, shots from all different sides of the subject, shots from above, shots from behind, etc. Not only do I end up with some unexpected “money” shots from these different angles, but having so many different shots of a single space or project can help me have the perfect shot for all of my different social media platforms, and it can give me weeks worth of photos I can post on Instagram!
You read that right– almost none of my Instagram posts are actually “insta.” I take a ton of photos on the same day, edit them, and then I can drip them out in my IG feed over time. This is a huge time saver because I don’t have to worry about making sure everything is perfectly styled all the time (hello, two small boys who think they’re tornadoes!), taking out my camera every day, and spending tons of time getting the perfect shot. Two birds. One stone. Boom. 🙂
5. Nail Down Your Editing Process
Finally, I would say that honing my editing process has been almost as important as the actual photo-taking process. I started out by editing in PicMonkey, which worked well for me for a long time. I then took the time to learn Photoshop, and again, it was a total game changer. Advanced programs like Photoshop and Lightroom can seem intimidating, but once you have your process down, you can basically do the same thing for every photo and soon it becomes second nature.
Since it’s hard to explain photo editing through writing and screenshots, I decided to make a quick video to explain my quick photo editing process in Photoshop:
Resources
My photography would never be what is today without guidance from a few helpful resources, so I thought I’d list those in case you were looking for more photography help.
Rachel’s photography series at Maison de Pax– Rachel has taught me so much about photography, and she was kind enough to share all of her brilliant photography wisdom in a FREE blog post series on her site! You can start at the first post here, and then she links to the next post in the series at the end of each post.
These additional posts on my blog may also be helpful:
My Favorite Photography and Videography Equipment for Bloggers
So are you ready to go out there and tackle blog photography?! I hope this post gave you some helpful ideas for where to start. Blog photography can be a little frustrating at first, but I promise that if you keep working at it, it will get easier!
We’re sharing ALL of the tools we’ve used to grow our blog!
Stop the guessing game! Get our list of 100+ proven tips, tools, and resources that can take your blog/online business to the next level!
Happy photographing!

This post contains affiliate links. For more information, see my disclosures here.
Omg I needed this info so bad! I’m a newer blogger and still using my iPhone.. :/ Hopefully I can invest in a new camera soon, but I’m definitely going to use some of these tips immediately. Thank you for showing the behind the scenes stuff – I always feel like a crazy person taking so many photos! We don’t have a lot of bright areas in our home but I have been raising the blinds to bring in more light and using a Dollar store foam board as a background if I have to. I may try to convince my husband to repaint a couple of rooms to brighten up our home, which should help as well. Thank you so much for sharing this! I am always in awe of your photos – they are so light and crisp!
You are too sweet! Thank you, Amanda. So glad it was helpful for you! <3
~Abby =)
Thanks for the camera recommendation! I’m still using my iPhone but I need to invest in a quality camera very soon.
Best of luck with your photography, Ashley! Hope you’re having a great weekend!
~Abby =)
This advice is just what I needed! I am struggling with grainy pictures and I have been shooting with 800 ISO. I’m going to bring it down and see how that makes my pictures better. Thanks for sharing all the resources also!
So glad it was helpful for you, Christine! <3
~Abby =)
So many great tips!! I’ve never had anyone recommend bringing down the ISO this low or the other settings. I’ve been playing around with my Canon Rebel T6i and the camera gets stuck for a long time before it will actually finish a photo at these settings. I’m wondering if I should upgrade to a full frame camera. When I’ve asked the guys at my local camera store they say I won’t notice enough difference because I have the right lens. I keep thinking I just need to do it because shooting in low lighting is not working in my house!
Hi, Alison! It’s not the camera getting stuck. The shutter speed is an actual number of seconds that the shutter stays open, so if I set the shutter speed at 10″, it will stay open for 10 seconds in order to let in more light and brighten up my photo. This method won’t work if you’re working with people because people can’t sit perfectly still for that long, and they will end up looking blurry, but it is perfect if you are taking pictures of inanimate objects. I used a cropped frame camera for about 2 years or so and you can definitely get great pictures with it, but my full frame camera really did make a huge difference in helping me take my photography up a notch. You don’t have to have a full frame camera to do the long shutter speed technique, but if it’s in the budget and you’re looking to improve your photography, it is a good investment. I hope this helps!
~Abby =)
My problem is mostly two young children. I clean, they destroy! I would love to photograph inside my house more but heck no! Because everyone would think I don’t clean. Really I need another pair of hands or a roll of duct tape. That is only a joke, although I have considered it 😉
Oh, I hear ya! That is a hard stage when they’re very little for sure!
~Abby =)
Good to know! Photography is a new hobby for me- I’m really enjoying it but have a lot to learn. Thanks for the information.
So glad it was helpful for you, Whitney! Have a wonderful week! <3
~Abby =)
Good post, I really enjoyed it. For me, it is all about lighting. I had a photography mentor and he said you need to understand light before you can really progress with photography. He also gave me a tip, to look at professional shots and try guess what lighting style they used, e.g. was it ring flash, soft box etc.
Thank you for the camera recommendations. I recently got into real estate photography business and looking for the best gear to get. Will definitely check out all these cameras you recommended.
So glad it was helpful for you! Have a great week! <3
~Abby =)