Monogrammed Christmas Ornaments
Learn how to make DIY monogrammed Christmas ornaments– the perfect personalized gift for everyone in your life!
Christmas will be here before we know it, so today I wanted to share a simple ornament tutorial that I have done several times over the years! These DIY monogrammed Christmas ornaments are perfect as small gifts and can even be used in place of a gift tag on presents.
Personalized gifts and ornaments just have something a little extra special, and these easy-to-make ornaments deliver just that!
Here’s how I make them…
How to Make DIY Monogrammed Christmas Ornaments
This post contains affiliate links. For more information, see my disclosures here.
Step 1- Gather Necessary Supplies
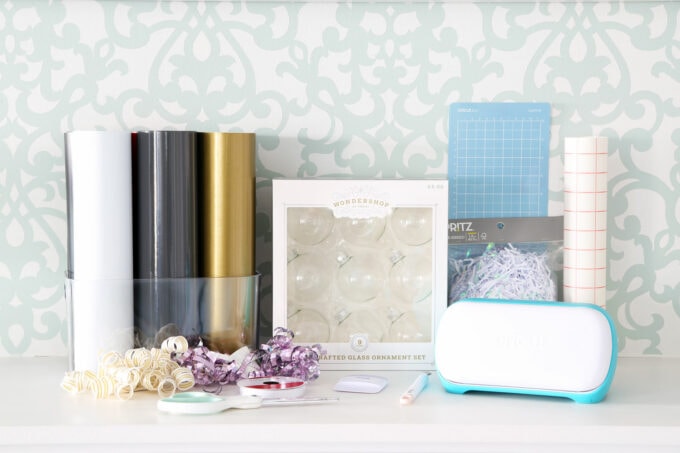
These are the tools I used…
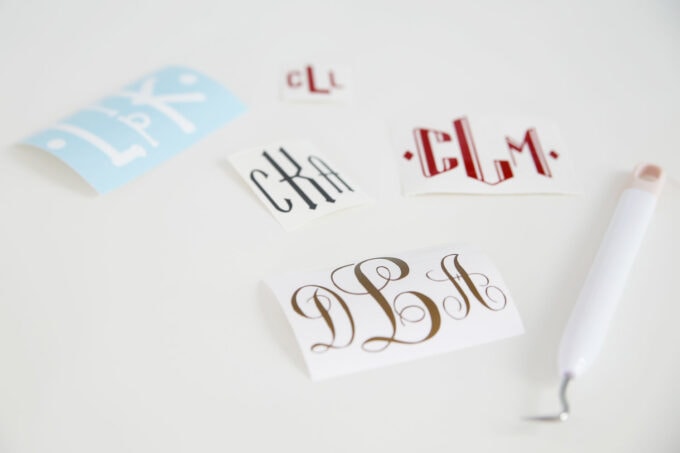
Step 2- Create the Designs
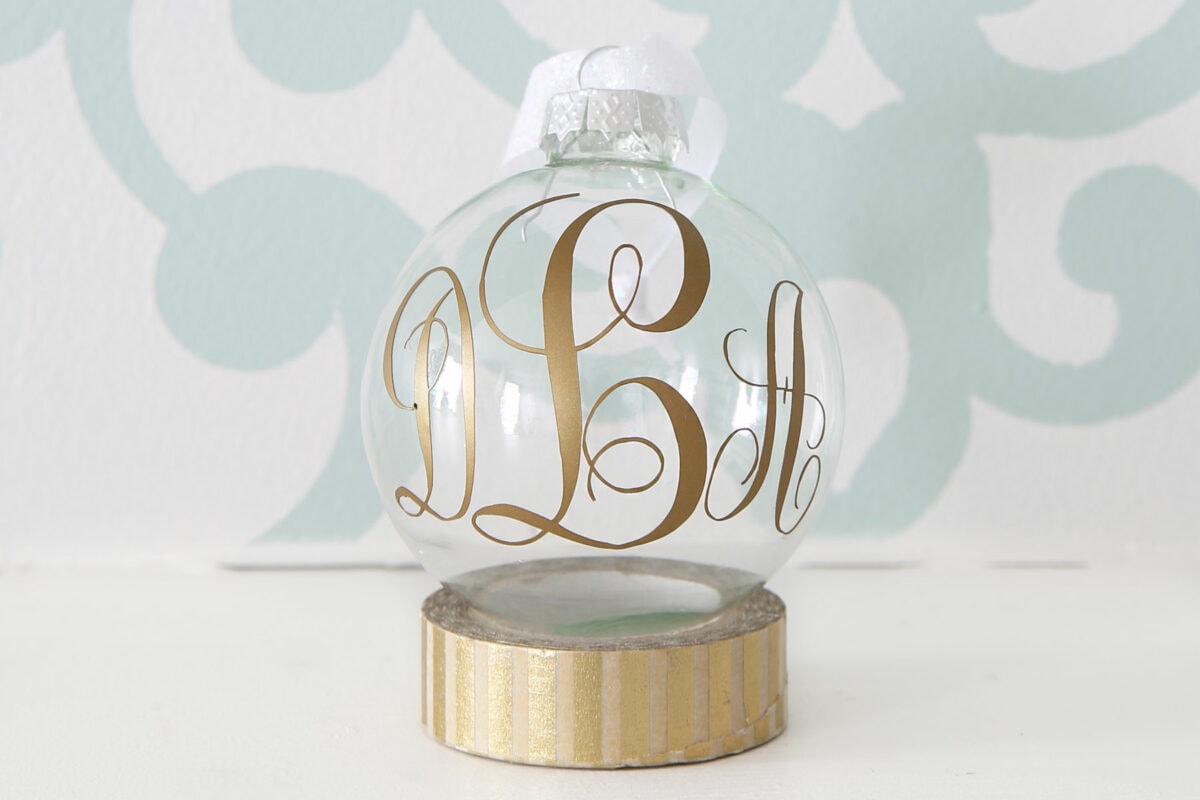
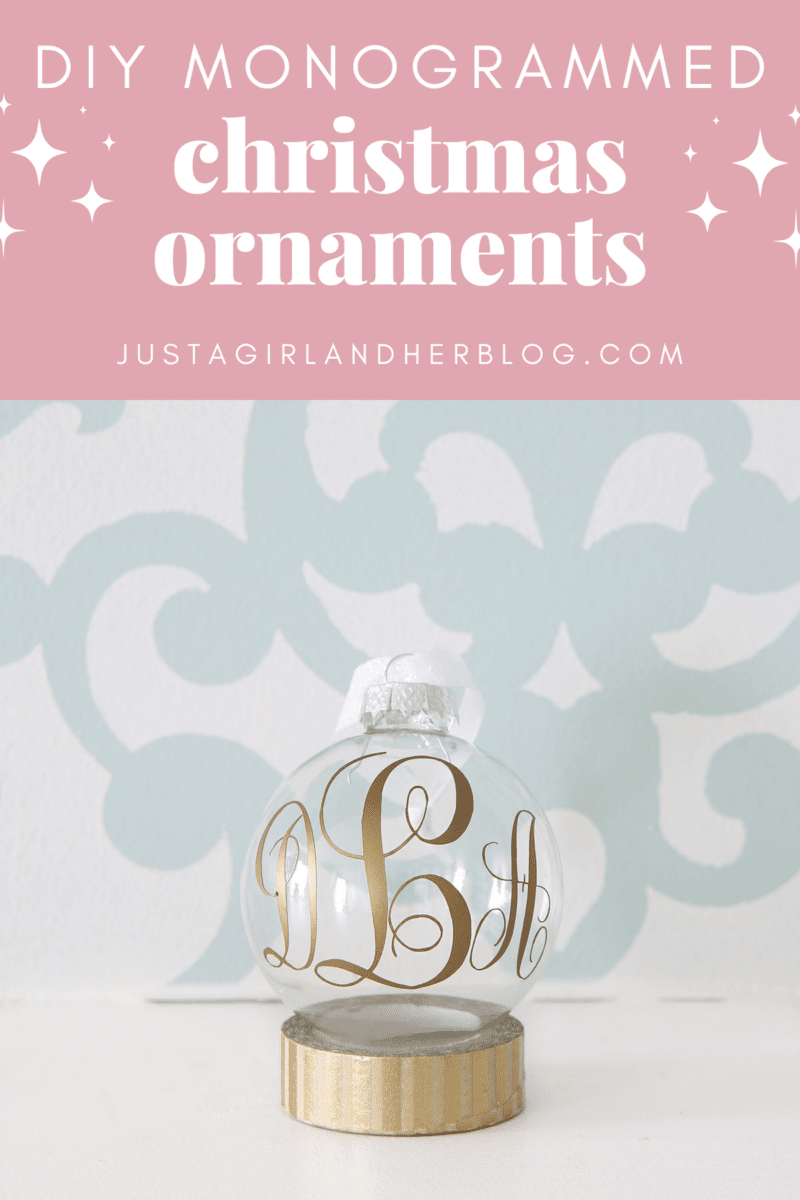
The first thing I had to do was go into my Cricut Design Space software and create my designs. I chose the fonts I liked and then resized my letters to fit the way I wanted them. For the ornaments I was using, my tallest letters ended up being about 2″ high.

Monogram Fonts Used
For my most “traditional” monogram (the cursive one), I downloaded and used Monogram KK font.
The red letters are actually images from the Art Deco Image Set in Cricut Design Space. I then put diamonds from the “Shapes” feature on either side of the letters.
The white letters are DTC Fresh Brew, a Cricut font.
And the Cricut font for the gray letters is called Linotype Go Tekk Black.
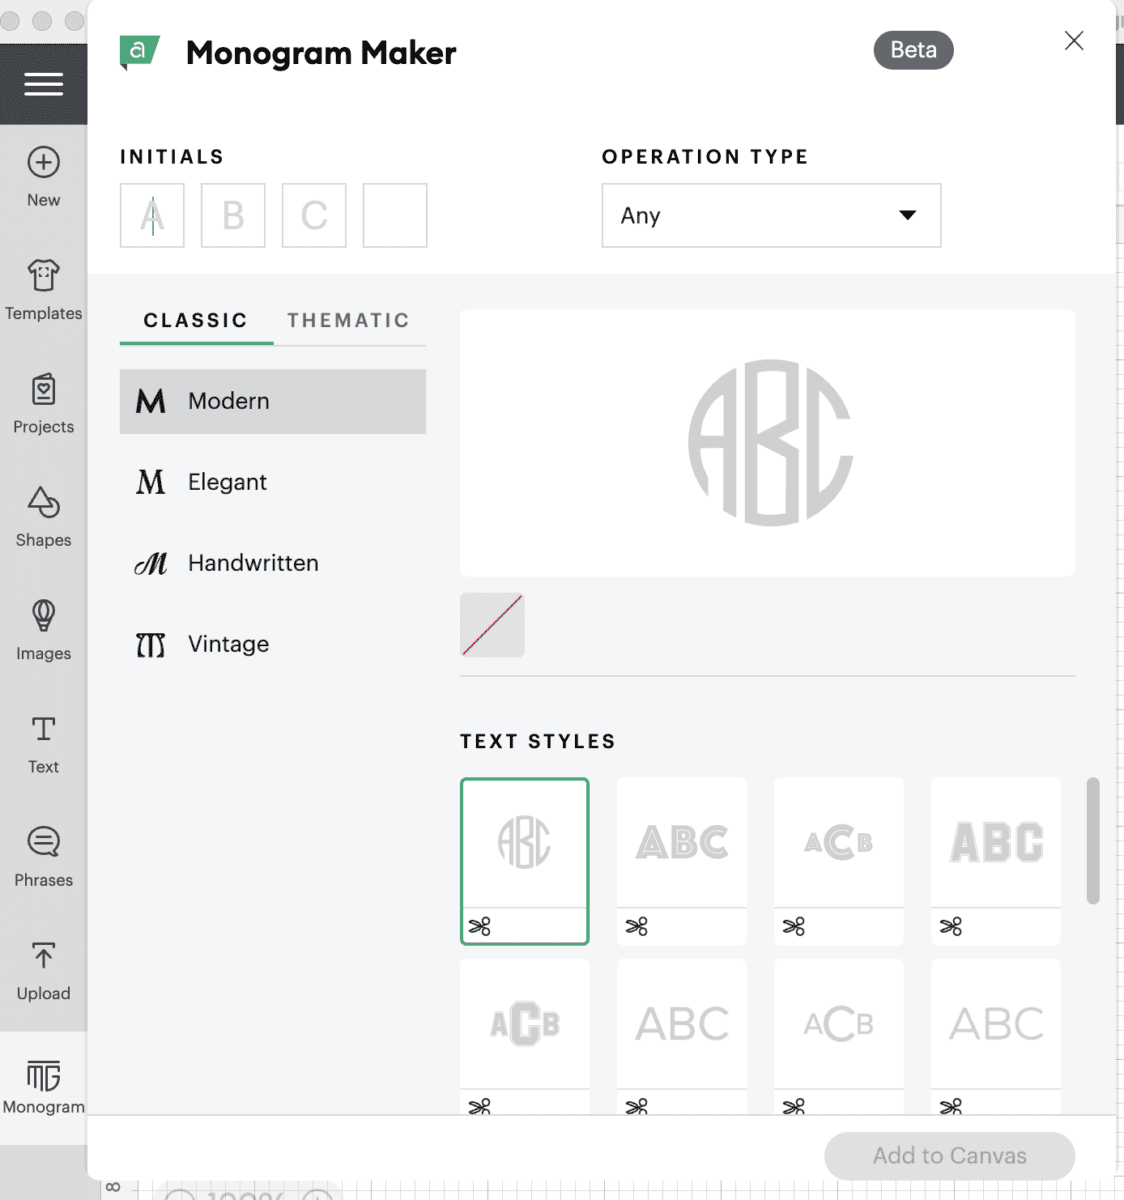
Update: It is now even easier to create your monogram in Cricut Design Space with their new monogram maker tool!
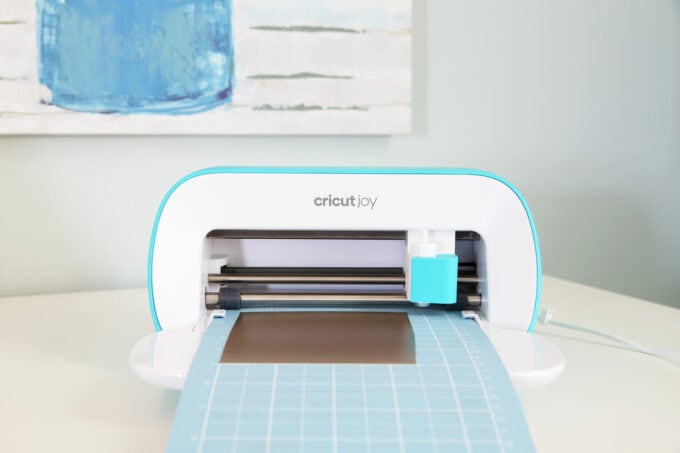
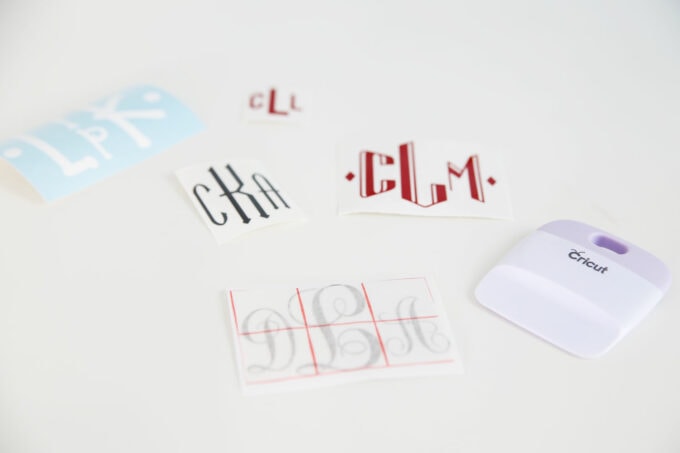
Step 3- Cut the Monogram Letters
Because my designs were so small, I was able to use small scraps of leftover vinyl for my designs. Since I wasn’t using Smart Vinyl, I placed my vinyl scrap onto the mat, chose “Permanent Vinyl” as my material, and let my Cricut Joy cut the design for me, repeating the process for each color.
Step 4- Applying the Vinyl Designs to the Ornaments
Once my design had been cut out, I used my weeding tool to peel away the excess vinyl.
I then cut a piece of transfer paper to the size of my monogram design, placed it on top of the vinyl, and used my scraper tool to ensure that the vinyl was adhered to the transfer paper.
After peeling the backing off of the vinyl letters, I centered the design on my ornament, gently pressing on the letters to help them stick.
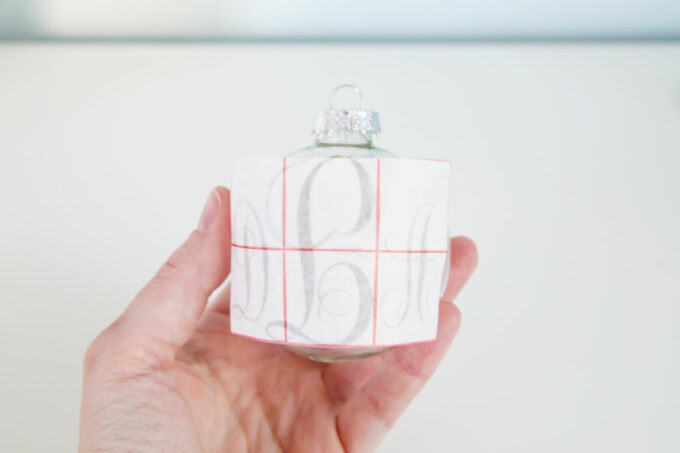
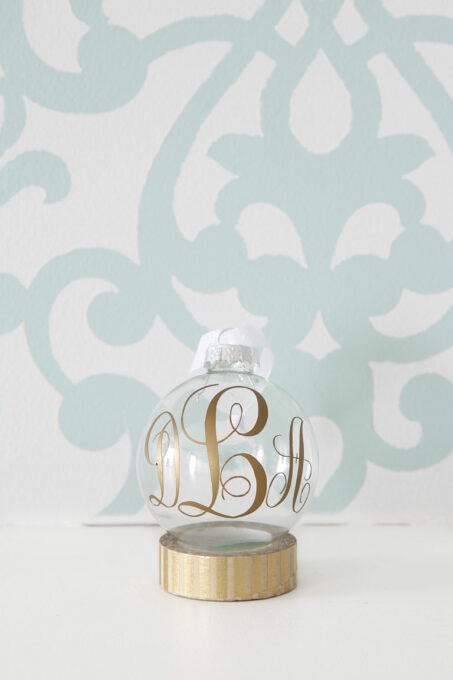
I peeled away the transfer paper, and was left with my beautiful DIY monogrammed Christmas ornament!
Fillers are fun!
A clear glass ornament on its own is simple and beautiful, but if you want to add more color or interest, consider using a filler!
If you’re using glass ornaments, you’ll want to be sure that your filler is lightweight so it doesn’t break your bulb. But there are so many different things you could use to fill the ornaments!
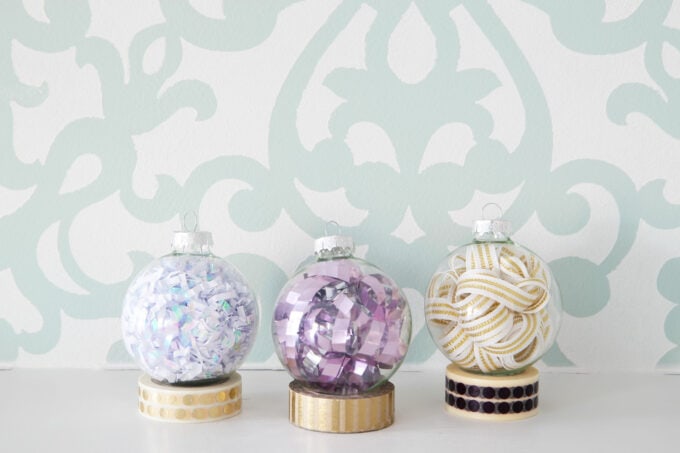
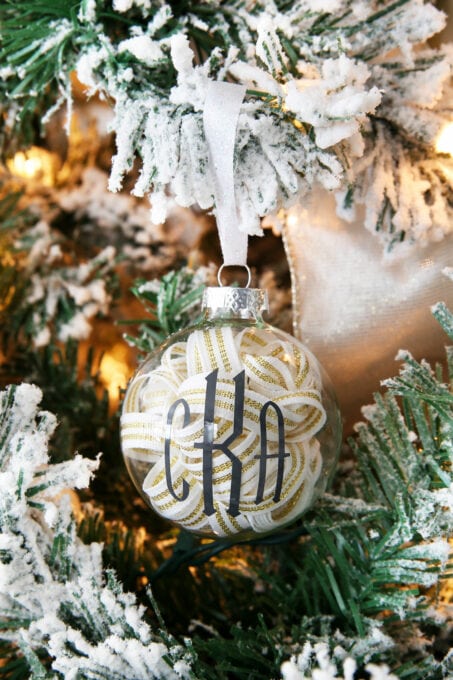
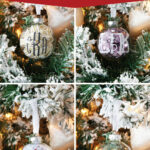
In the image above, I used shredded paper filler in the white ornament on the left. For the other two ornaments, I took apart curly gift toppers and used the pieces to fill the bulbs. I love the canvas that all three fillers created for my DIY monogram ornaments!
How to Decide on the Order of Monogram Letters
If you’re not sure how to order your monogram letters, here are a few basic guidelines:
How do you order a person’s initials on a monogram?
If we are gifting the monogrammed ornament to an individual, the initial for their first name should go on the left, followed by the letter for their last name in the middle (usually in a larger size), and then finishing with their middle initial on the right.
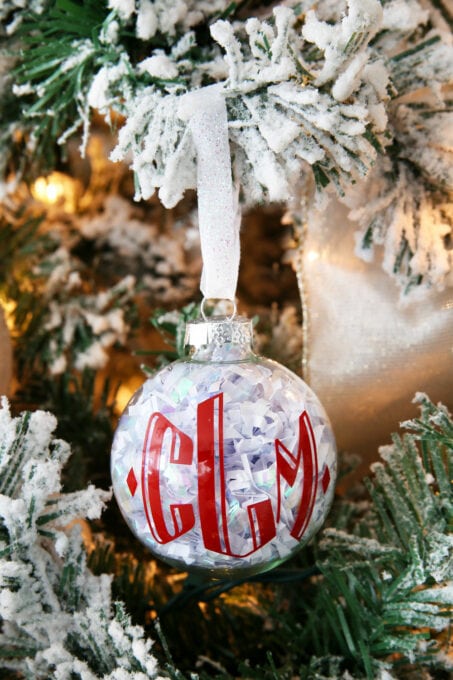
The ornament above was created for my son, Caleb Michael Lawson. So his first initial, “C”, is on the left, his last initial, “L”, is in the middle, and his middle initial, “M” is on the right.
How do you create a monogram for someone who has two middle names?
If your recipient has more than three initials in their name, it’s time to get creative! When I run into this issue, I usually employ the “stack” method with the middle initials, as I did for the ornament below.
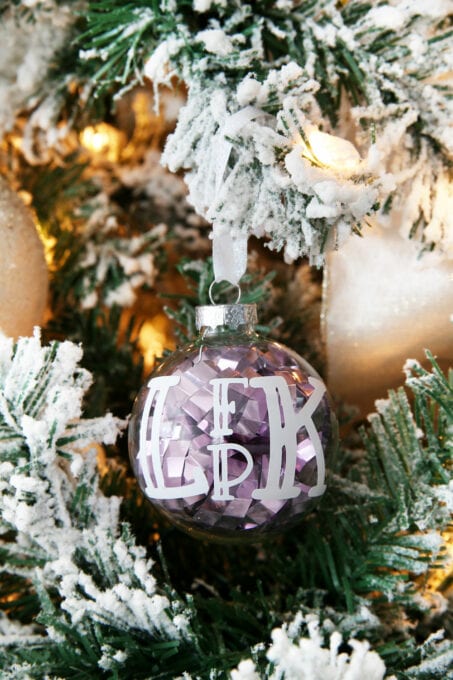
Let’s say our recipient’s name is Lauren Fiona Paige Klein. In order to include all of her initials, I started with a big “L” for Lauren on the left, stacked her two middle initials– “F” for Fiona and “P” for Paige– in the middle, and placed a “K” for her last name on the right.
This isn’t the only way to solve the 4-initial problem, but I think it is aesthetically pleasing with all of the letters lining up neatly.
How do you create a monogram for a married couple?
The most common rule I’ve seen for creating a monogram for a married couple is to place the wife’s initial on the left, followed by the initial of the last name in the middle, and then ending with the husband’s initial on the right.
So if I was creating this ornament for Adam and Christine Klein, I would start with the “C” for Christine on the left, followed by a “K” in the middle for Klein, and end with an “A” on the right for Adam.
If you are creating a monogram for a situation other than the ones listed above and aren’t sure how to go about it, I thought this guide was helpful.
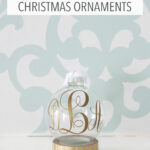
DIY Monogrammed Christmas Ornaments: Final Thoughts
If you’re looking to create DIY monogrammed Christmas ornaments for your loved ones this year, I hope this tutorial was helpful!
Personalized ornaments are really such an easy and thoughtful touch to add as a gift topper, to take as a host/hostess gift, or to give a little something to each member of a large group without spending a ton of money.
Happy gifting, friends!
How to Make Monogrammed Christmas Ornaments: Frequently Asked Questions
If you’d like to return to this post to follow along later, be sure to pin the image below so you can find it easily:
More DIY Ornament Ideas
Thanks so much for following along! Have a wonderful week!

This post contains affiliate links. For more information, see my disclosures here.
This is so pretty and elegant. I have been holding off too on my blog, I am doing projects but really trying to resist sharing them until later in the month at least. I love looking at older ornaments from years passed too. We have ones that my husband and I made as kids that our parents gave us. I never have a “magazine ready” Christmas tree. We just have all of these personal ornaments I cant do without. It is clothes pin reindeer’s and dried play dough crafts for our tree.
I love how these ornaments turned out! Pinning!
I love the way these trimmings ended up! Sticking!
Thank you so much!
How can i do this same thing without a Machine to make the letters? I love it idea
These are stunning! They would be the perfect addition to any tree.
So cute!!!!! Did the letters transfer without bubbling or bending along the rounded part of the ornament? That is my fear in making these LOL! Yours turned out super cute though.
I’d love to know how she got it on the ornament without air bubbles too!! Those curvy objects are sooooo hard!
Such an adorable ornament! Now that I think about it, my hubby and I don’t have ANY monogrammed/dated ornaments at ALL yet! That’s kind of sad, and might need to be changed! The Silhouette is on my Christmas-wishlist this year, so maybe I’ll be able to make one for next year! 😉
What a beautiful way to adorn the tree. Love the monogrammed ornaments.
A ah your killing me with monogrammed and silhouette ! You’re so creative Abby ! Question: How do you transfer?? When you applied it was it already cut? (On the vinyl)
Soooo cute, Abby! I need to make some of these, for sure!
So pretty! I love the monograms you created, and they are beautiful by themselves on the ornaments. Great gift ideas!
I LOVE monograms, so I’m a huge fan of these ornaments. You did a beautiful job, especially by choosing that pretty silver vinyl.
This is the perfect project – totally simple but packs a punch. Adding to my list for great homemade gifts this Christmas. You can never go wrong with a monogram.
Your ornament is lovely! Love the silver vinyl.
So pretty, Abby! I am still wanting a silhouette to make all these fabulous projects! Love the monogram!
Abby,
You did a beautiful job on the ornaments. I LOVE them. They just might be popping up on my tree too. Have fun at your Sisters Wedding. You sure have had a busy year.
Have a creative day,
Karen Marie
Where did you find the Monogram KK font? I searched the silhouette store and I see pre-made monograms, but no separate font. I purchased the pre-made and I am struggling with changing the letters.
Hi, Stephanie! I downloaded Monogram KK from dafont.com, installed it on my computer, and then was able to use it in the Silhouette software. It’s not from the Silhouette store. So sorry for the confusion! Hope you have a wonderful week!
~Abby =)
So how did you transfer the vinyl on the curved glass? I ways seem to get wrinkles!! Any tips would be greatly appreciated!!
Hi Heather! I wish I had a trick or secret! I just did it very slowly and smoothed out any bubbles as I went along. The glass was pretty forgiving, so I was able to peel up the vinyl and reposition it if I didn’t get it right the first time. Have a wonderful week!
~Abby =)
Hi Heather! Great quick gift. What size was your font? I am struggling with making it too big or too small. Thanks!
Hi, Missy! The center letter is 114.4 pt and the two outside letters are 90.45 pt. I hope this helps! Have a great holiday!
~Abby =)
Hey Abby, I featured this project in my blog post of 15 DIY wedding gifts to make with a Silhouette! Thanks for the Silhouette inspiration! If you want to check it out, I published the blog post this morning: https://smallstuffcounts.com/diy-wedding-gifts/