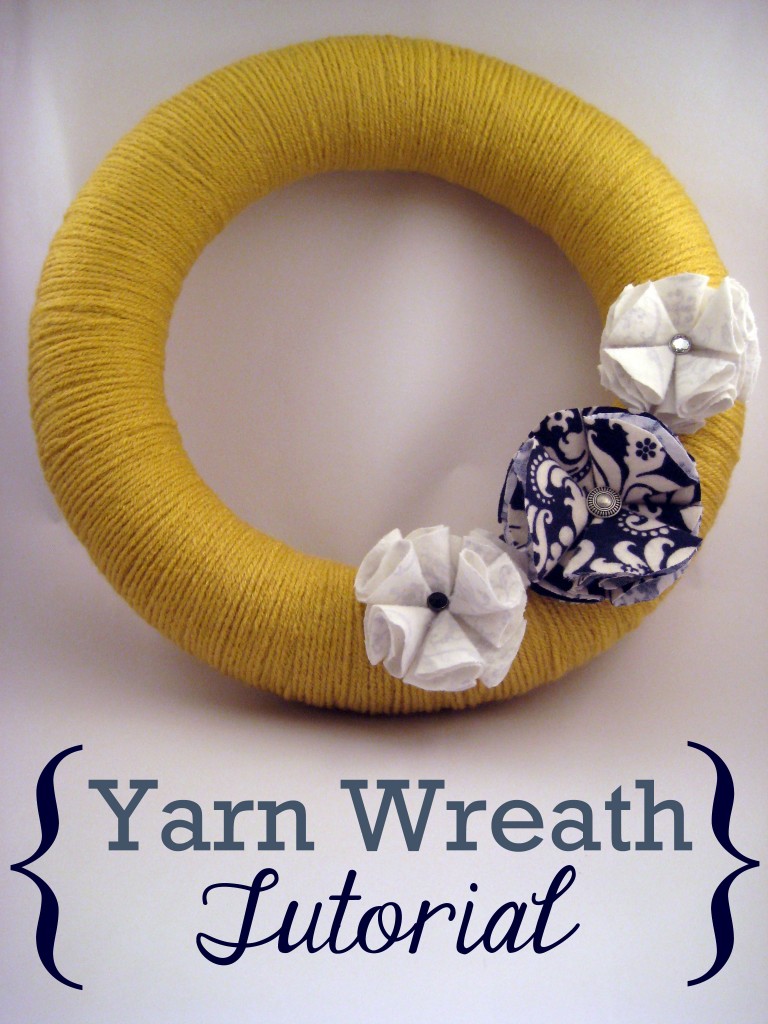
Yarn Wreath Tutorial
Oh, look, there they are! Remember our recent Fabric Flower DIY? This was the plan for those babies all along. We’re doing a bit of a living room restyle, and this is just one of the many pieces we’ll be adding to that space.
When I began planning out some of the new design elements for the living area, I knew I wanted a wreath as part of the decor, but I had to stay within the boundaries of my “Frugal in February” challenge.
I’ve committed to using only items I have on hand for the entire month of February, and since I didn’t already own a wreath that would work in the planned space, I knew I would have to make one. Just one problem: I also didn’t have a wreath form. But did I let that stop me? No way!
Here are the three simple items I used to make this wreath:
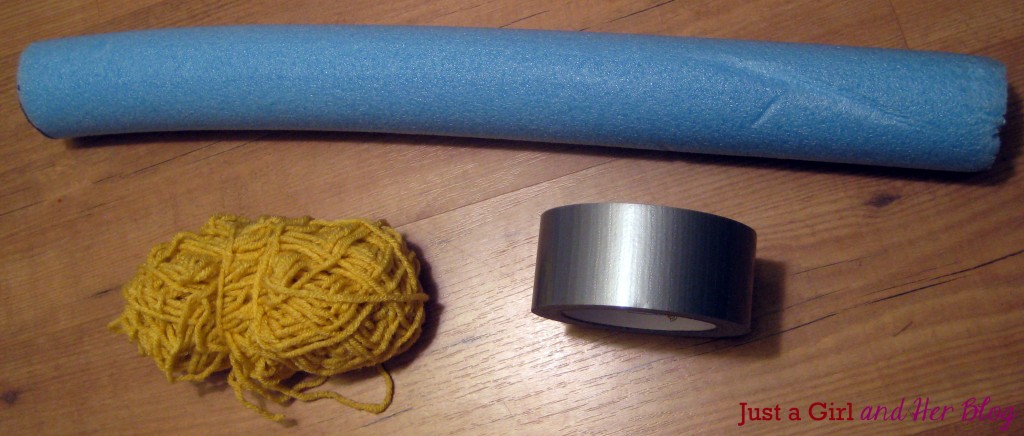
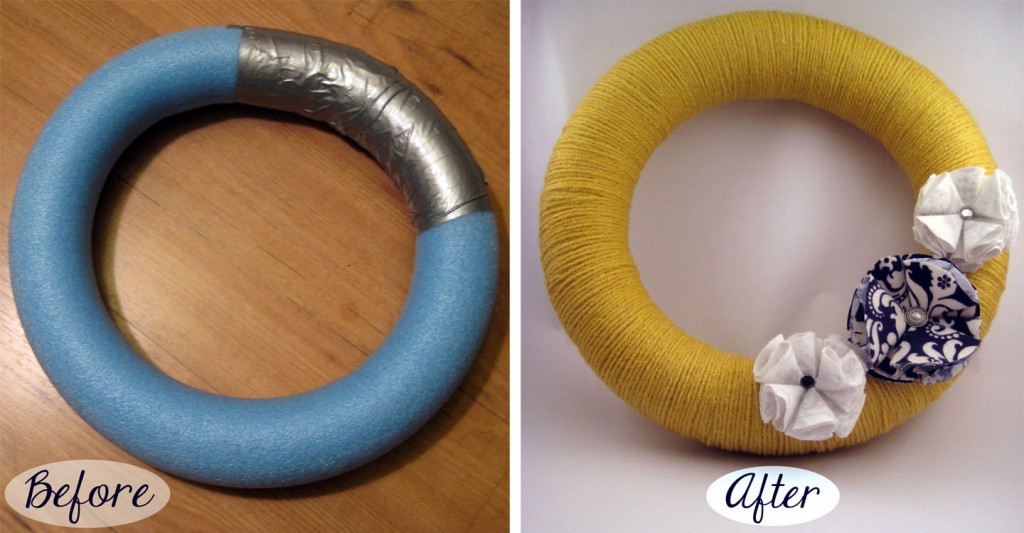
Oh yes, that’s a pool noodle, along with some duct tape and yarn. I was wracking my brain for ideas of how I could concoct a wreath when I came across the Cs’ pool noodle in the garage. (Don’t tell them I took it!) It cost me $1 last summer; at that price, I may never buy a wreath form again! I just used a serrated knife to cut it to the right length, duct taped that little guy together, and…
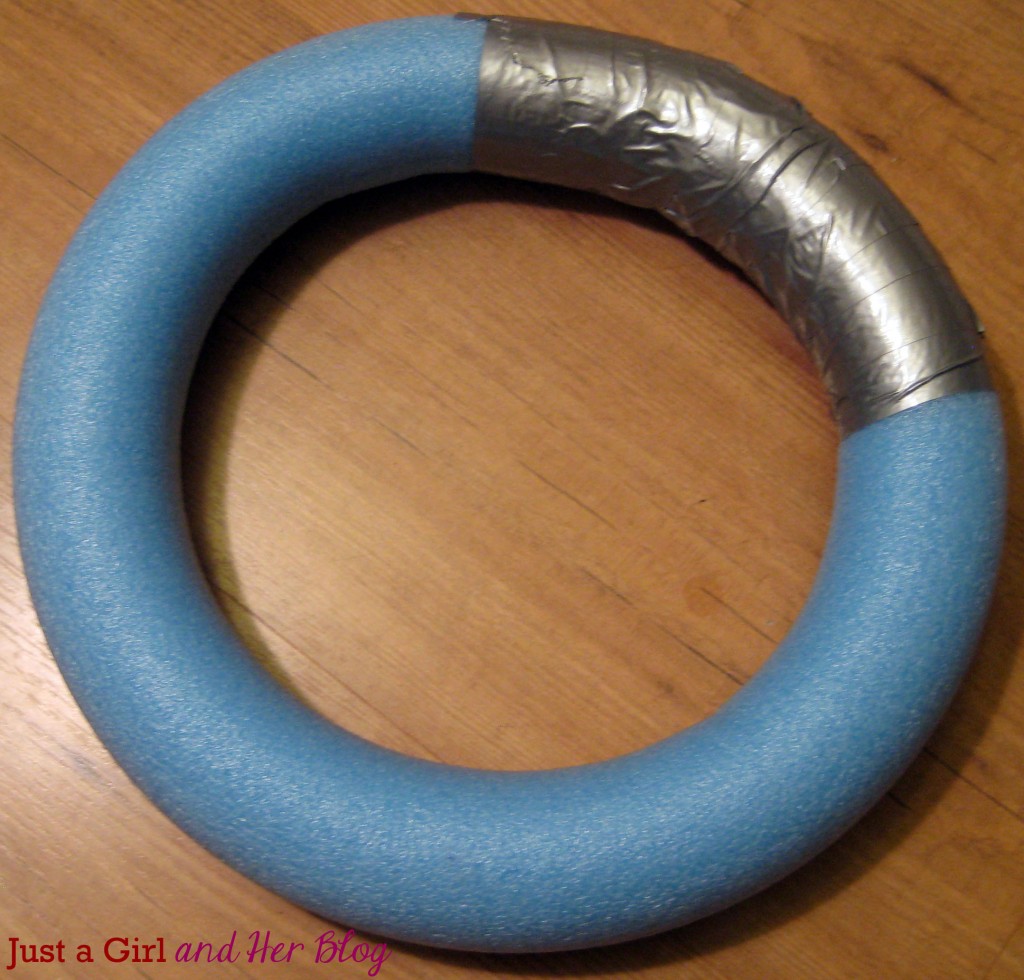
TA-DA! Homemade wreath form. Bam.
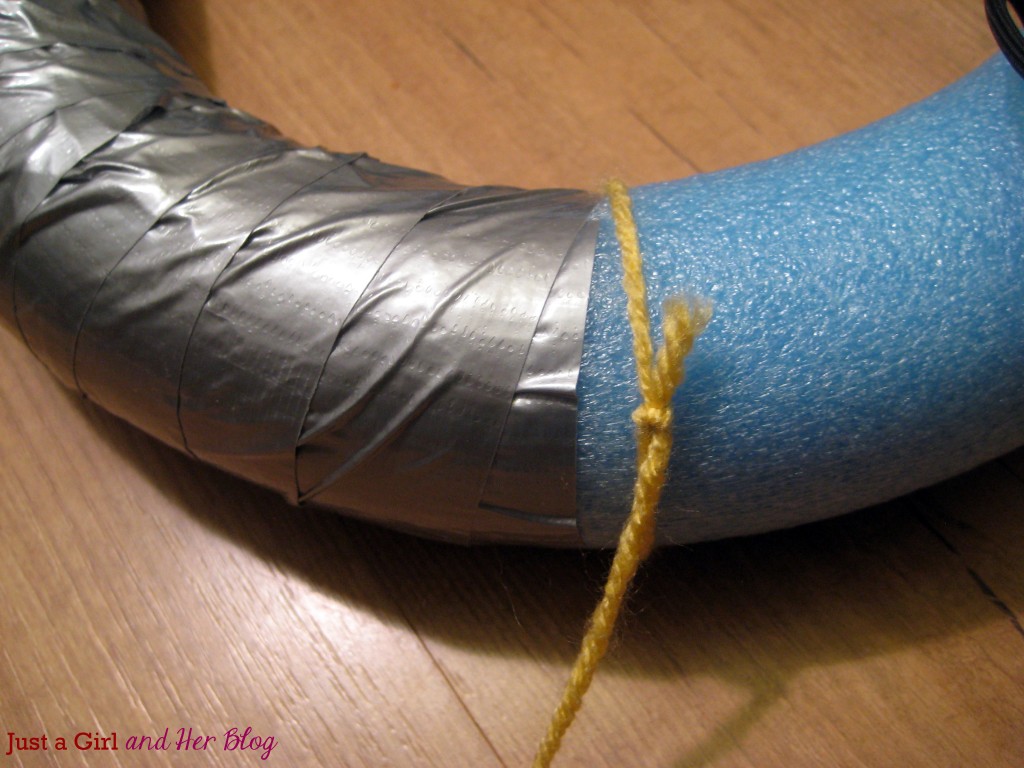
Next I took my yarn, wrapped it around the noodle, and tied a small knot to keep it in place.
Now you’ll just want to get comfortable, pop in a good movie and start wrapping…
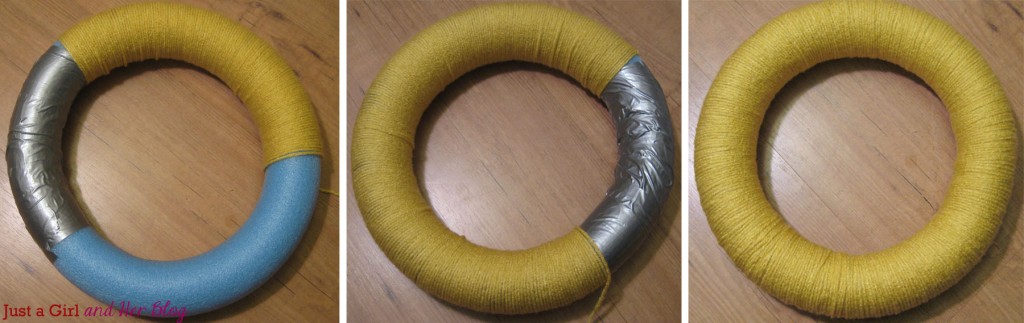
And wrapping…and wrapping…and wrapping. It is tedious work, but it starts to go more quickly once you get into a rhythm. I went around the circle with the yarn two full times, and it took me just shy of two hours to completely wrap my wreath.
TIP: Don’t expect perfection. Because of the shape of the wreath, the yarn will be closer together on the inside, and further apart on the outside of your form. It can get a little bit frustrating if you want your yarn to be in perfect, straight little rows, but the imperfections give it character and make it more beautiful! The yarn is easy to move and is pretty forgiving, so it is simple to correct any major blunders.
Once you are satisfied that your wreath form is no longer peeking out from underneath the yarn, tie another little knot in the back, and you’re good to go!
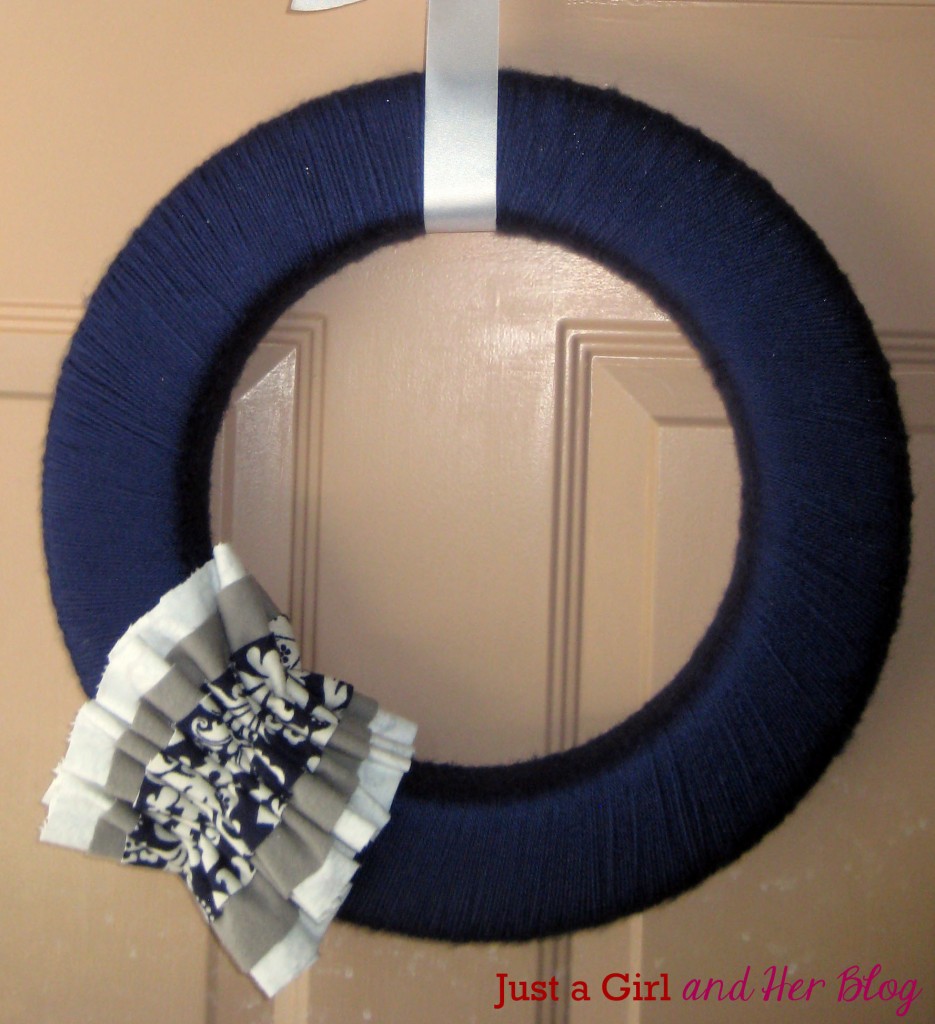
Though a plain, simple wreath can make a statement, you can also dress it up like I did with fabric flowers or other accessories. I made this wreath for our front door a few months ago and added a ruffle using the tutorial found here.
It’s amazing what you can do with a $1 pool noodle and a little duct tape, right? Let’s take one more look:
The sky is the limit with colors, fabrics, and accessories to dress up your wreath. Get creative and put together something for your indoor or outdoor space! Stay tuned to see how we use our new wreath in our living room restyle. Happy Friday!

Show and Tell Saturday is LIVE at Sassy Little Lady! I’d love to have you come join the party!
https://www.sassylittlelady.com/blog/show-and-tell-saturday/show-and-tell-saturday-3
Kathie
I just linked up! Thanks for visiting the blog, Kathie!
~Abby =)
Such a cute wreath! I love the colors together :).
Aw, thanks! I am loving the navy & mustard color combo lately, too!
~Abby =)
Hi!
I just wanted to let you know that your post will be featured later this evening on Show and Tell Saturday #4 on Sassy Little Lady! Have a great day!
Kathie
https://www.sassylittlelady.com
Miss Kathie, you just made my day! Thank you so much!
~Abby =)
You are so welcome! I totally love your wreath! 🙂
I love this! So cute! What a great idea!
I would like to invite you to my linky party Thrifty Thursday!
appleofmamaseye.blogspot.com
Hope to see you there!
-Lindsey
Thanks, Lindsey! I just linked up! Thank you so much for the invitation!!
~Abby =)