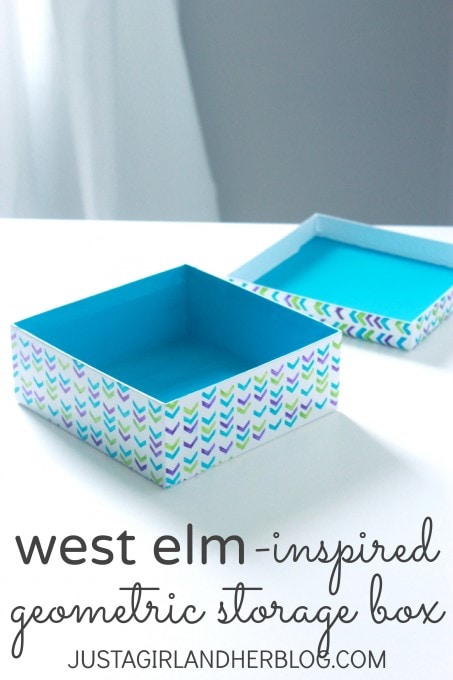
West Elm-Inspired Geometric Storage Box
Friends! I feel like it has been FOREVER! Usually I post on Wednesdays, but I didn’t yesterday. I’m posting today instead just to throw you for a loop. 🙂 I have a fun and oh-so-simple project to share with you today. A few weeks ago, the lovely Miss Jen at I Heart Organizing issued a high-low challenge. She said,
Select one or more organizing/storage items which are either sitting in your virtual shopping cart or have been pinned on Pinterest and set out to recreate that item with a little DIY’ing and creativity.
Well that sounded pretty fun to me, so I said, “Challenge accepted!!” I have had my eye on these adorable geometric jewelry boxes/storage boxes at West Elm for a little while now, so I thought they would be perfect for this challenge:
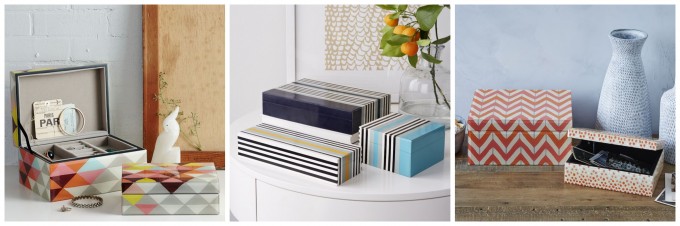
I mean, are they not the cutest things ever? But this thrifty girl was not about to pay $63 for a little box, so I decided that I was going to DIY my own, and you really should be proud– as an English major, this is as close to geometry as I get! 😉 Here’s what I used to make my DIY version:
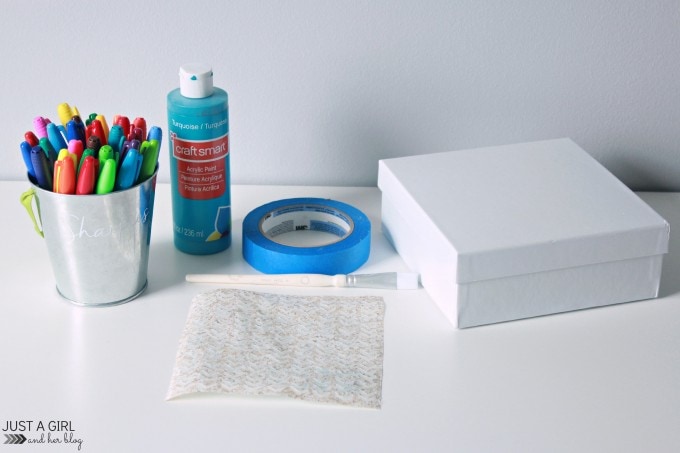
- My pail of Sharpies {I may have just a slight Sharpie obsession. I have another whole pail dedicated solely to metallics. 😀 }
- Acrylic paint + paint brush
- Painter’s tape
- White box {My only purchase, found at Michael’s for $3}
- Stencil {I cut one out of contact paper with my Silhouette, but any stencil will do!}
When I purchased the white box, I didn’t realize that it had a super glossy finish {it was shrink-wrapped}. To prevent my markers from smearing, I gave the box a few light coats of white spray primer to “rough it up” a little bit.
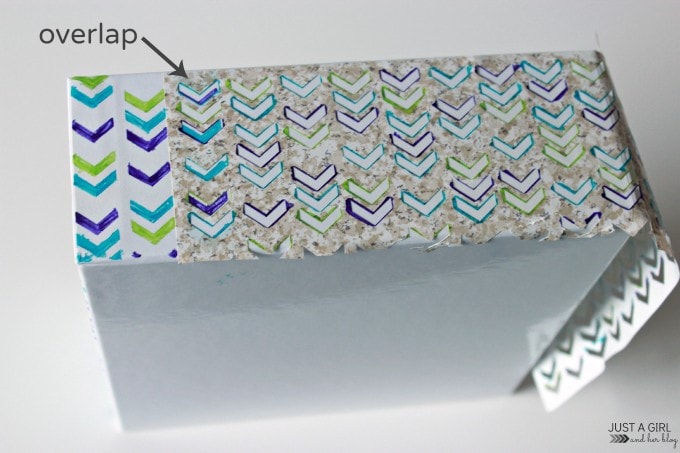
This project is SO easy, friends! I simply pressed my stencil on to the box (1), then used my Sharpies to color in the herringbone pattern one color at a time– blue first (2), then green (3), then purple (4). Then I just pulled up my stencil, moved it over, and repeated the process until I had covered the whole box.
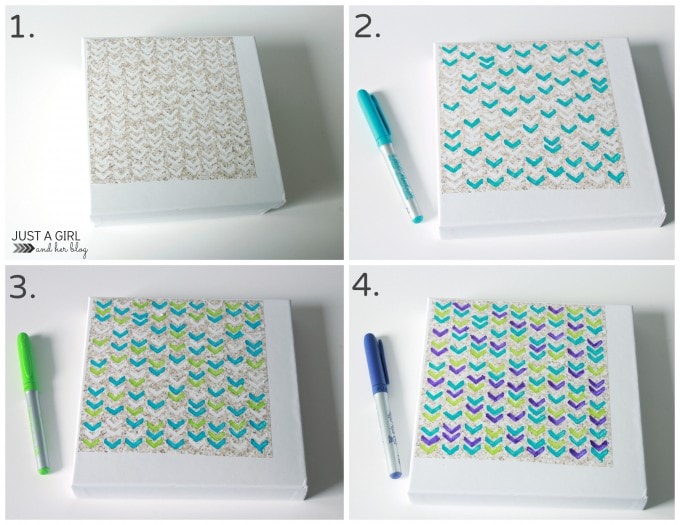
I have discovered that the easiest way to line up the next row of stenciling is to overlap the first row of the stencil with the last row of stencils I made. That way I know they’ll be uniform all the way around.
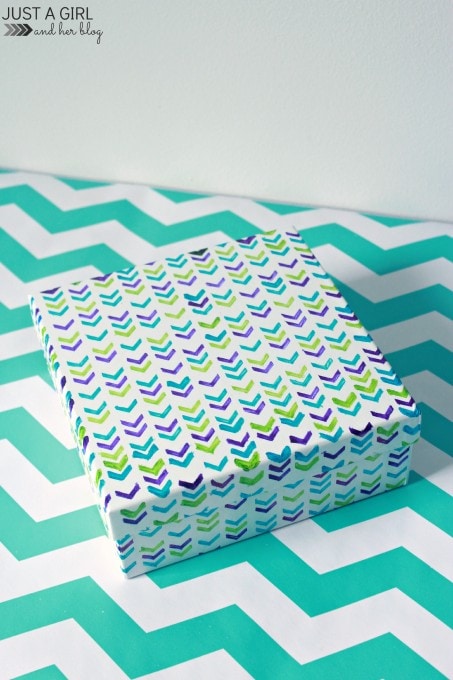
The stenciling was a little time-intensive, but it was one of those things where you could pop in your favorite movie, snuggle up with your Sharpies, and not even realize you just spent an hour or two coloring in little herringbone shapes, so it really wasn’t bad at all. 🙂 After I had finished up my stenciling, I could have called it quits. My box was looking pretty cute, and I was happy with how the stencil turned out.
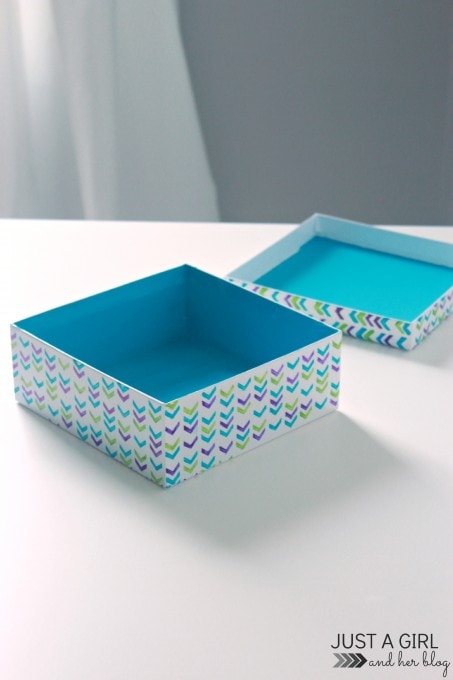
I thought it would be fun, though, to have a bright pop of color on the inside of the box, so squirted some paint inside, painted it up, and ended up with this:
I’m thinking I may use it to help organize some of the jewelry and accessories I use most often…
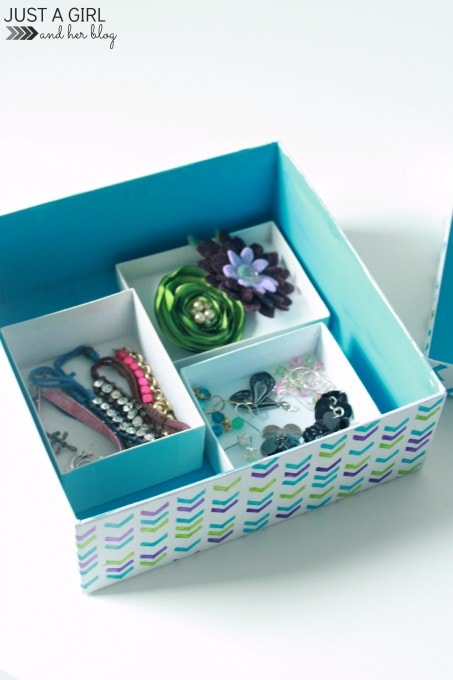
…or I might put it on display somewhere and use it to organize some other small items. Come to think of it, it does sort of match my new #fabulouslyfemininehomeoffice. 😉 But of course my favorite part about it is the price tag. Mine cost a grand total of $3 as compared to the $63 West Elm version. I’ll take it!
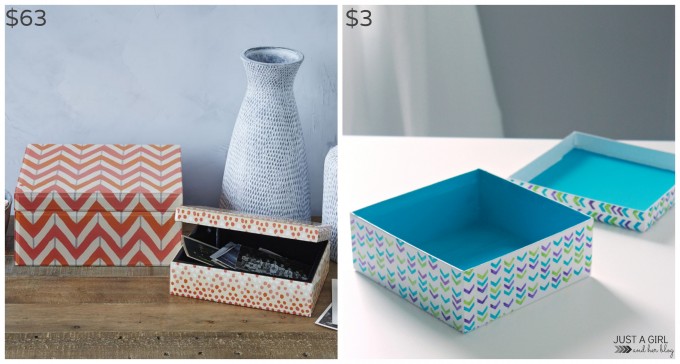
West Elm | Mine
Have you done any high/low projects lately?
Pssssstttt… Right now I’m offering a FREE PDF to all of my newsletter subscribers with detailed screenshots and instructions on how to create your own adorable organizational printables! Hurry and snag it up here! {PDF is sent within an hour of subscribing. 🙂 }
I link up at Inspire Me Please, I Heart Nap Time, and these fun parties!
How pretty! What a great idea Abby! I have been in organizing mode, so these may come in handy for me.
Thanks so much, Marjorie! Happy organizing!
~Abby =)
How cute is this box!!!!! I love storage boxes..they’re the perfect solution for storing random items!! I may haveto do another copy cat!
Thanks so much, Selene! I’m a bit obsessed with boxes and storage so I may be making more myself, lol! Enjoy your weekend!
~Abby =)
Love it, Abby! Inspires me to make one in all bright, boyish colors for Holden’s room or the playroom!
~ Beth Anne
Thanks so much, BA! Love that little Holden! Have a wonderful Mother’s Day!!
~Abby =)
I love your colour choices! What a great idea. Good job!
Thanks so much, friend! Enjoy your weekend!
~Abby =)
The box looks great! You should see what I use for my jewelry. 🙂
https://heartloveshome.wordpress.com/2014/04/29/jewelry-organization/
Thanks so much, Julie! I hear ya– mine wasn’t pretty before this! Have a wonderful weekend!
~Abby =)
Hope you had a great Mother’s Day!
Thank you so much, Julie! I hope you had a wonderful Mother’s Day as well!
~Abby =)
This is really cute and I can think of lots of uses. $3 compared to $63 is a steal! Thank you for the inspiration.
Thank you so much, Sandra! You can’t beat the price tag, lol! Have a wonderful weekend!
~Abby =)
Way to go Abby!! There is no way ever I would spend that kind of money on something so this knock off is amazing!! It looks fabulous!
I’m glad I’m not the only one that wouldn’t spend that kind of cash, lol! Have a wonderful weekend, Kendra!
~Abby =)
Your version is lovely. I can imagine all that colouring in could be quite therapeutic, especially if combined with a good film like you suggest!
Yes! Therapeutic is a great word for it! More coloring projects, I say! 😉 Thanks so much, Julie! Hope you’re having a wonderful weekend!
~Abby =)
So cool! Love it. Pinned! Thank you so much for being part of our party. Please stop by on Tuesday and share one of your incredible projects. https://loulougirls.blogspot.com/
Happy Saturday! Lou Lou Girls
Thanks so much for popping over and thanks for hosting! Have a great weekend!
~Abby =)
Love this Abby and way to save some money! Fingers crossed I get a silhouette for Mother’s Day (thought of asking for one after you told me you got yours for V-day!) Great job on these boxes girl!
Oooh I’m pulling for ya! I hope Mr. Tiny Sidekick comes through! You’ll love it! Hope you’re having a wonderful weekend– Happy Mother’s Day!
~Abby =)
Adorable and clever! And, I am so glad to have met another person who has a Sharpie obsession 🙂 I have a similar collection!
Sharpie lovers, unite! Lol! Thanks so much, Marlynn! Hope you’re having a wonderful weekend!
~Abby =)
Can you please share the cut settings on your Sillhoutte for contact paper?
Hi, Jessie! I put the blade on 1 and then use the vinyl settings of speed 8, thickness 9. When I can, I use the mat with the contact paper. I hope this helps!
~Abby =)
Sure does! Thanks!
I have a tinkerbell toy box my daughter has grown out of that this would be perfect for!
Fun! Happy box-making! 🙂
~Abby =)